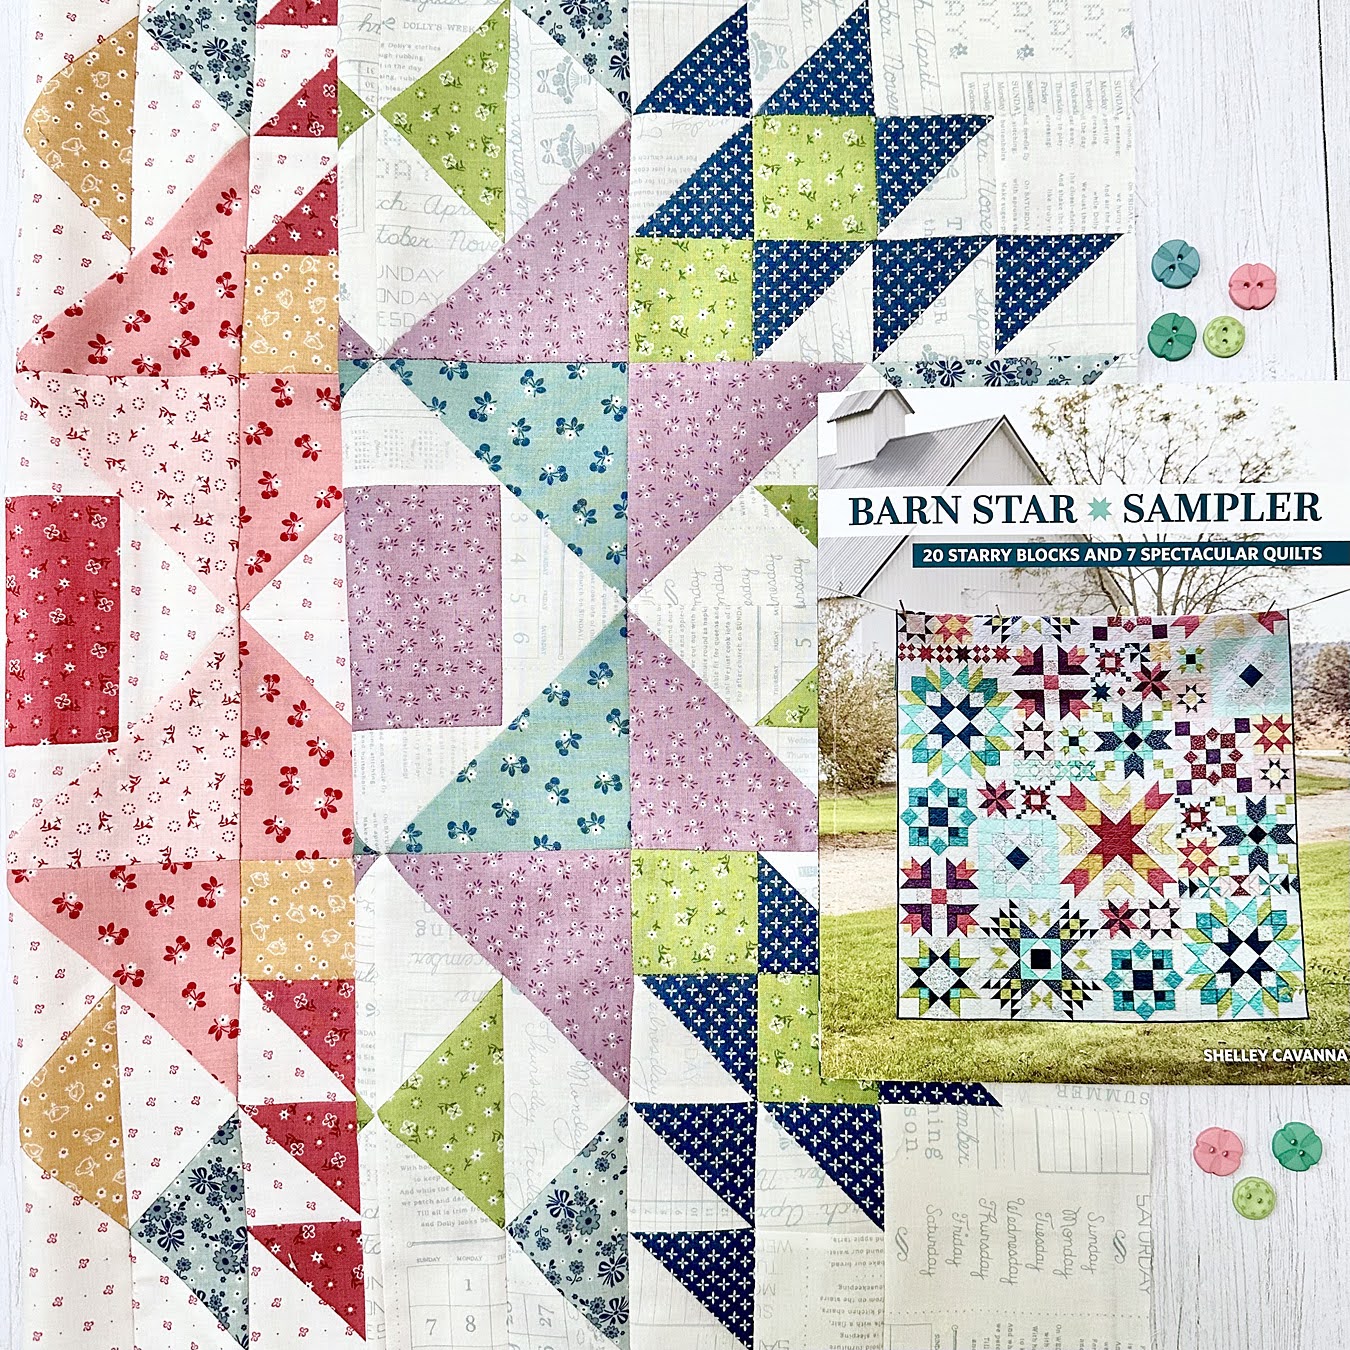
I'm SEW excited for the Barn Star Sampler Quilt Along with Fat Quarter Shop. During 2023 - I will be quilting along to create this FABULOUS and huge quilt. The Barn Star Sampler Quilt measures 80.5" x 100.5" - so definitely choose a 108" wide fabric for an easy backing ;).

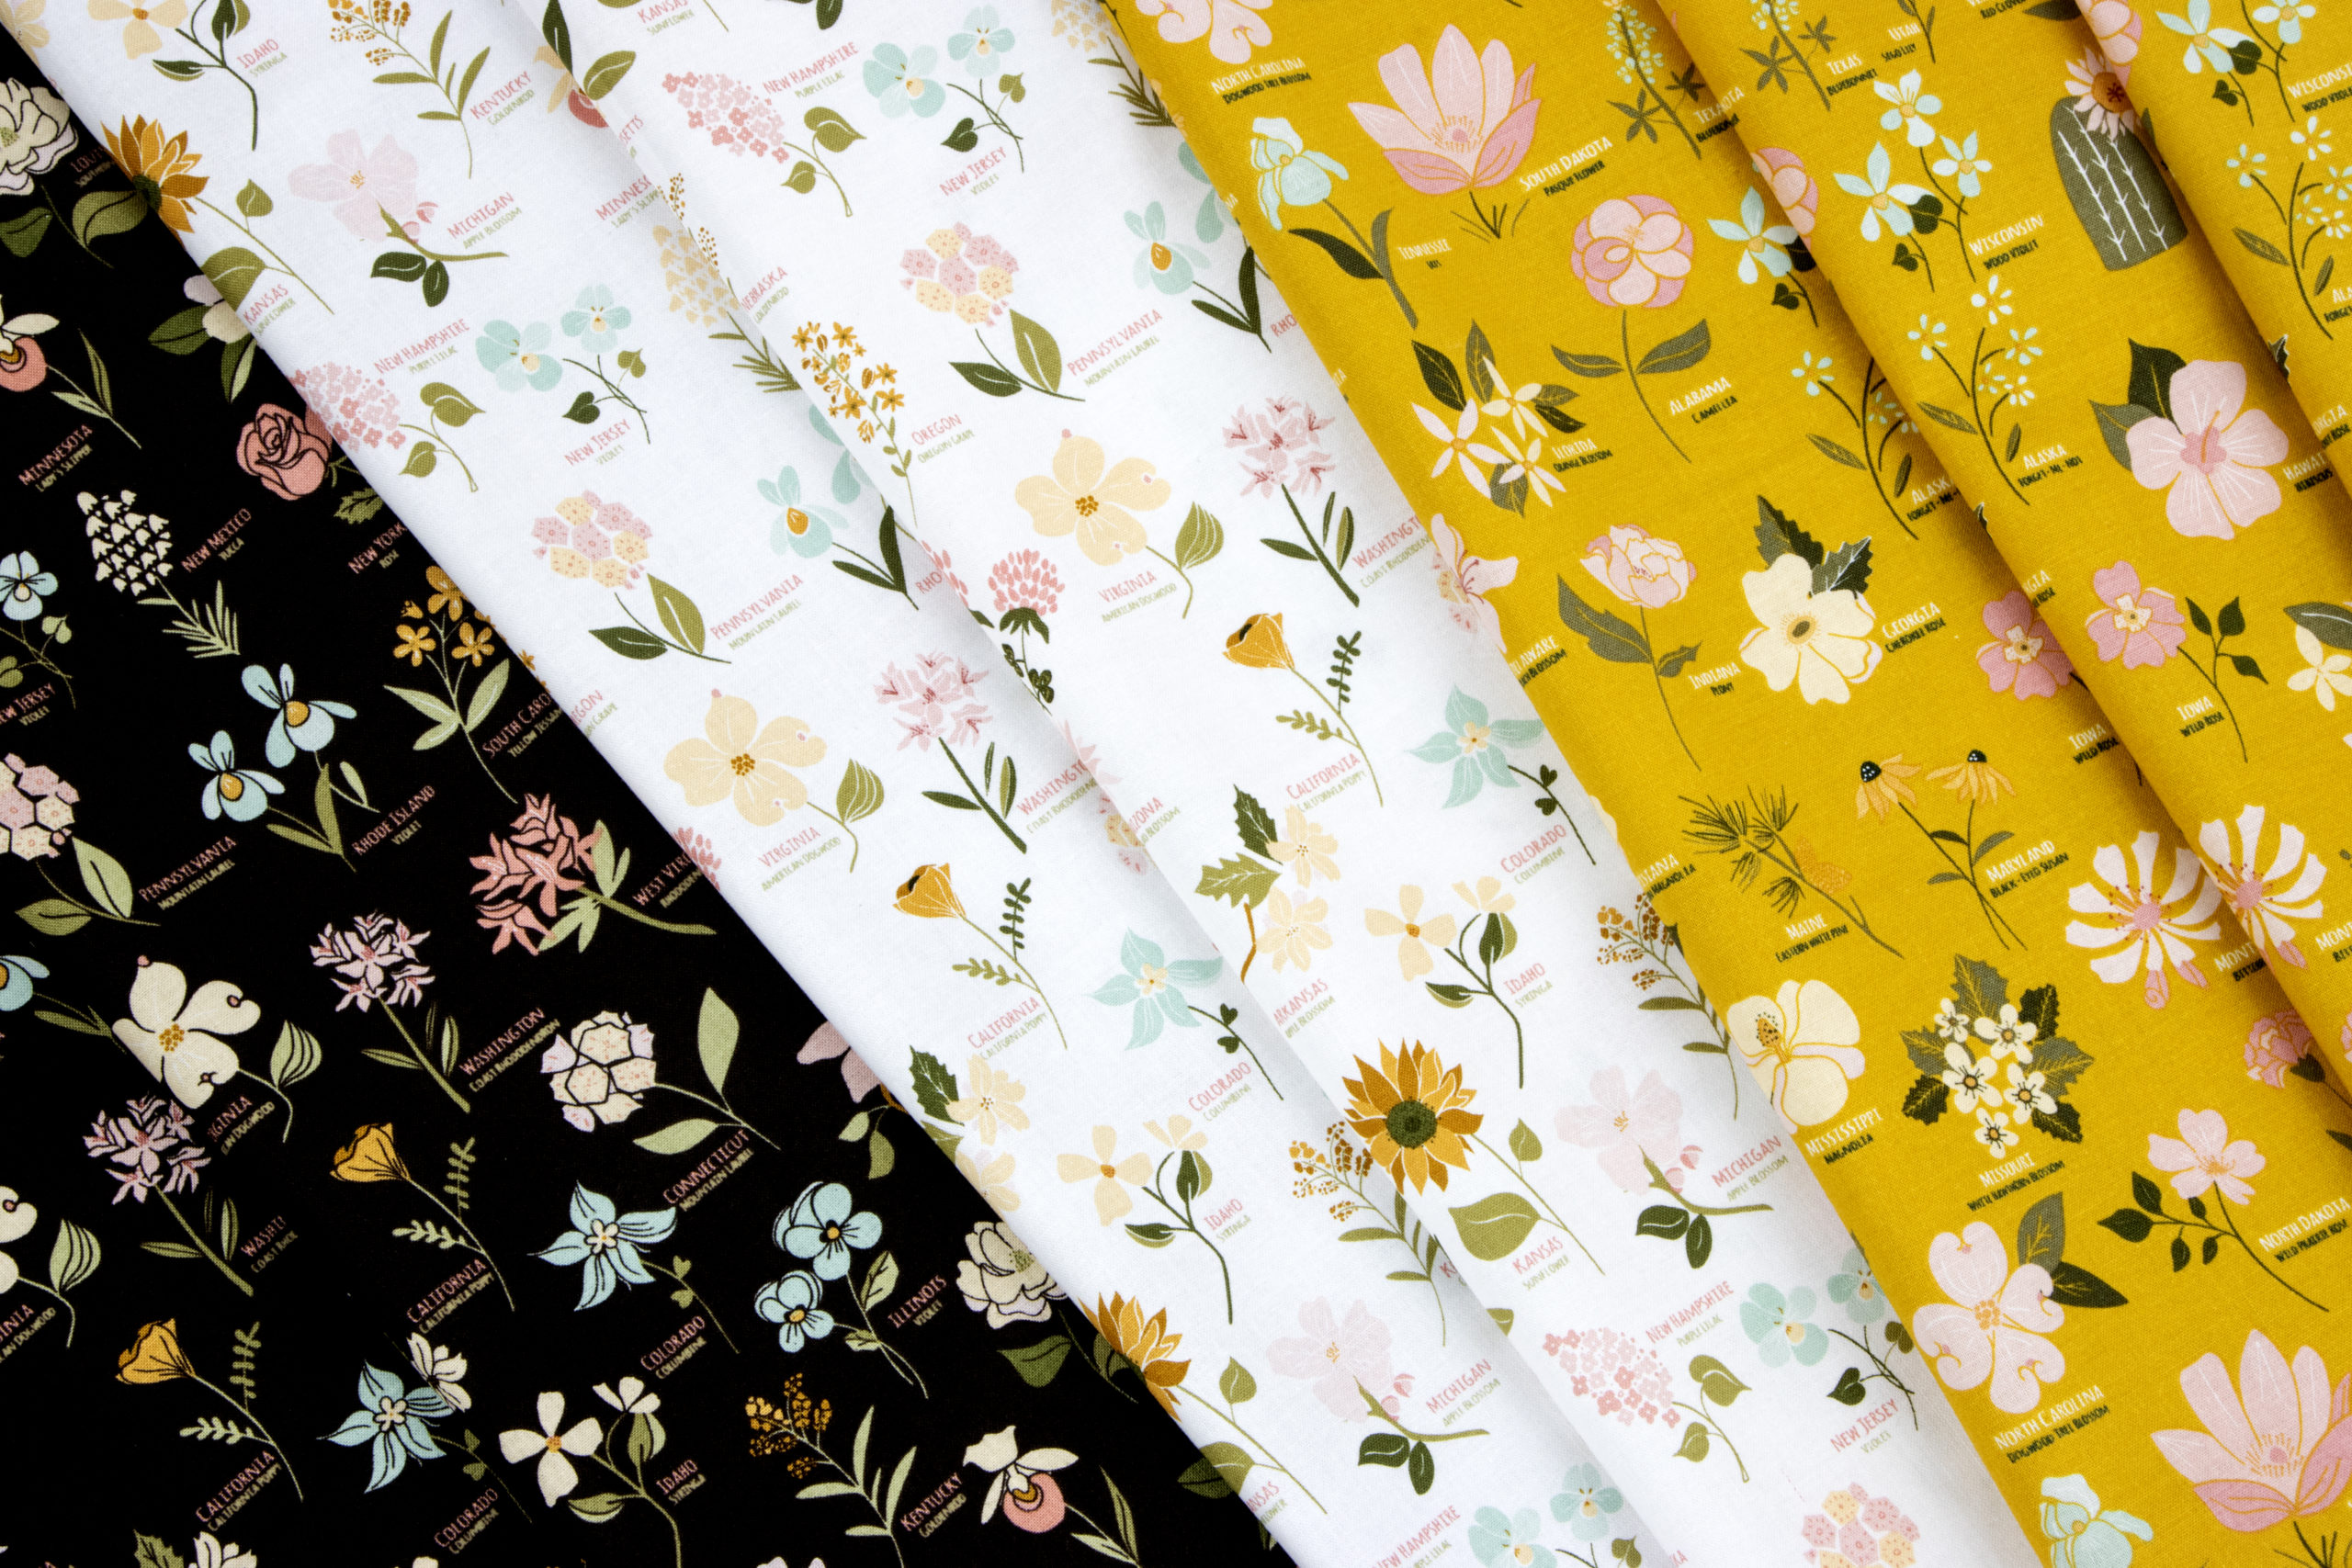
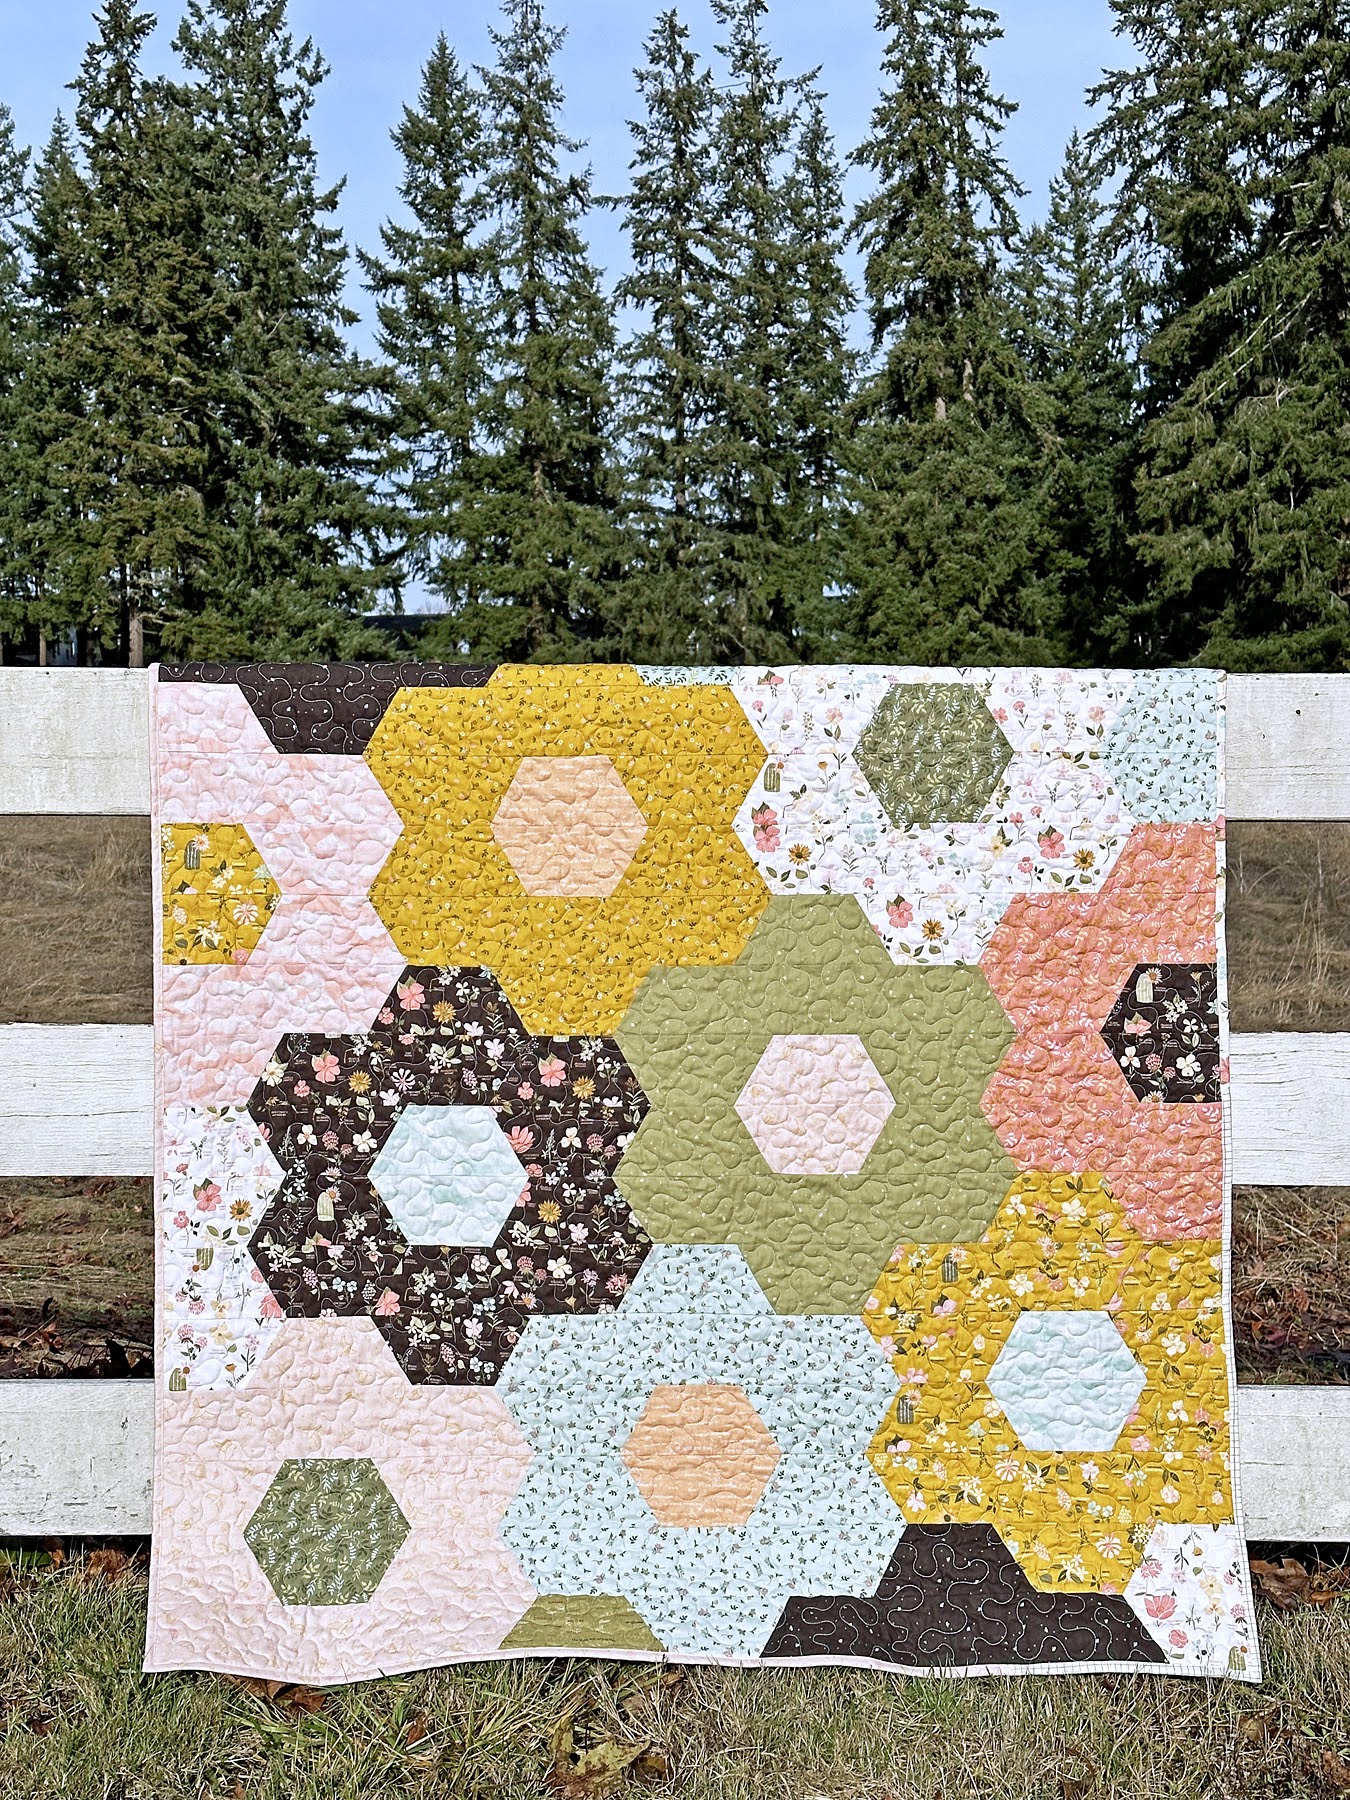
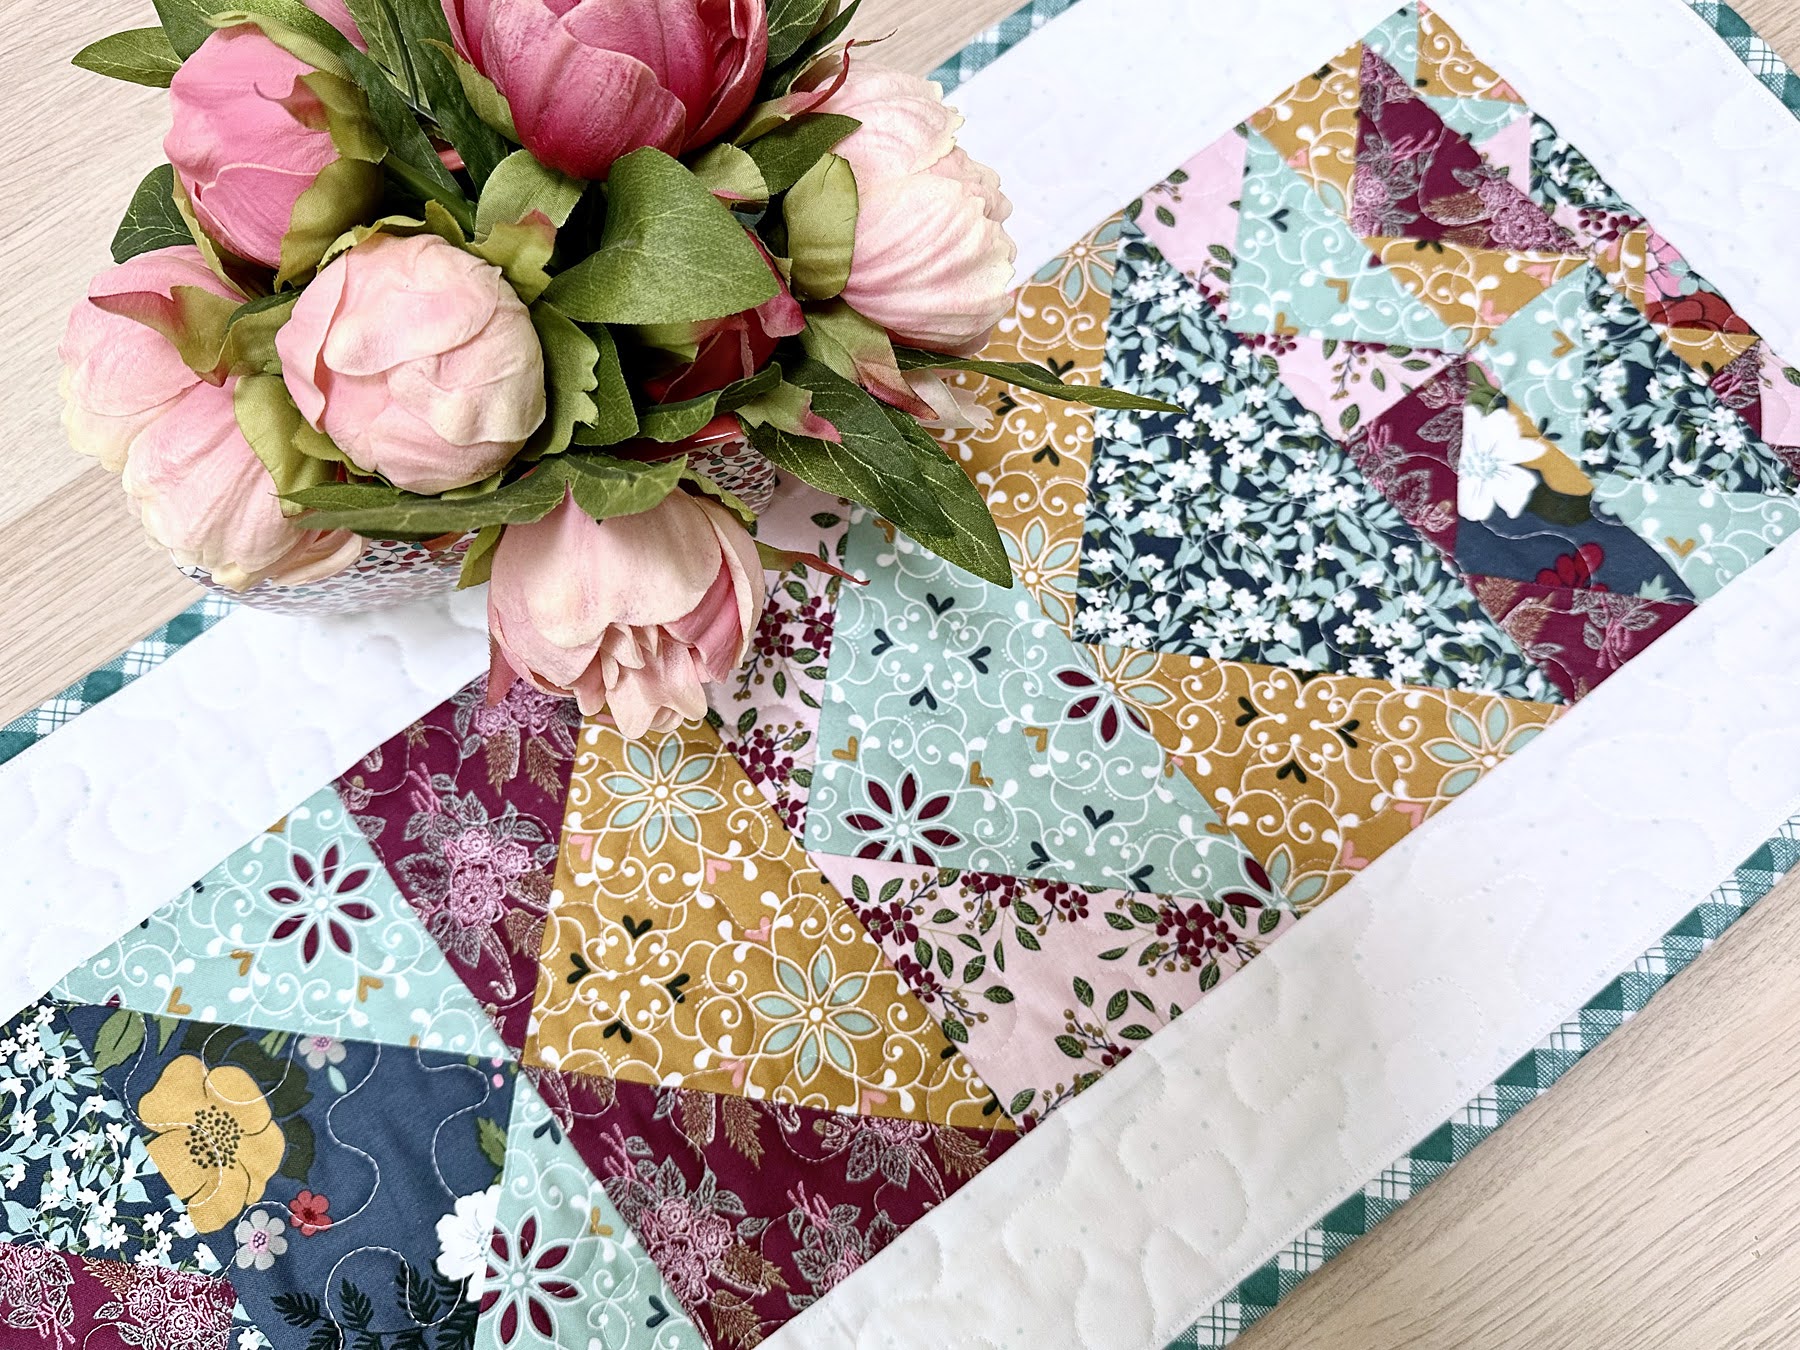
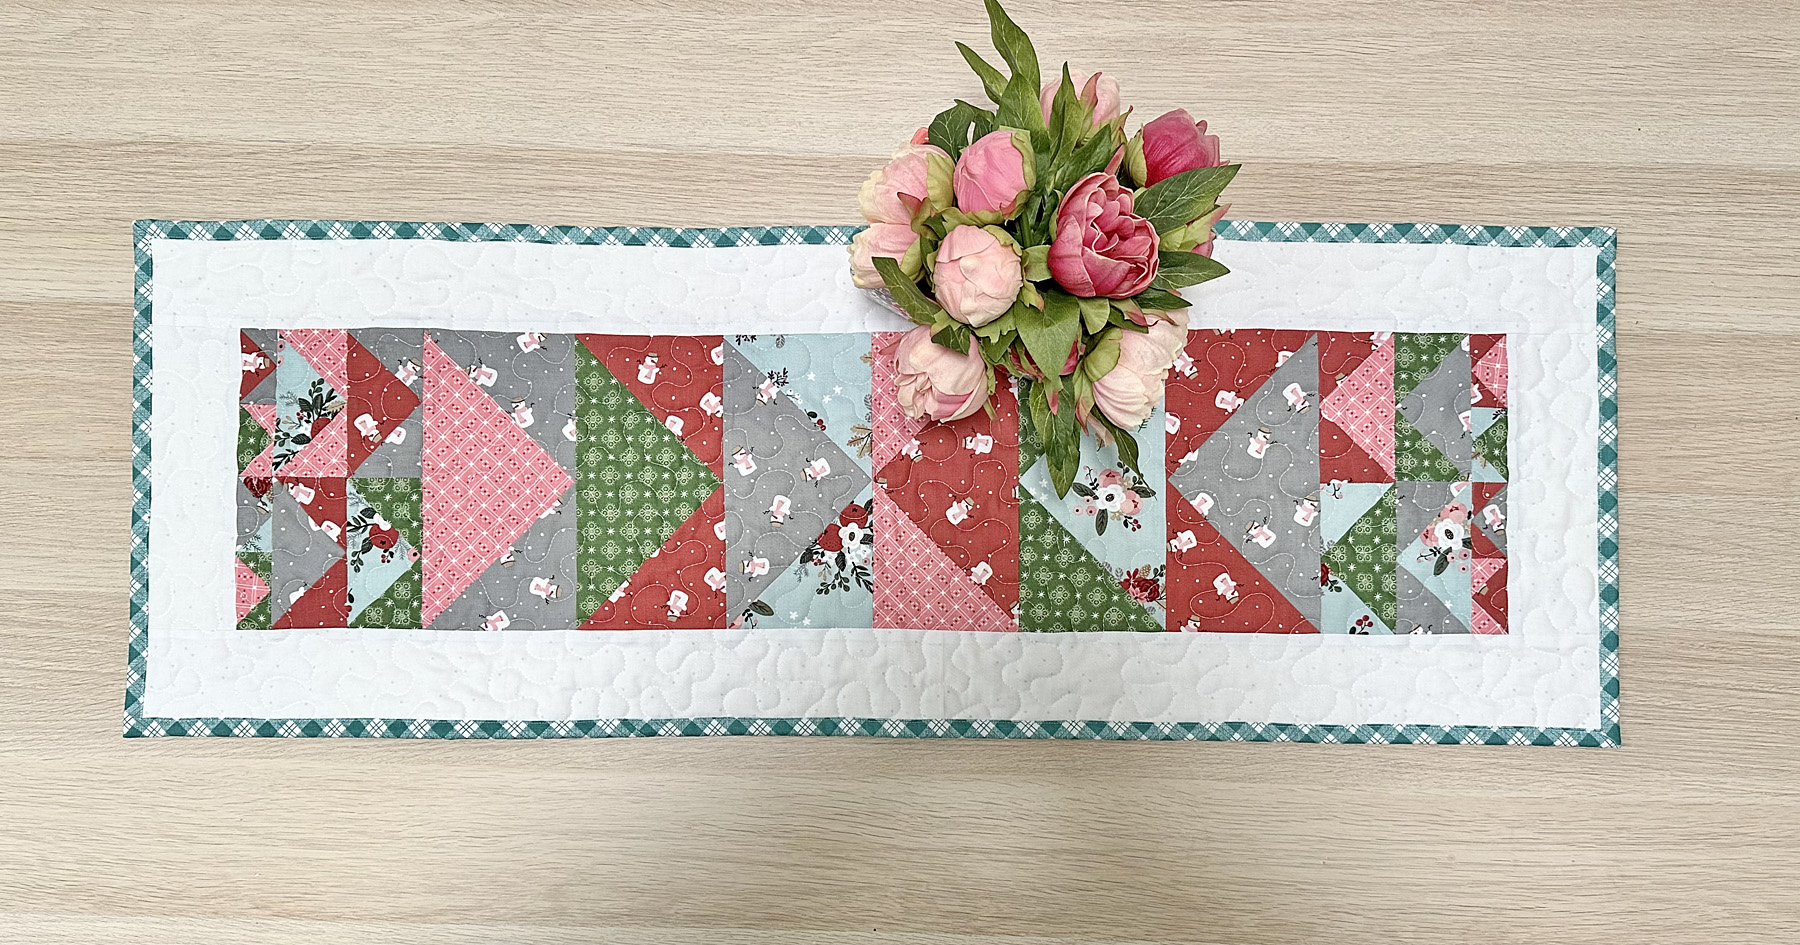
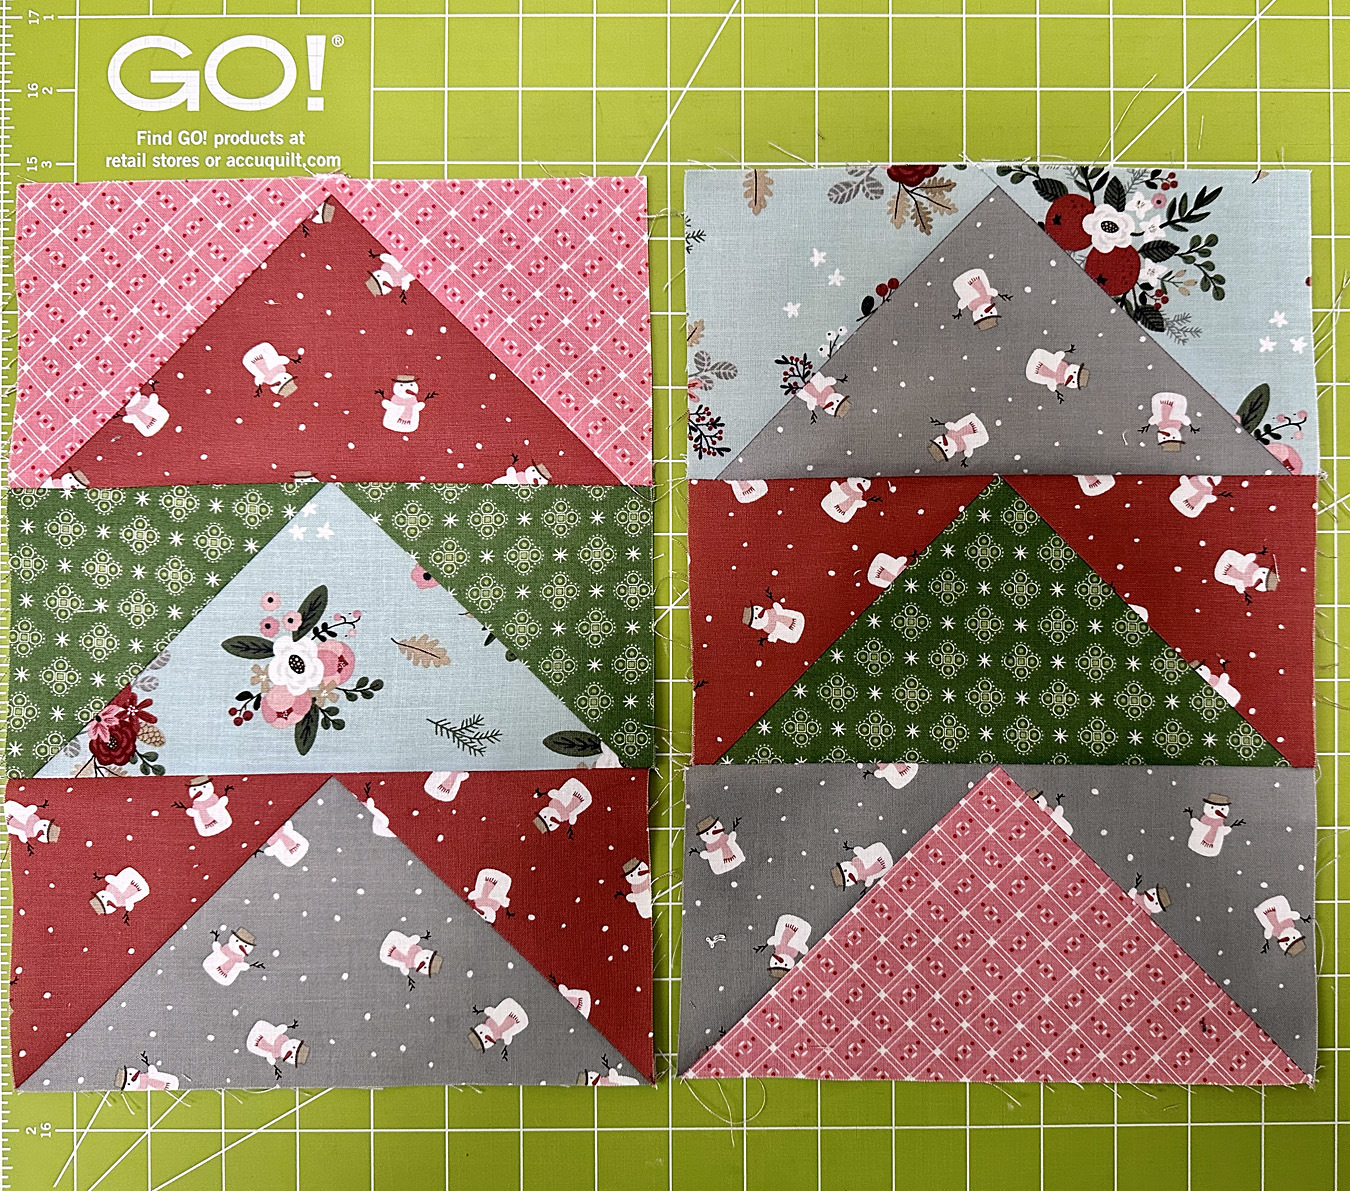
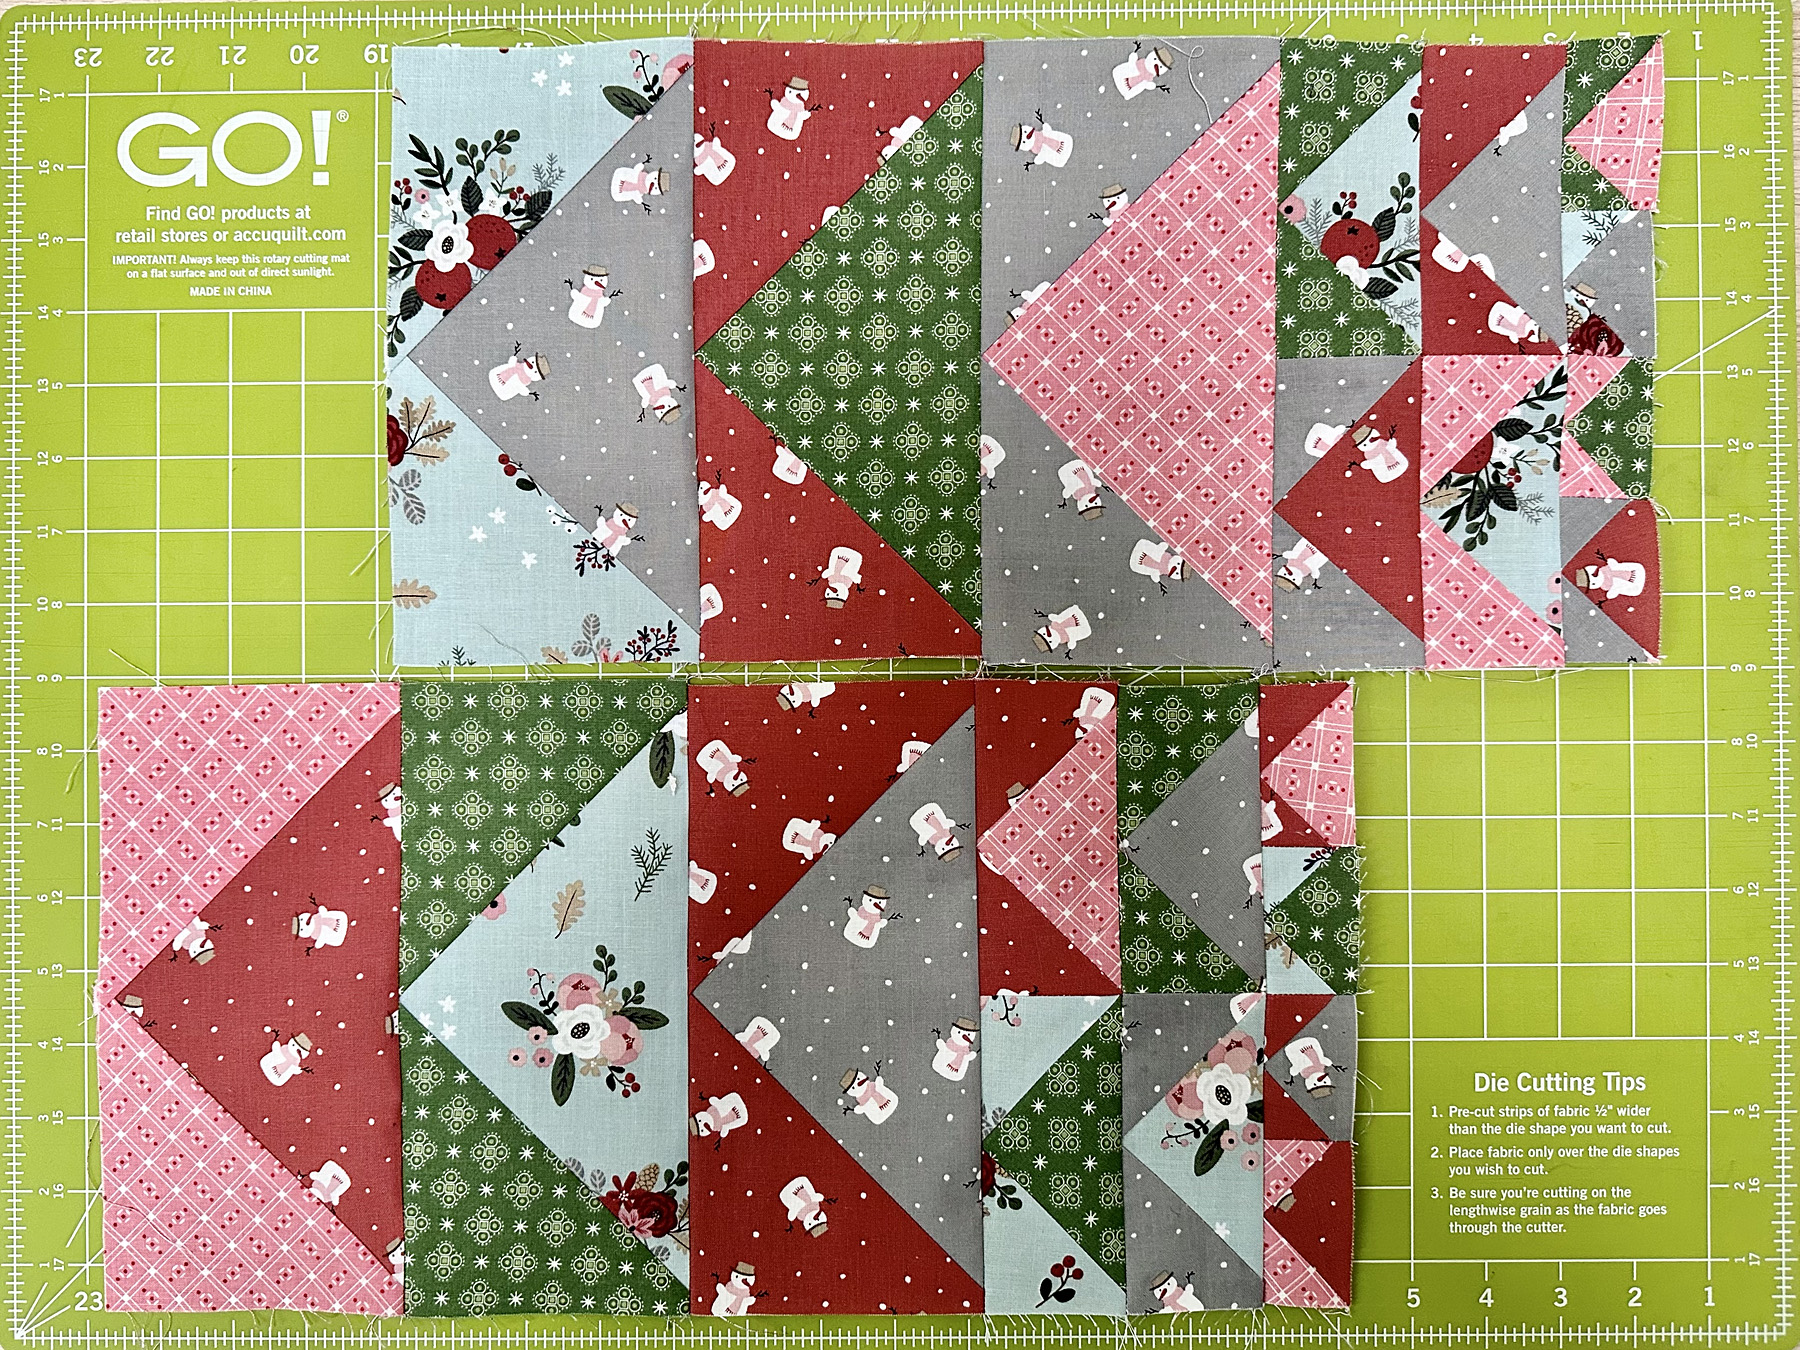
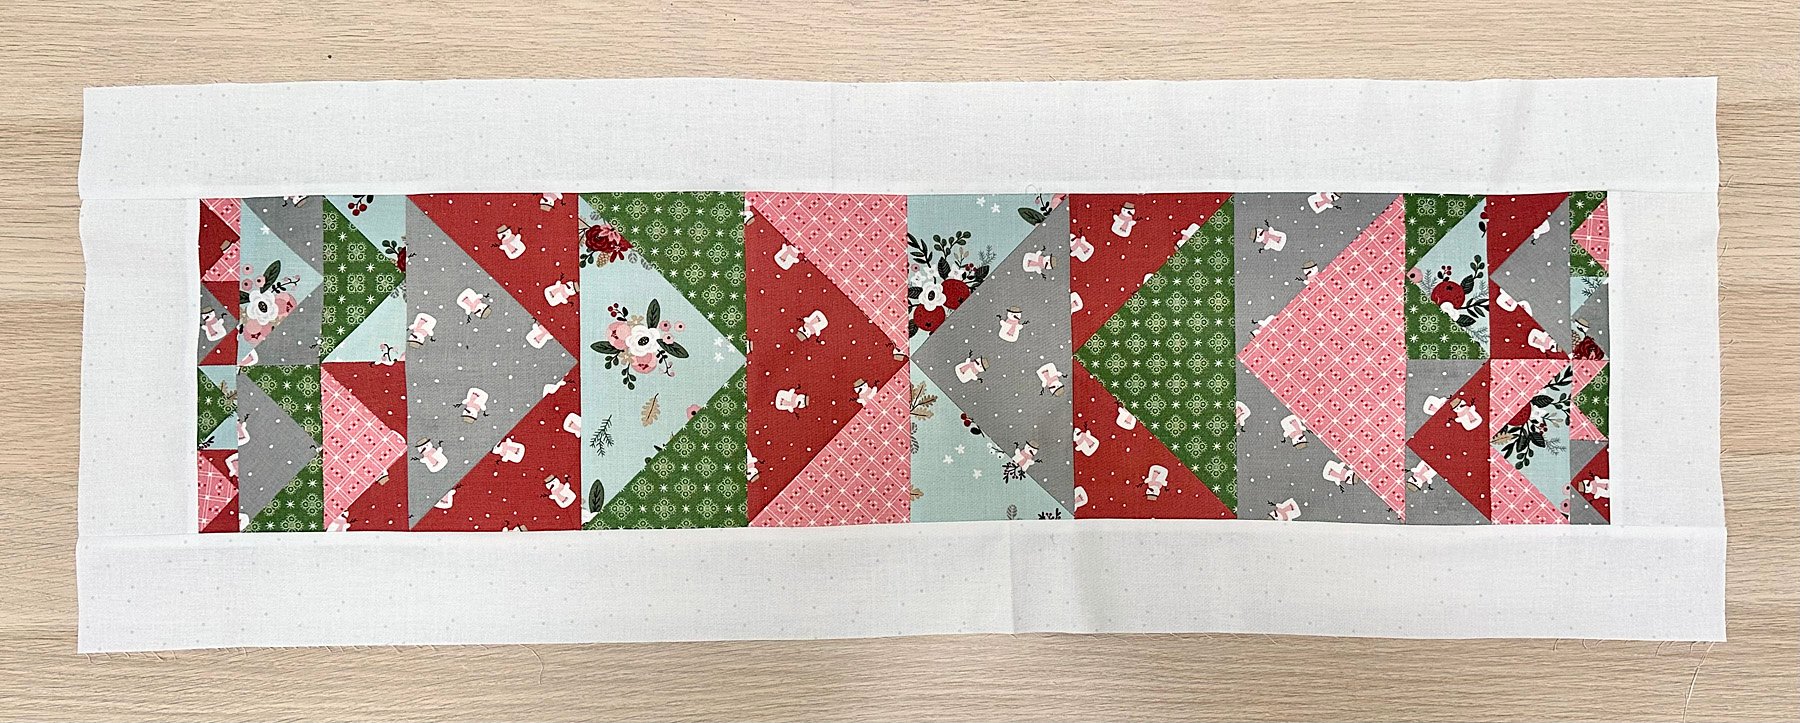
My Barn Star Sampler Quilt is going to be all Lori Holt fabrics and totally scrappy!!!! Each month I will be selecting my favorite Lori Holt prints to create the blocks. For both of my Block 1 blocks - I did choose my favorite Calico prints because I still had that fabric together in a lovely bundle.


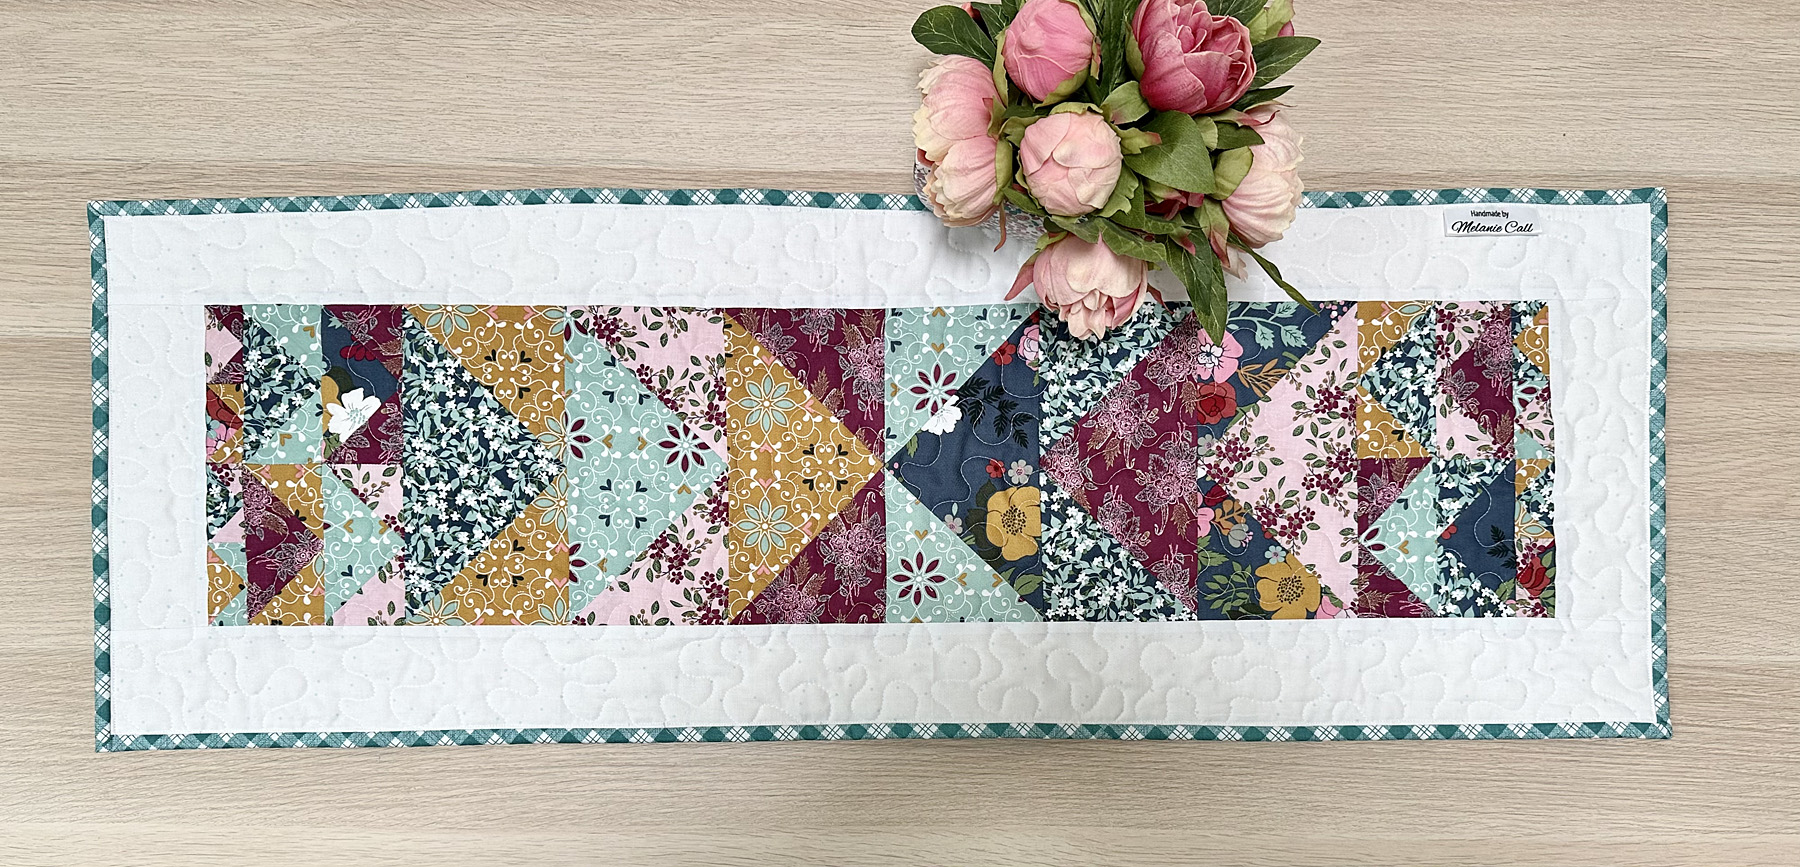
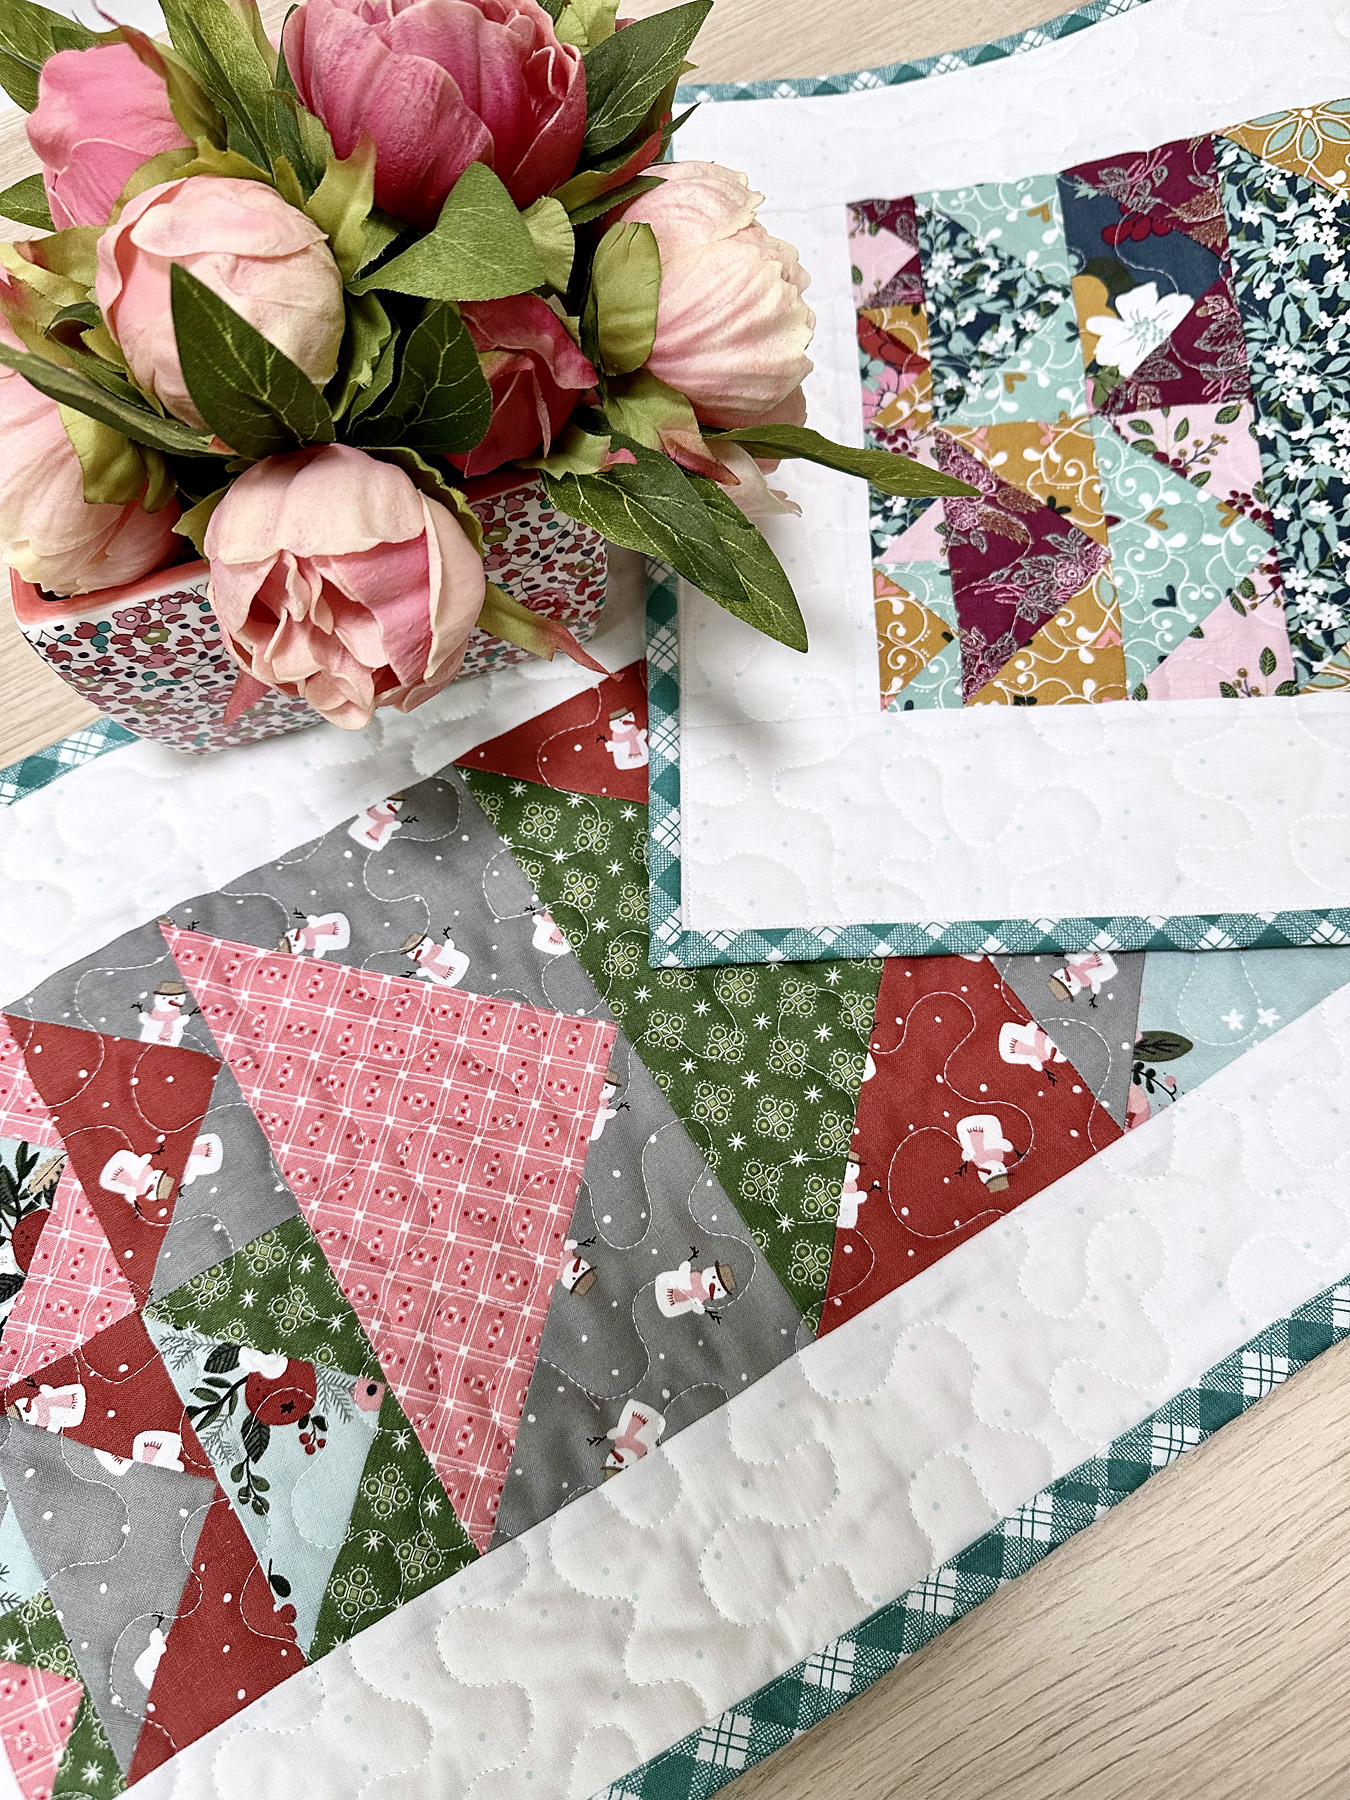
Block 1: 24.5" x 24.5" (make 2)

Barn Star Sampler Quilt Along Supplies:
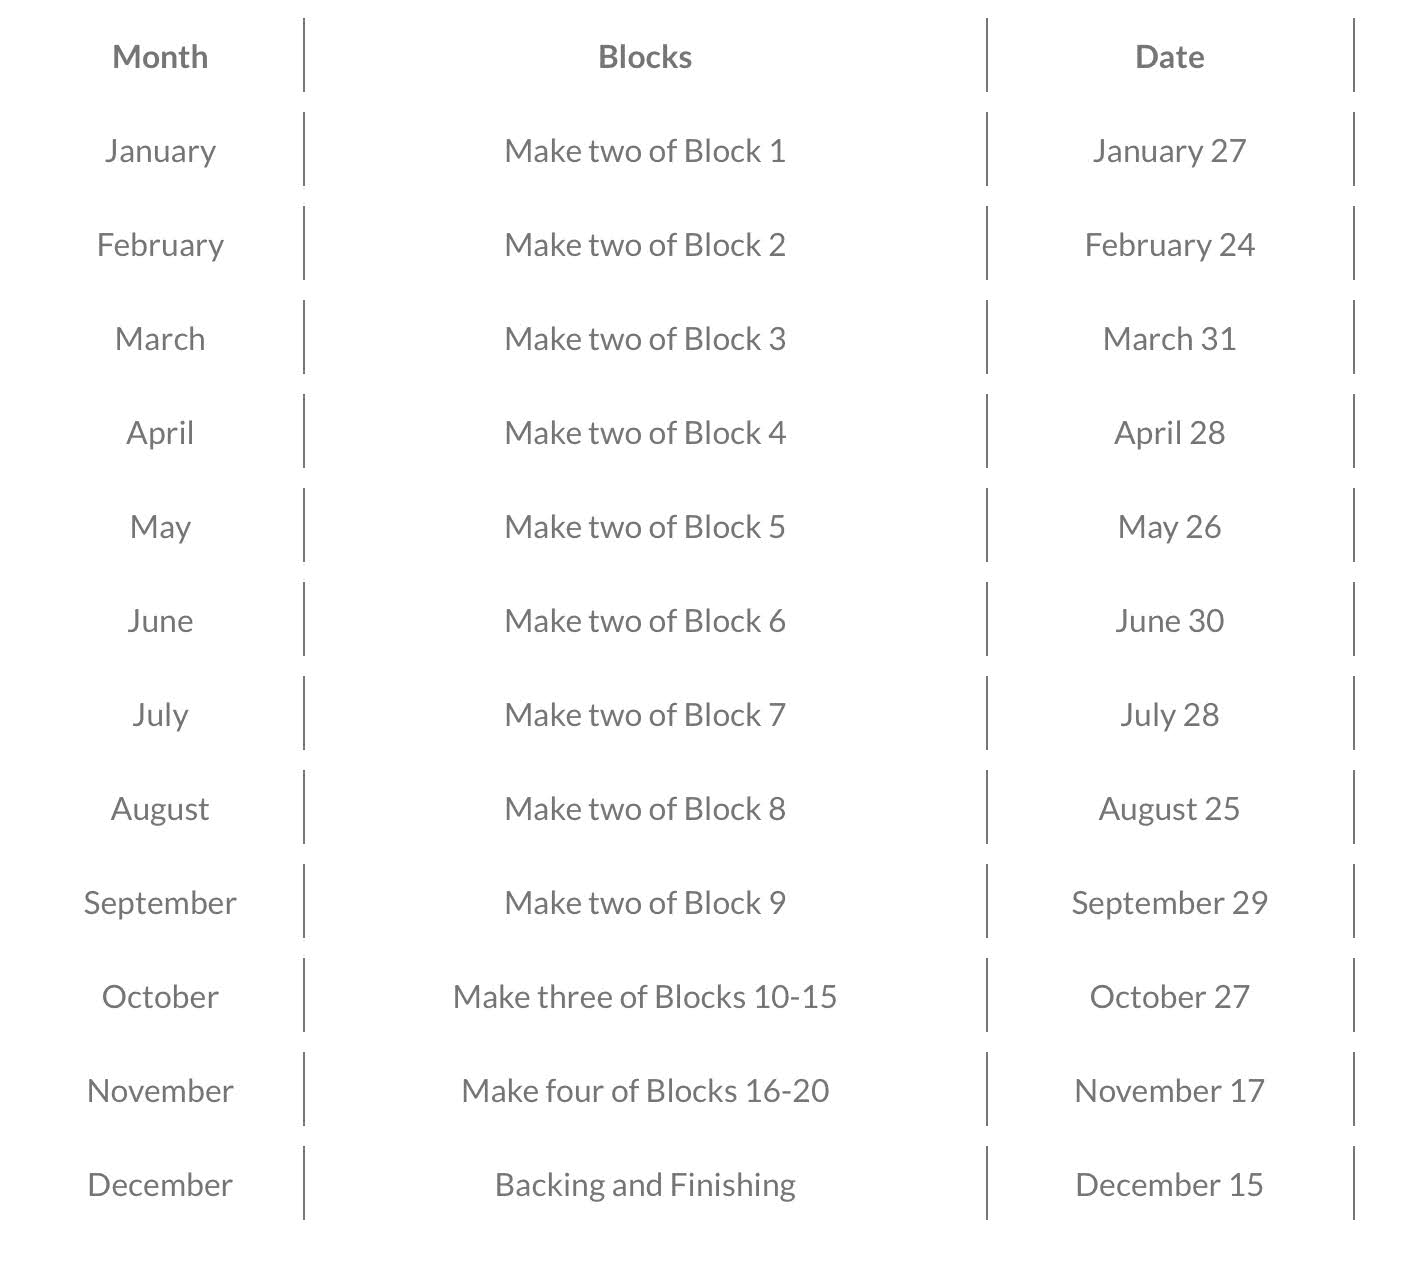
Fat Quarter Shop has created a schedule for completing the Barn Star Sampler Quilt that is totally achievable over 2023. 
I hope you decide to join in for Barn Star Sampler Quilt .... it's going to be amazing!!!


Melanie

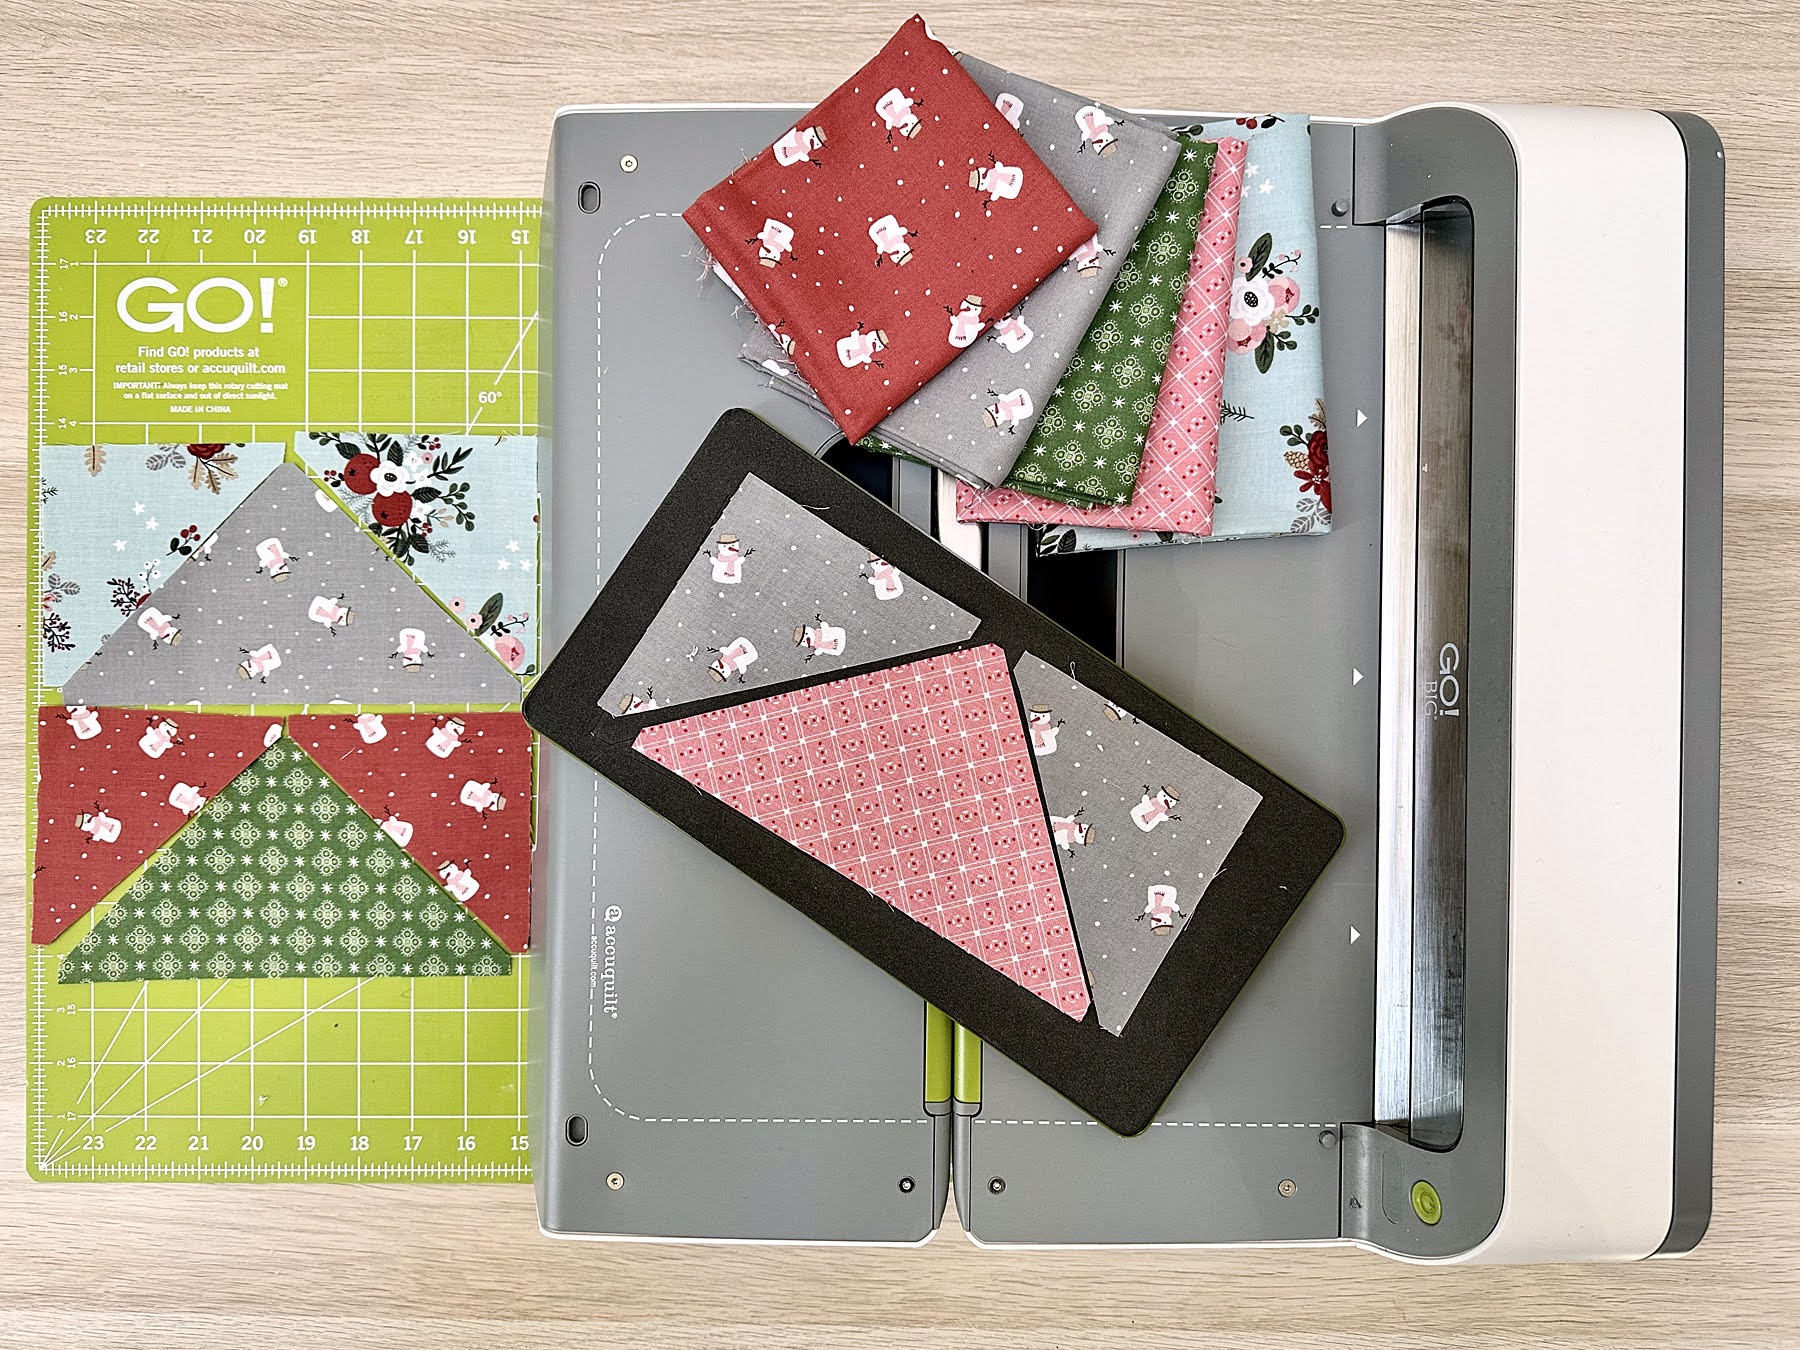
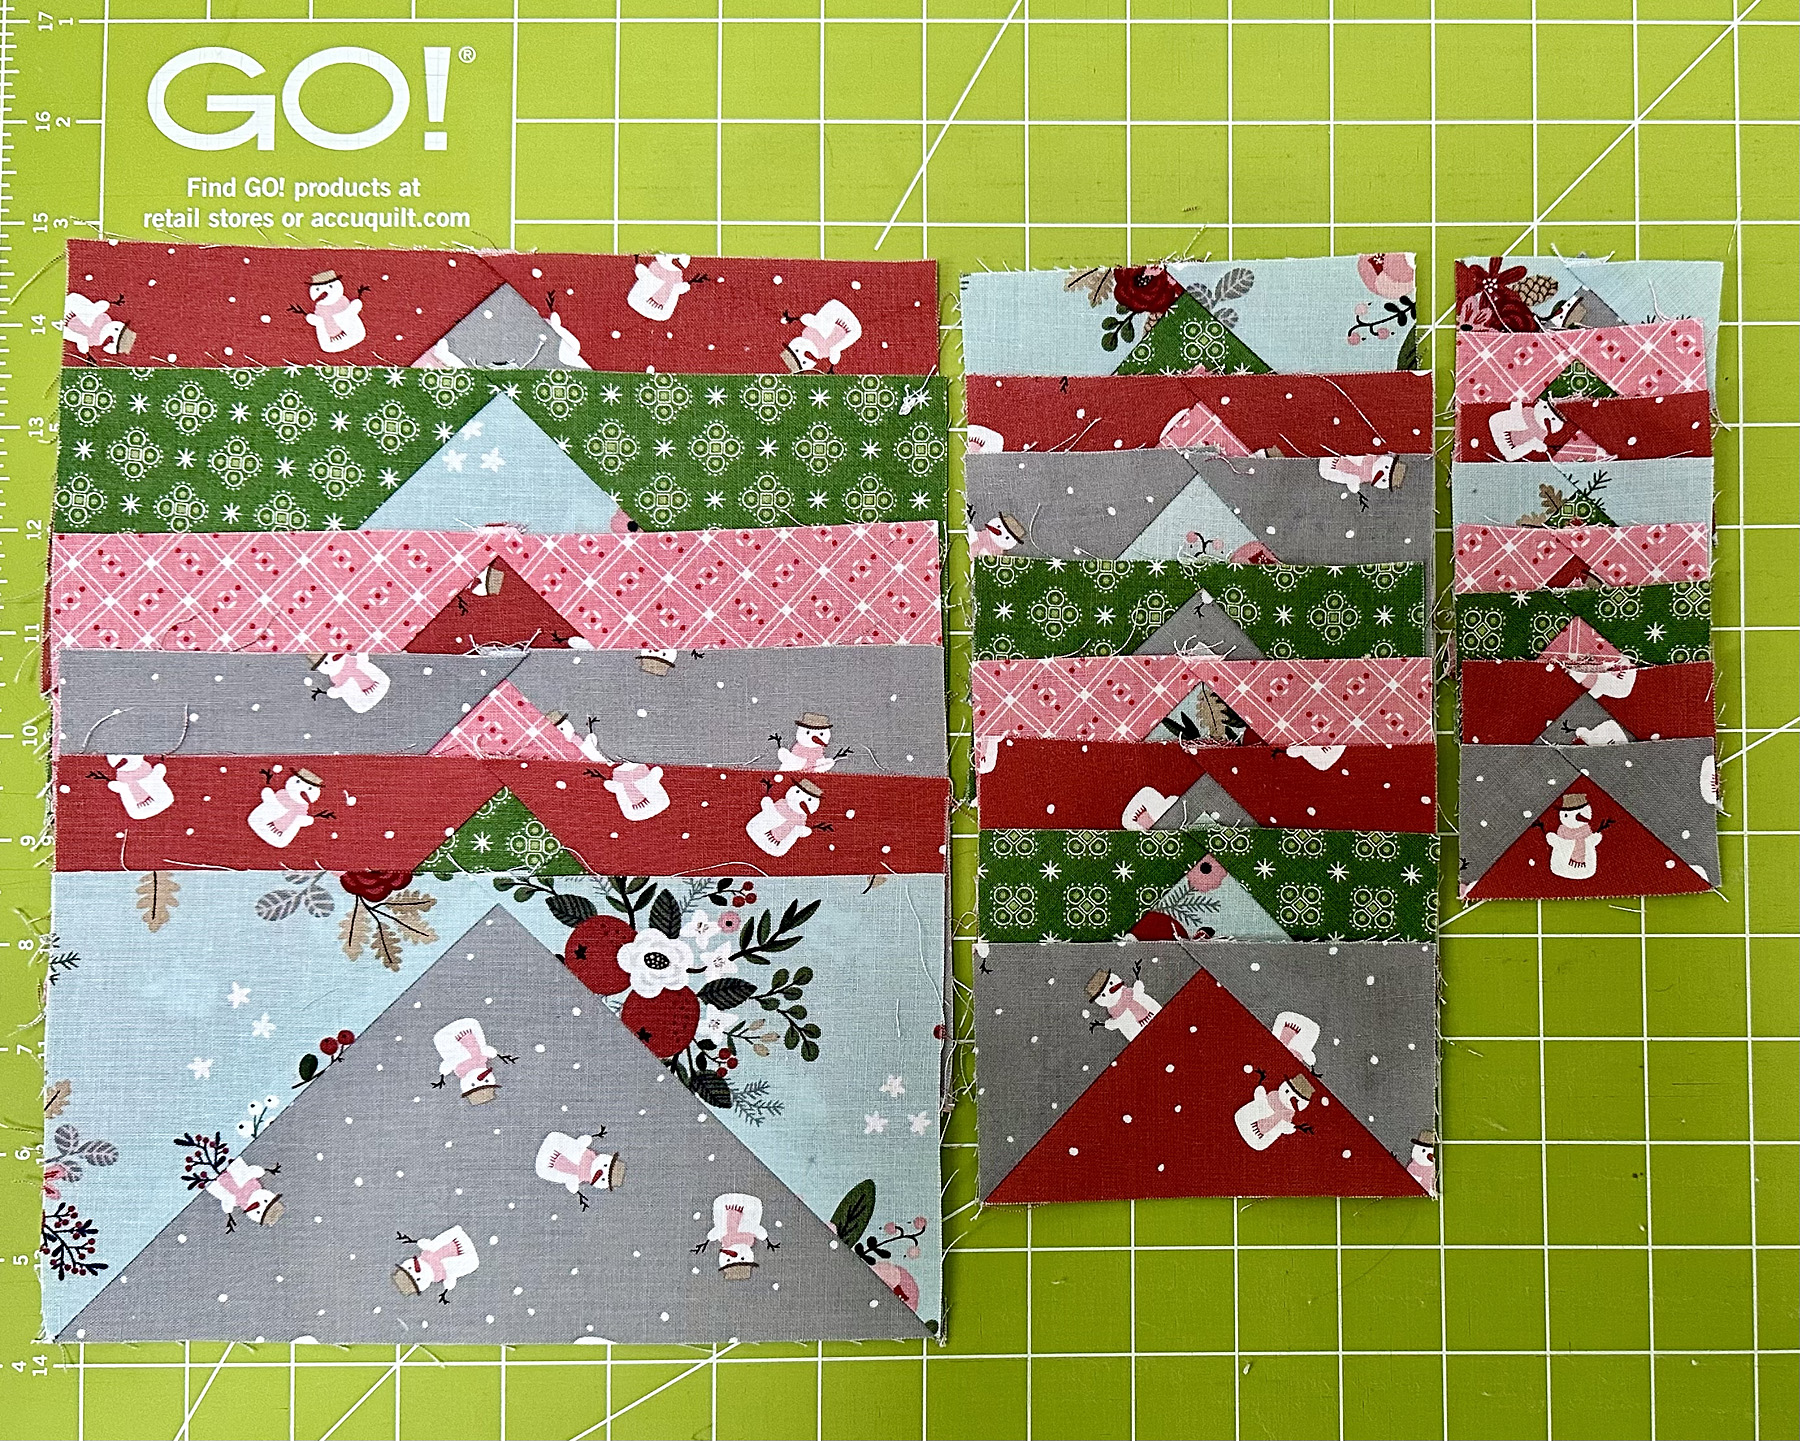
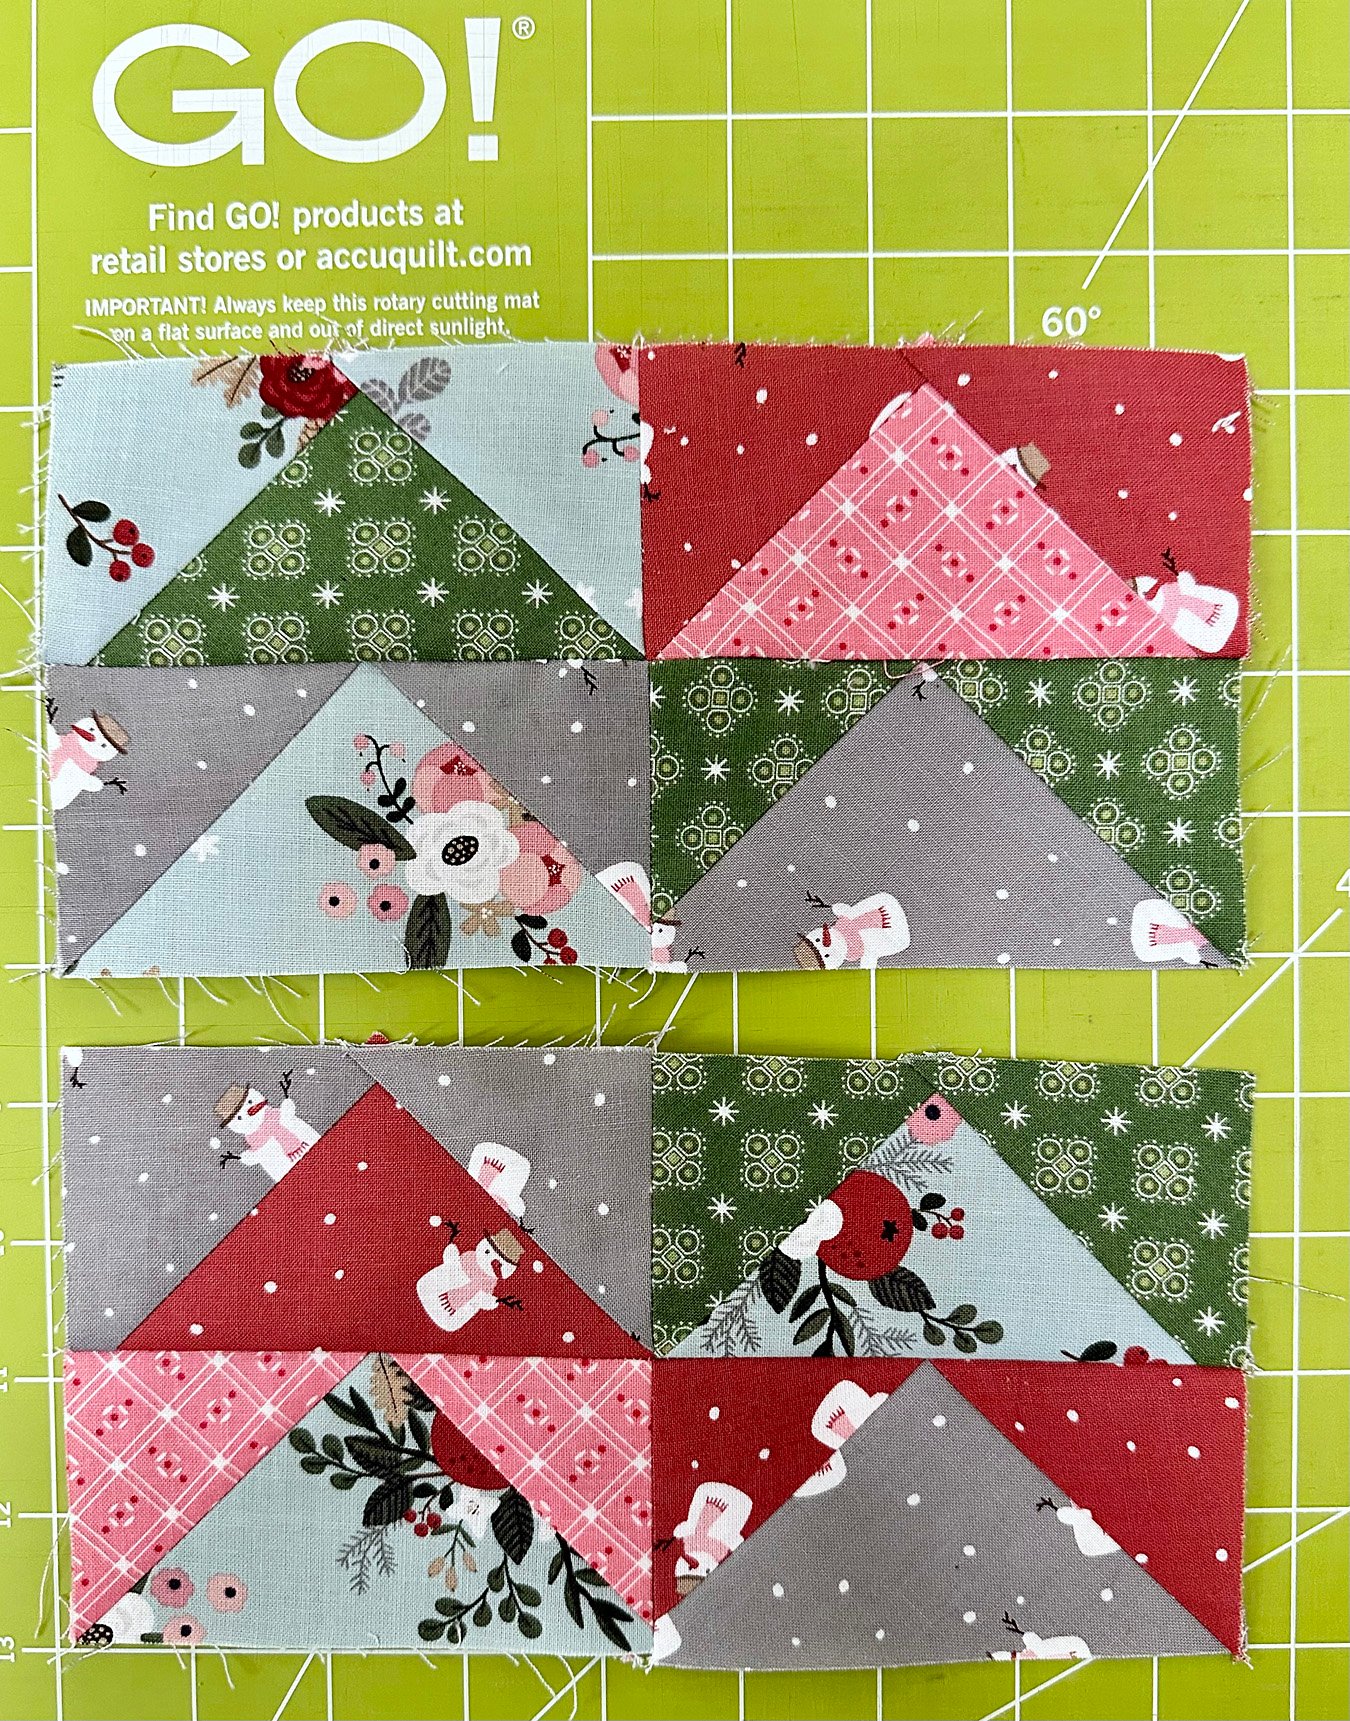
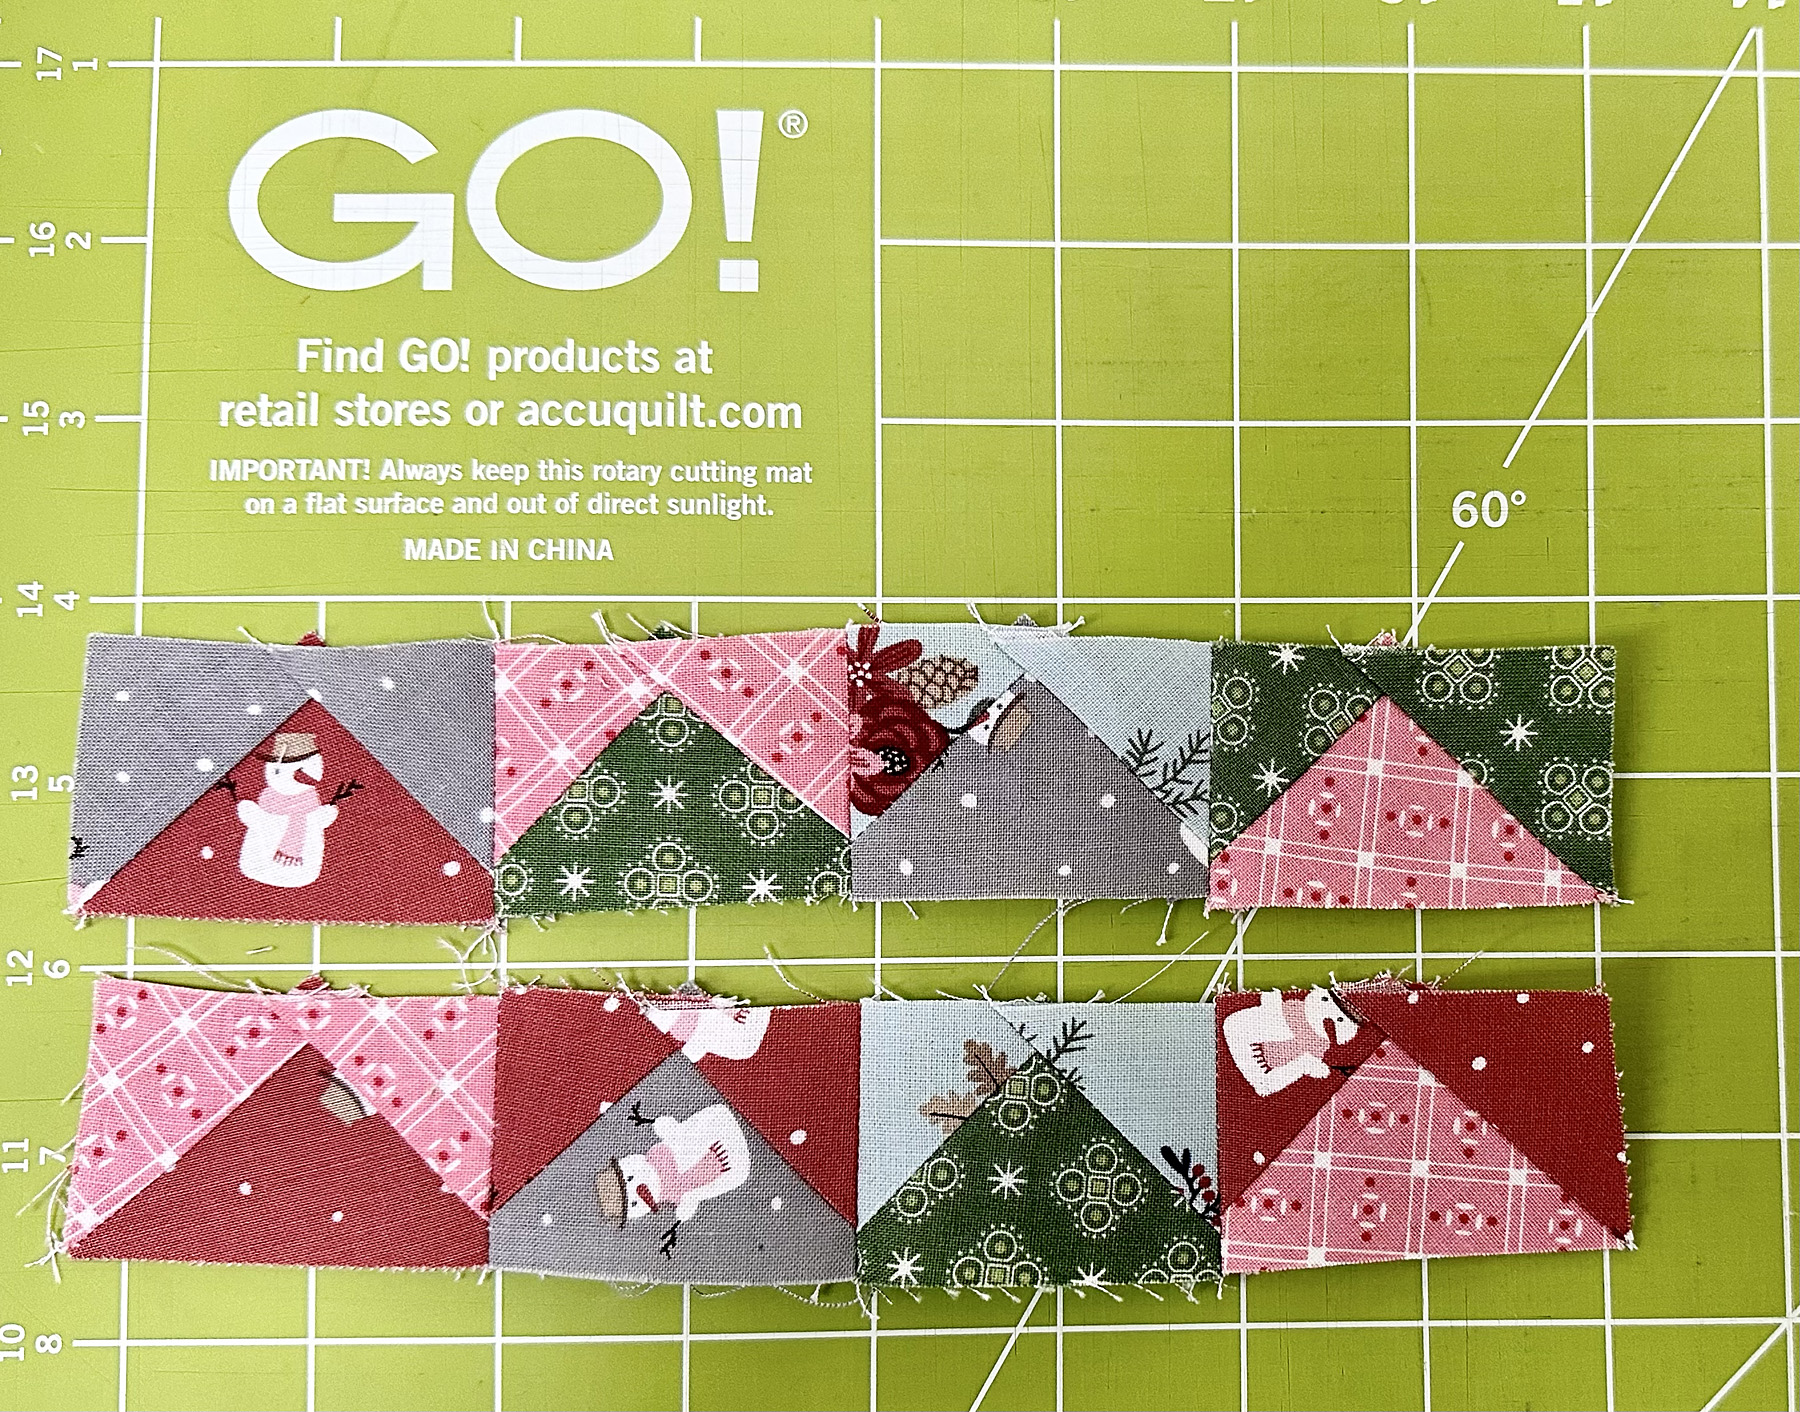
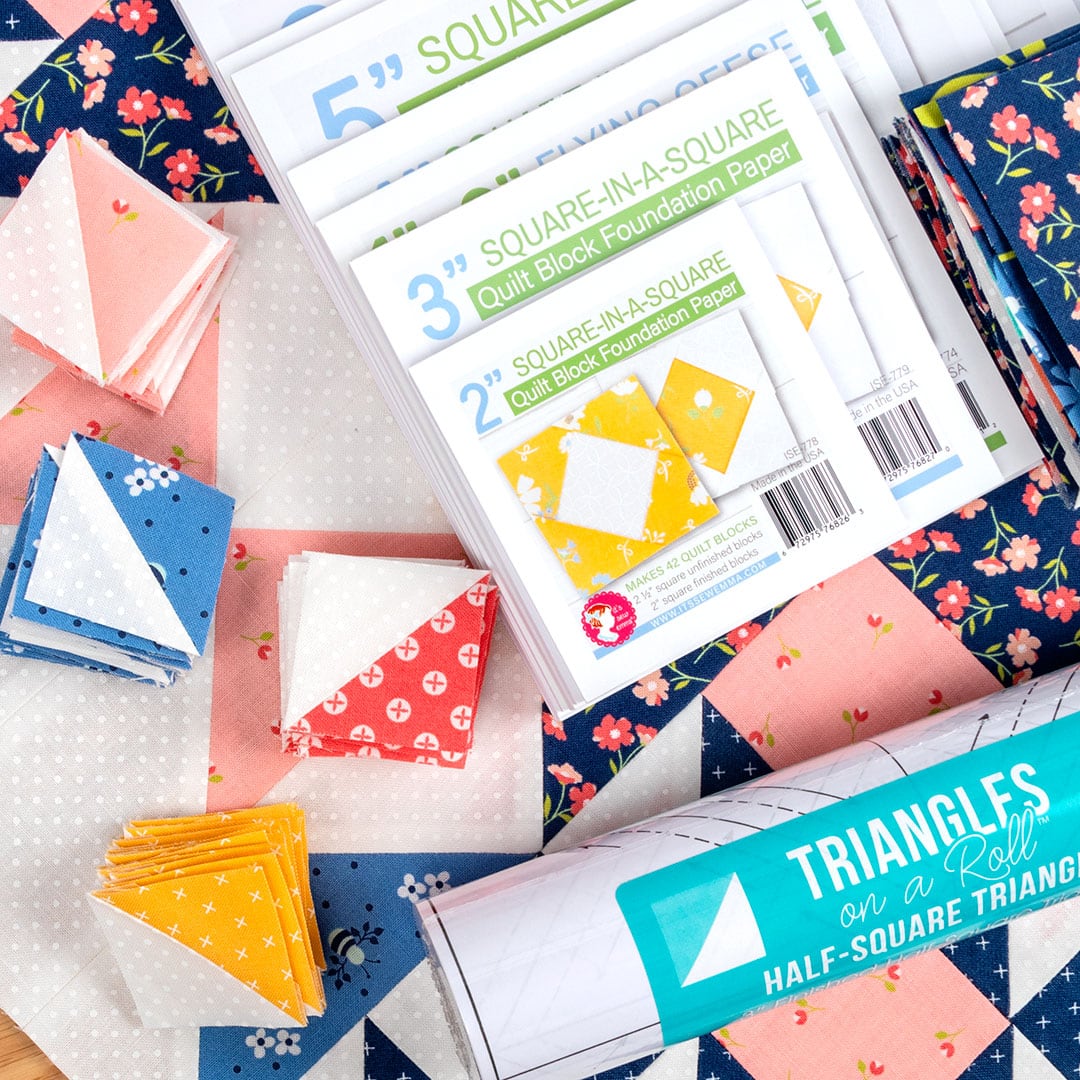
This month we are making two Block 1 blocks with lots of points! But no fear - there are few methods available for perfect points that are easy!
Half-Square Triangles Options:
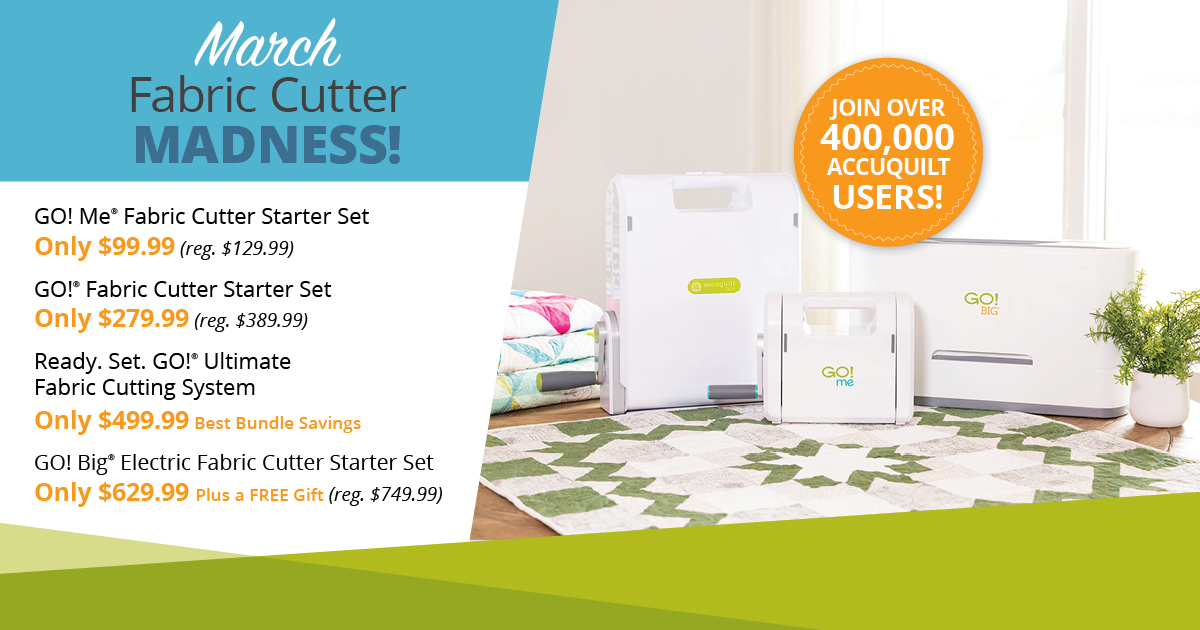
- AccuQuilt GO! 2" finished ( 2.5"unfinished) half-square triangle die (my preferred method)
- Bloc-loc 6.5" half-square triangle ruler
- Triangles on a Roll: 2" finished: (2.5" unfinished) half-square triangle paper
Barn Star Sampler Quilt Along Supplies:
clickable links below
- Barn Star Sampler Book: Fat Quarter Shop (available in March)
- Lori Holt Fabric Collections - pick your favorite prints!
OR Fat Quarter Shop has curated a fabulous bundle of happy fabric if you want to make your quilt just like Kimberly's. PS - it looks AMAZING!
I hope you decide to join in for Barn Star Sampler Quilt .... it's going to be amazing!!!


Be sure to follow me on Instagram @ABitofScrapStuff and on my A Bit of Scrap Stuff Blog for more fabric fun!
Have a great day and happy sewing / quilting!
Melanie
This post contains affiliate links. Thank you for supporting A Bit of Scrap Stuff. My family appreciates it!