

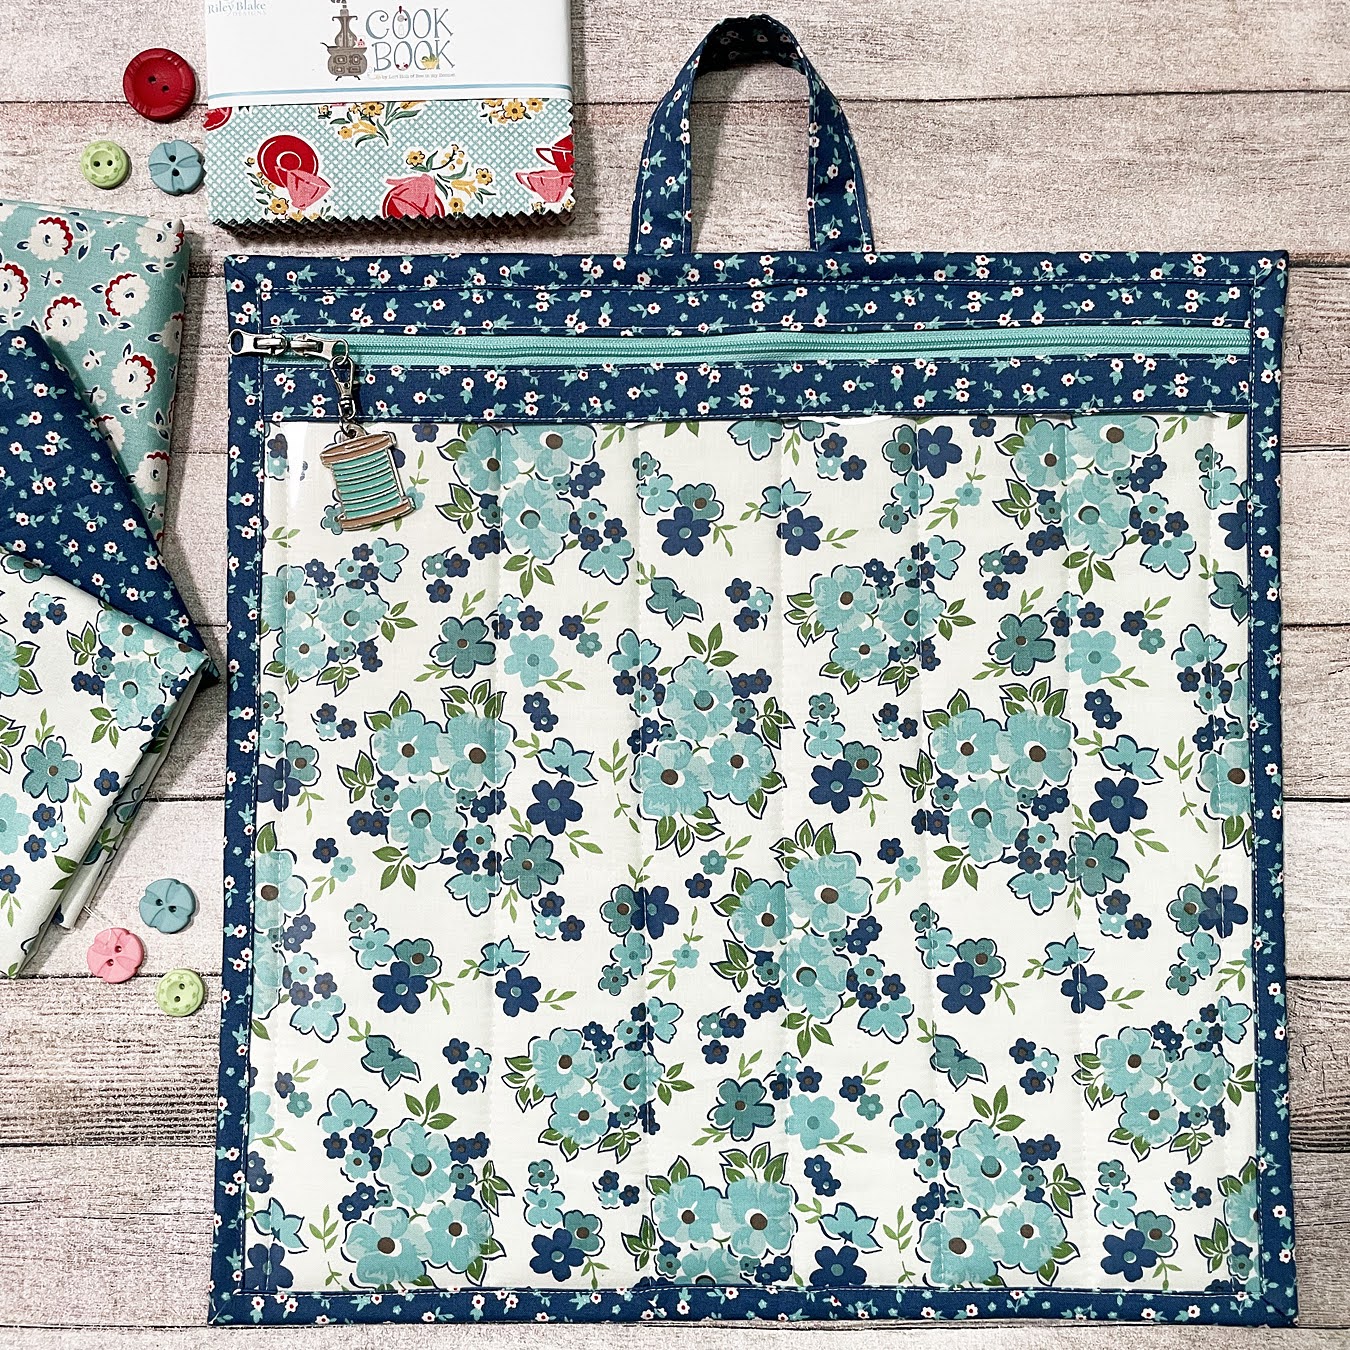
Hi Friends! Today I'm sharing a tutorial on making a Vinyl Project Bag on the Janome Blog and here too! I absolutely love Vinyl Project bags as they are perfect for storing sewing/quilting/cross stitch/ embroidery projects PLUS they are perfect for travel and for kiddos to store all of their treasures. The vinyl front makes it easy to know what is inside your bag... plus no raw fabric seams!
I will be creating this project on my Janome M7 - which is SEW fabulous! I've been sewing on this machine for almost 3 years and I love how easy it is to use and it stitches beautifully.
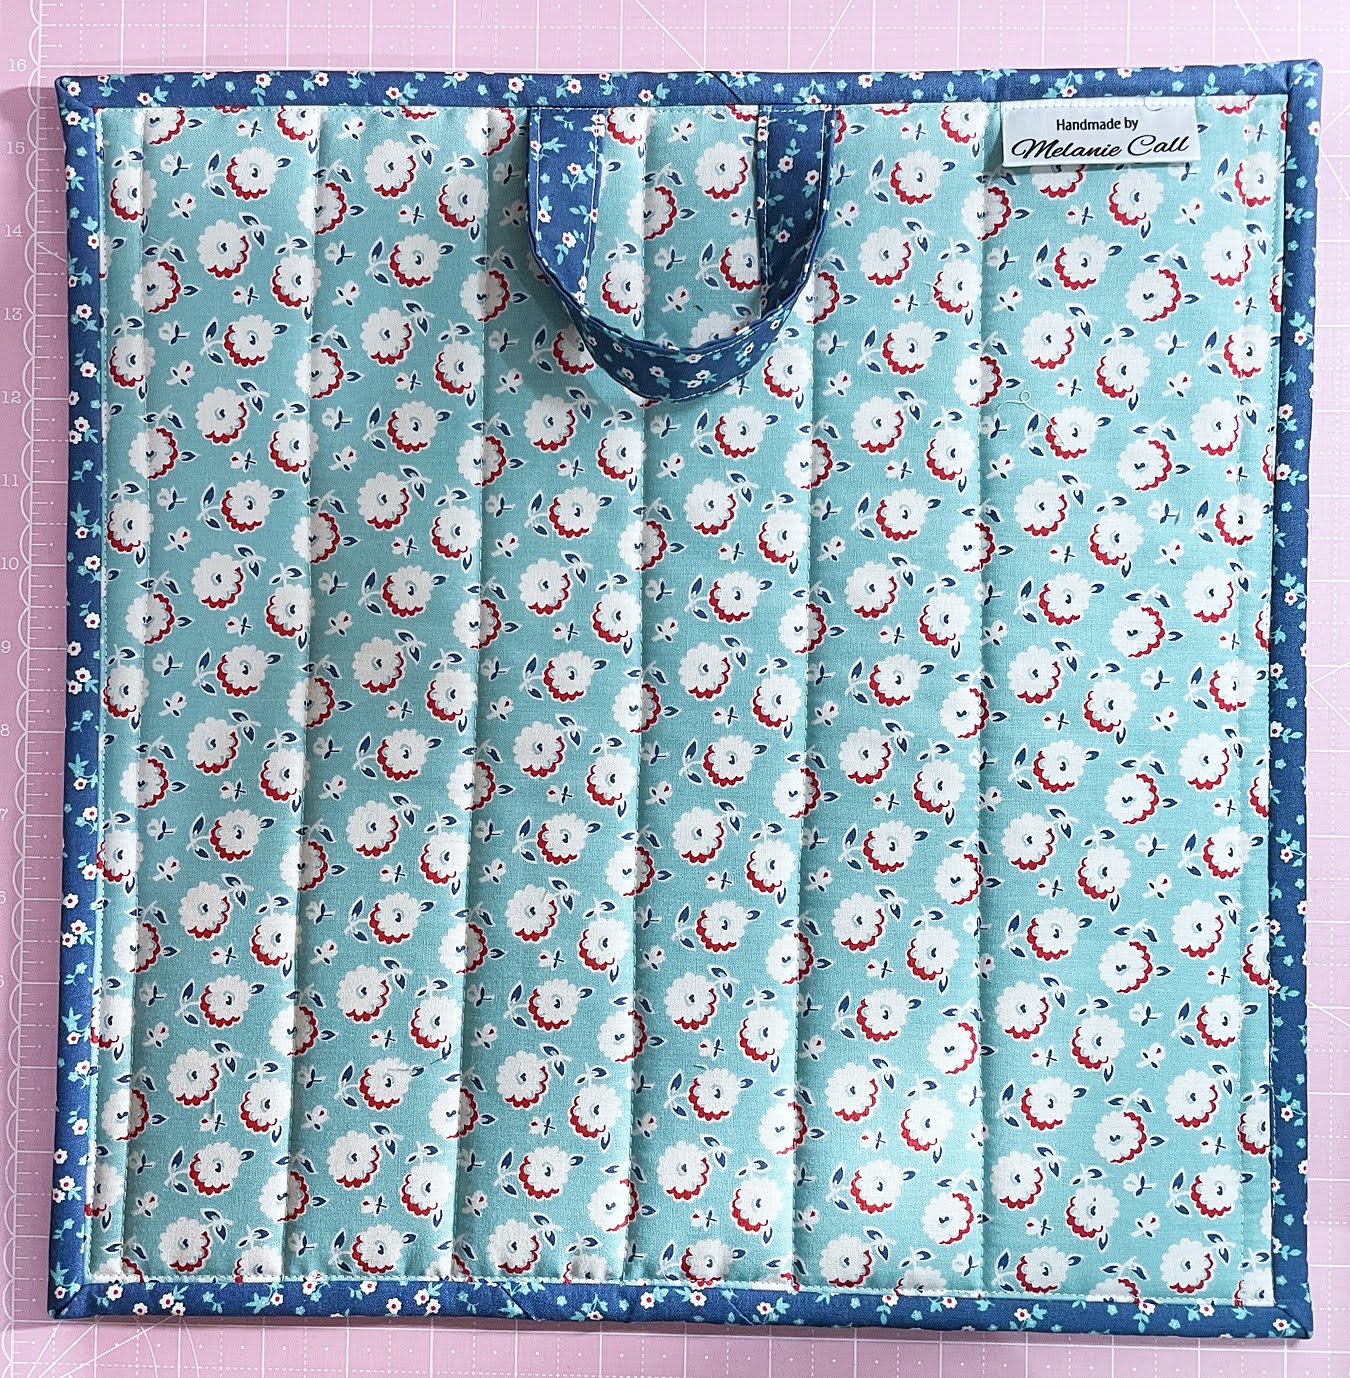
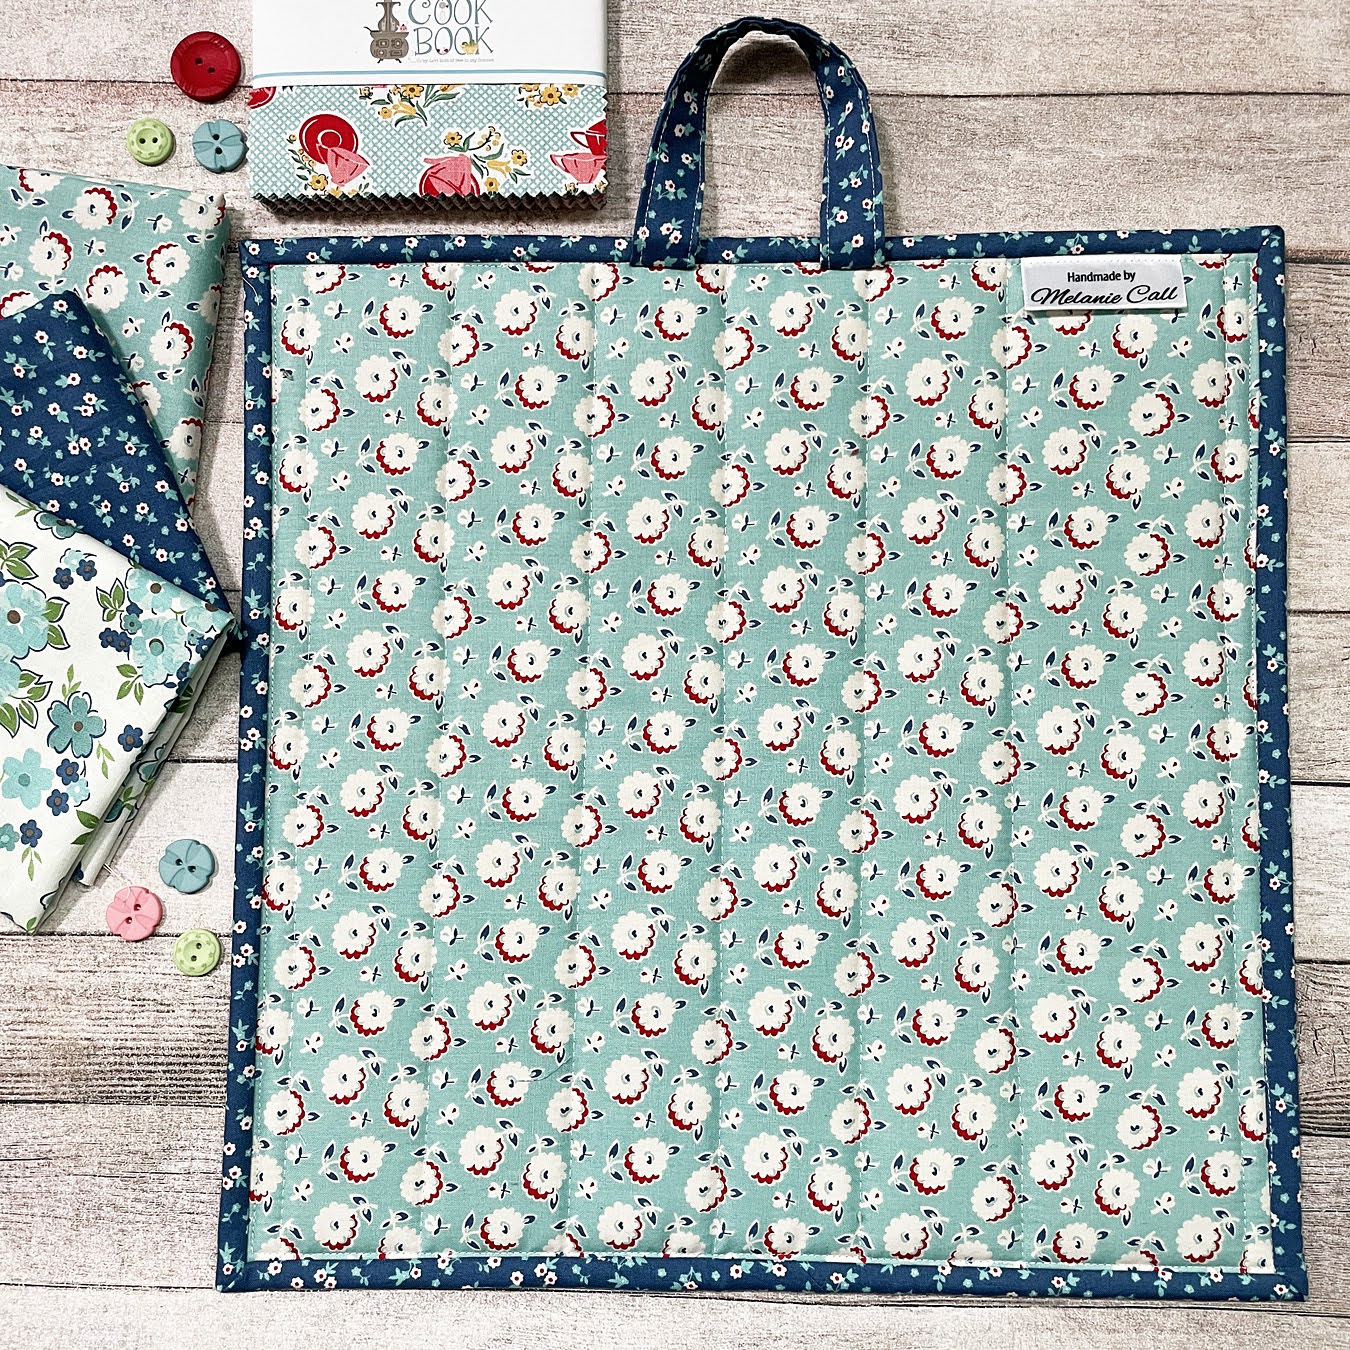
Tutorial - Vinyl Project Bag 14.5" x 14.5"
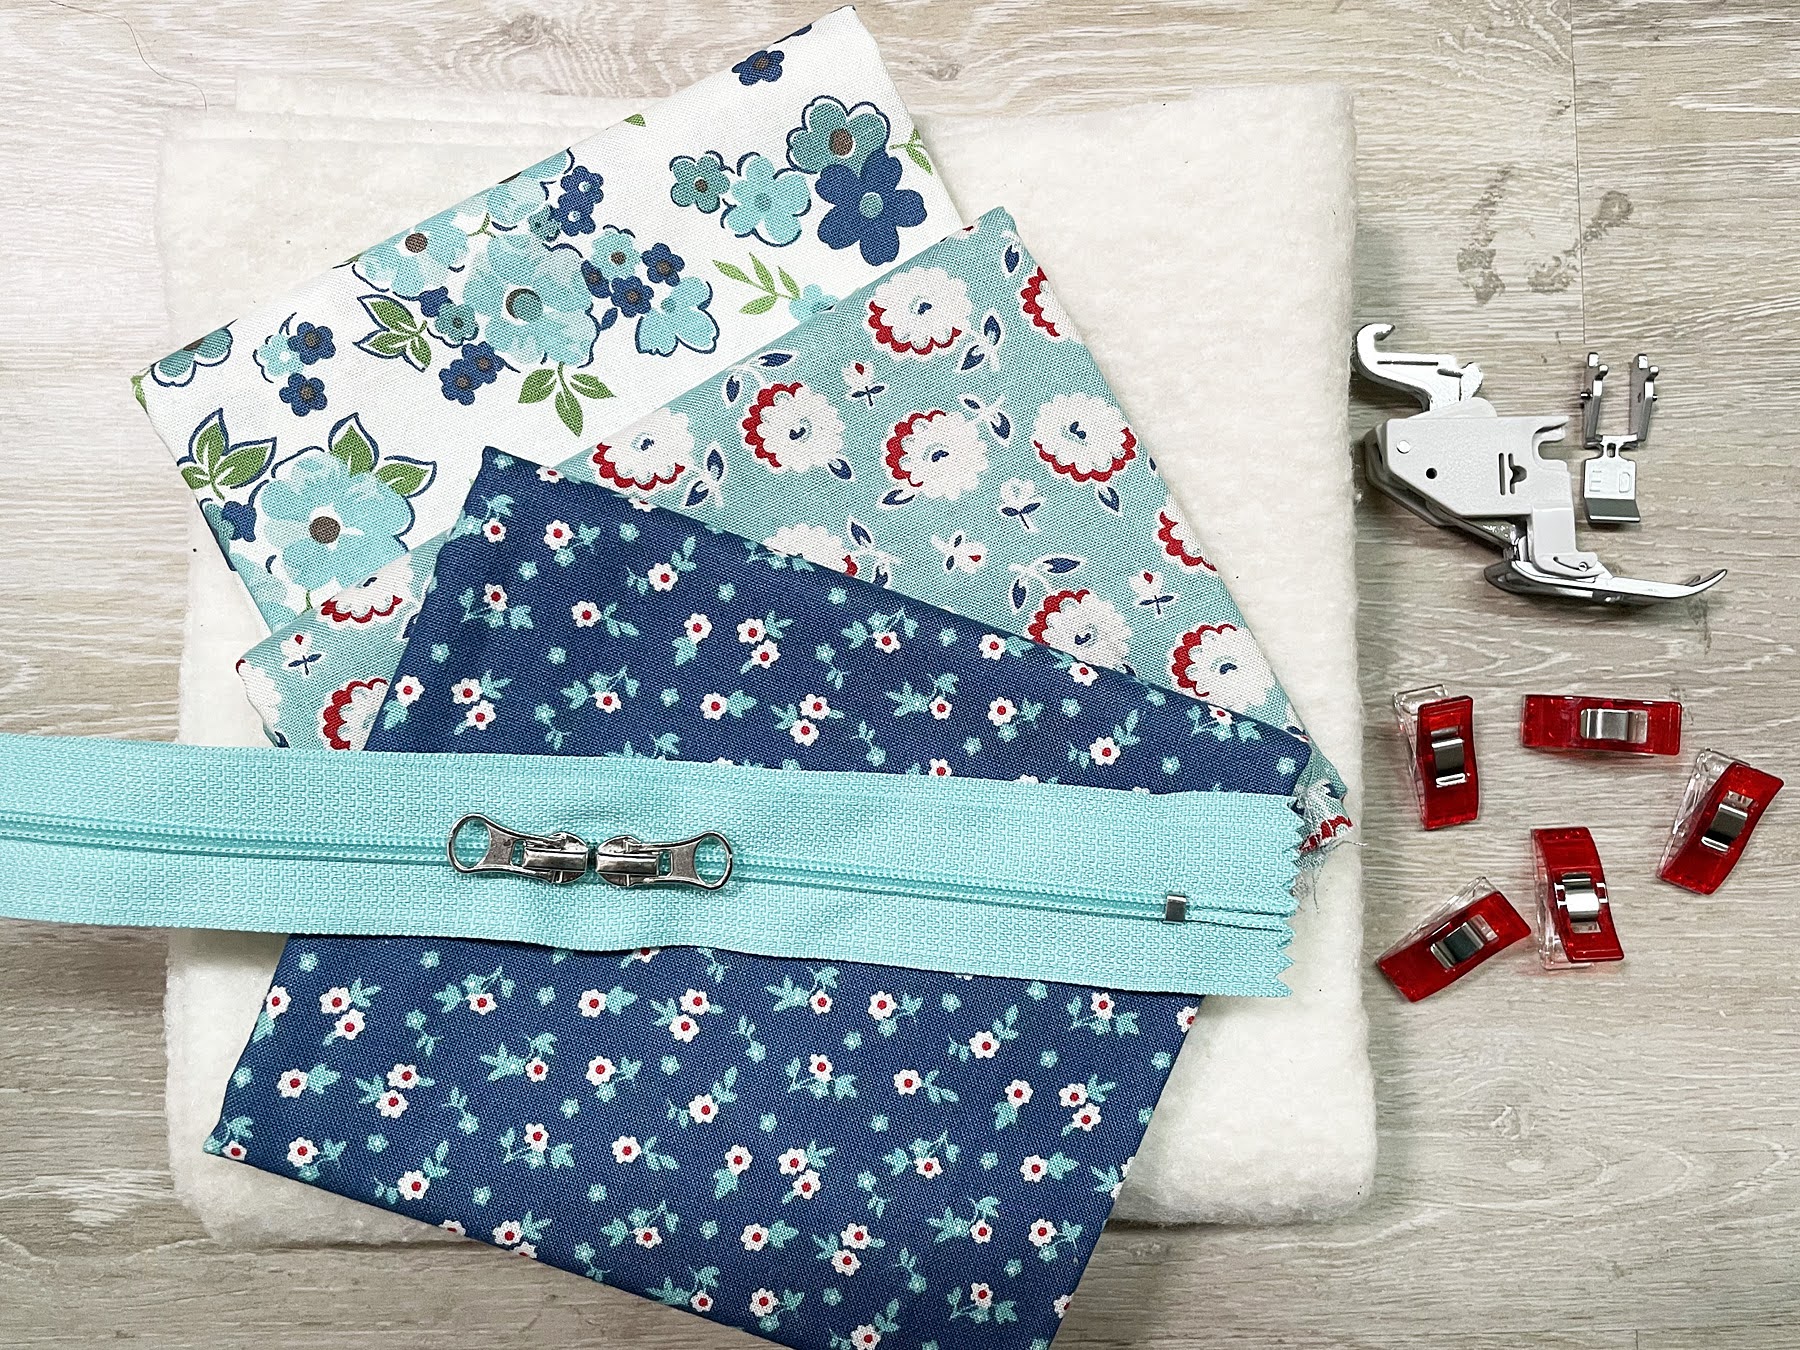
Supplies
- 2 Fat Quarters = (1) Bag Front, (1) Bag Back
- 1/2 Yard = Zipper Fabric, Handle, Binding
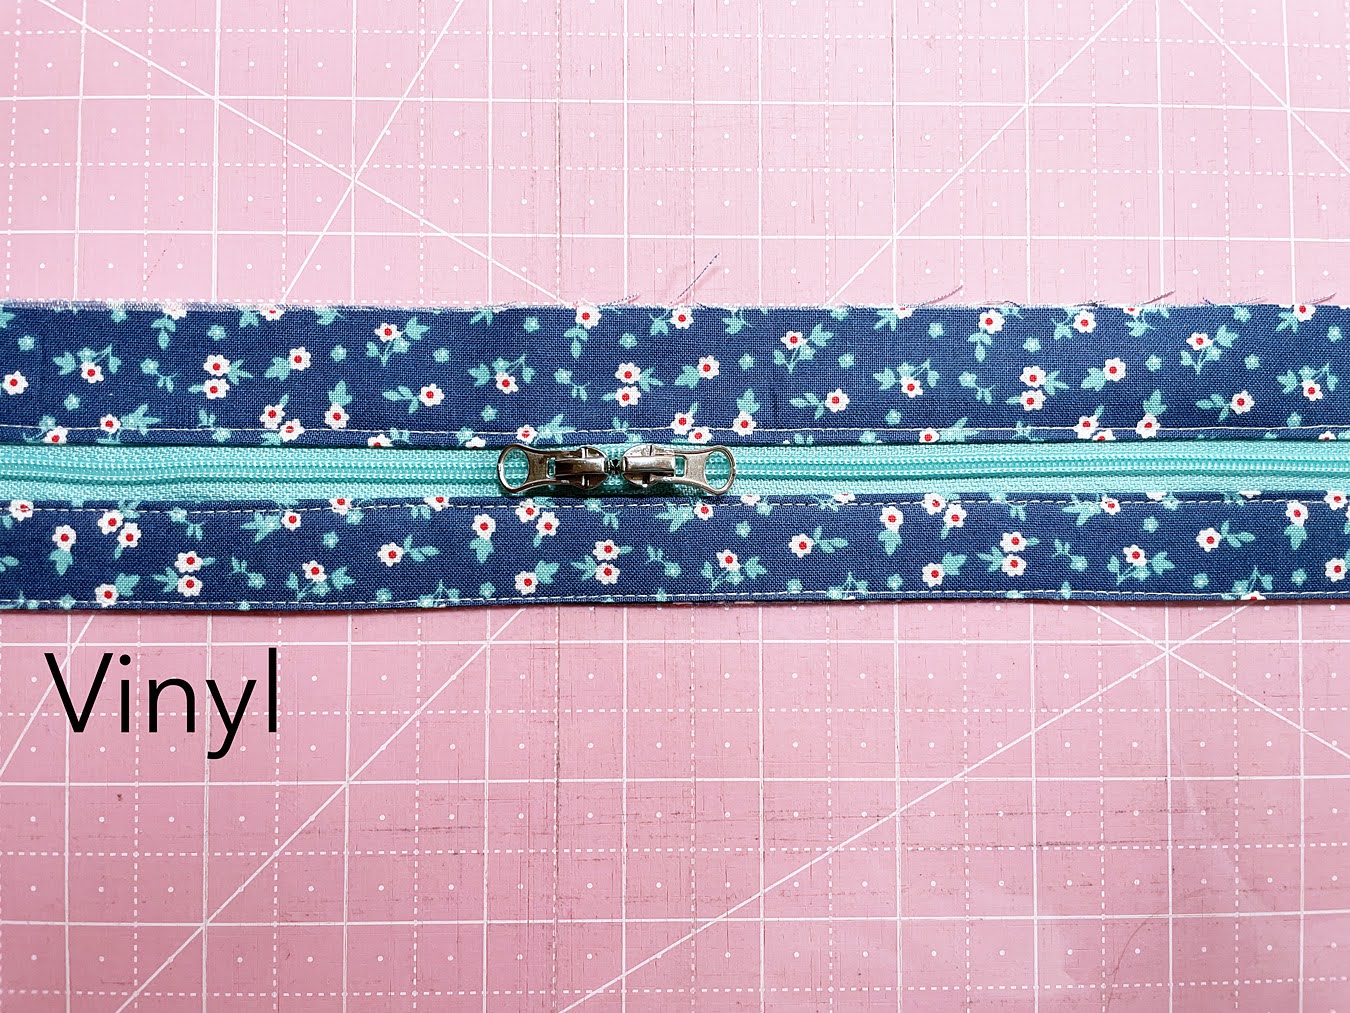
- 14.5" x 14.5" Vinyl (I prefer 16 gauge)
- 16" Nylon Zipper
- 16" x 16" Scrap Batting OR Soft n Stable OR Pellon Fusible Fleece
- Wonderclips
- Optional - Wonder Tape 1/4" (double sided adhesive)
- Bag Front (1) 16" x 16"
- Bag Back (1) 16" x 16"
- Batting (1) 16" x 16" - If I want my bag to have a bit more support I will use (2) layers of batting - this makes it similar to Soft n Stable, but I can use my batting scraps
- Vinyl (1) 14.5" x 14.5"
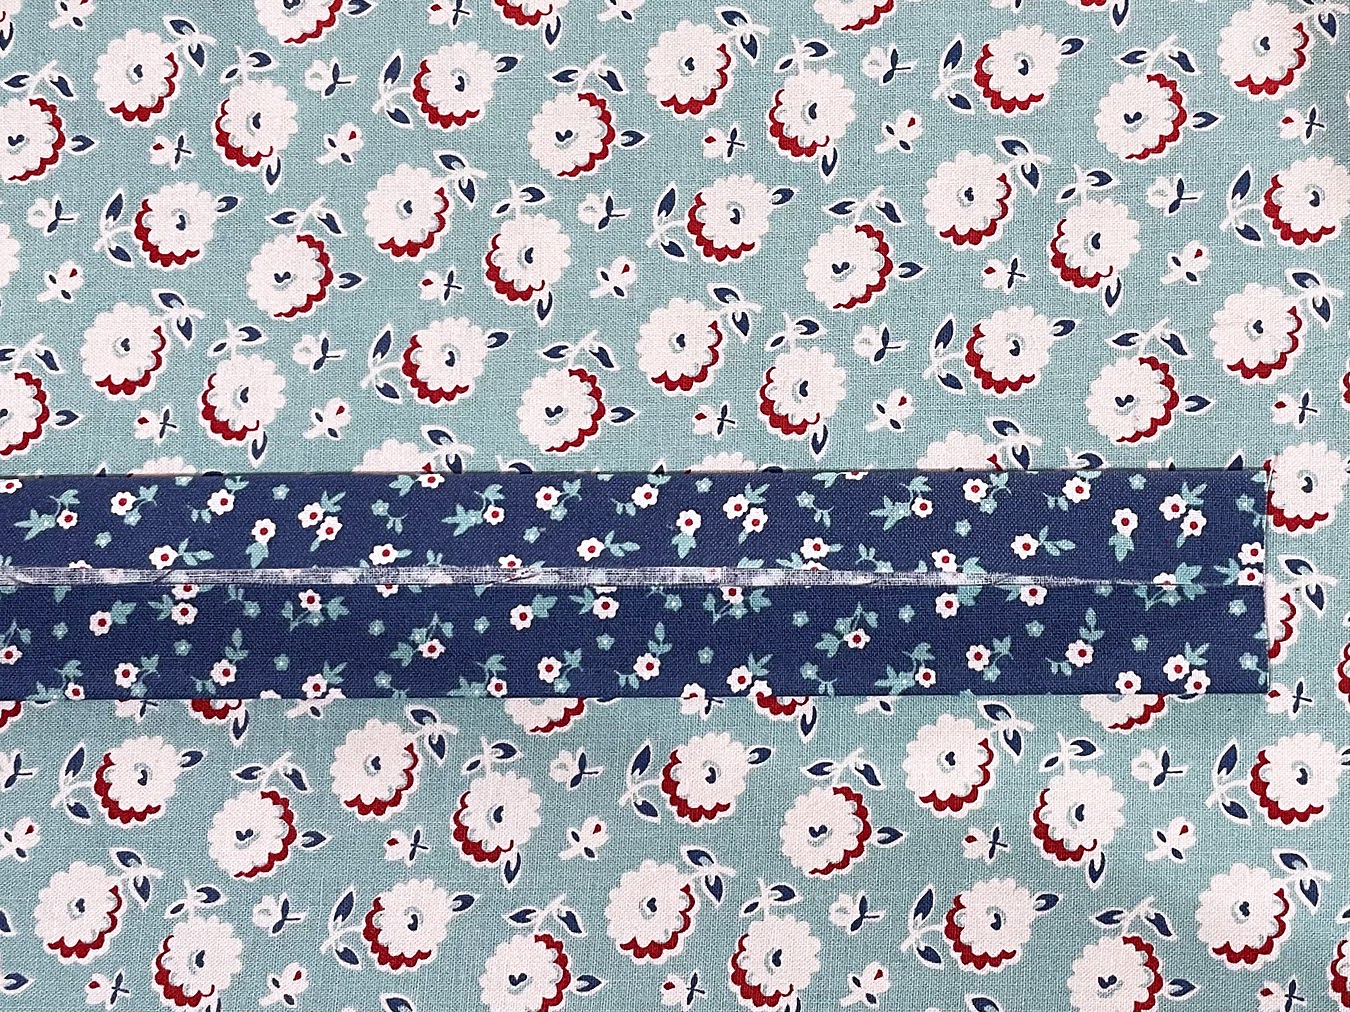
- Zipper Fabric Bottom (1) 3" x 14.5"
- Zipper Fabric Top (1) 2" x 14.5"
- Handle (1) 4" x 9"
- Binding (2) 2.5" x 40"WOF
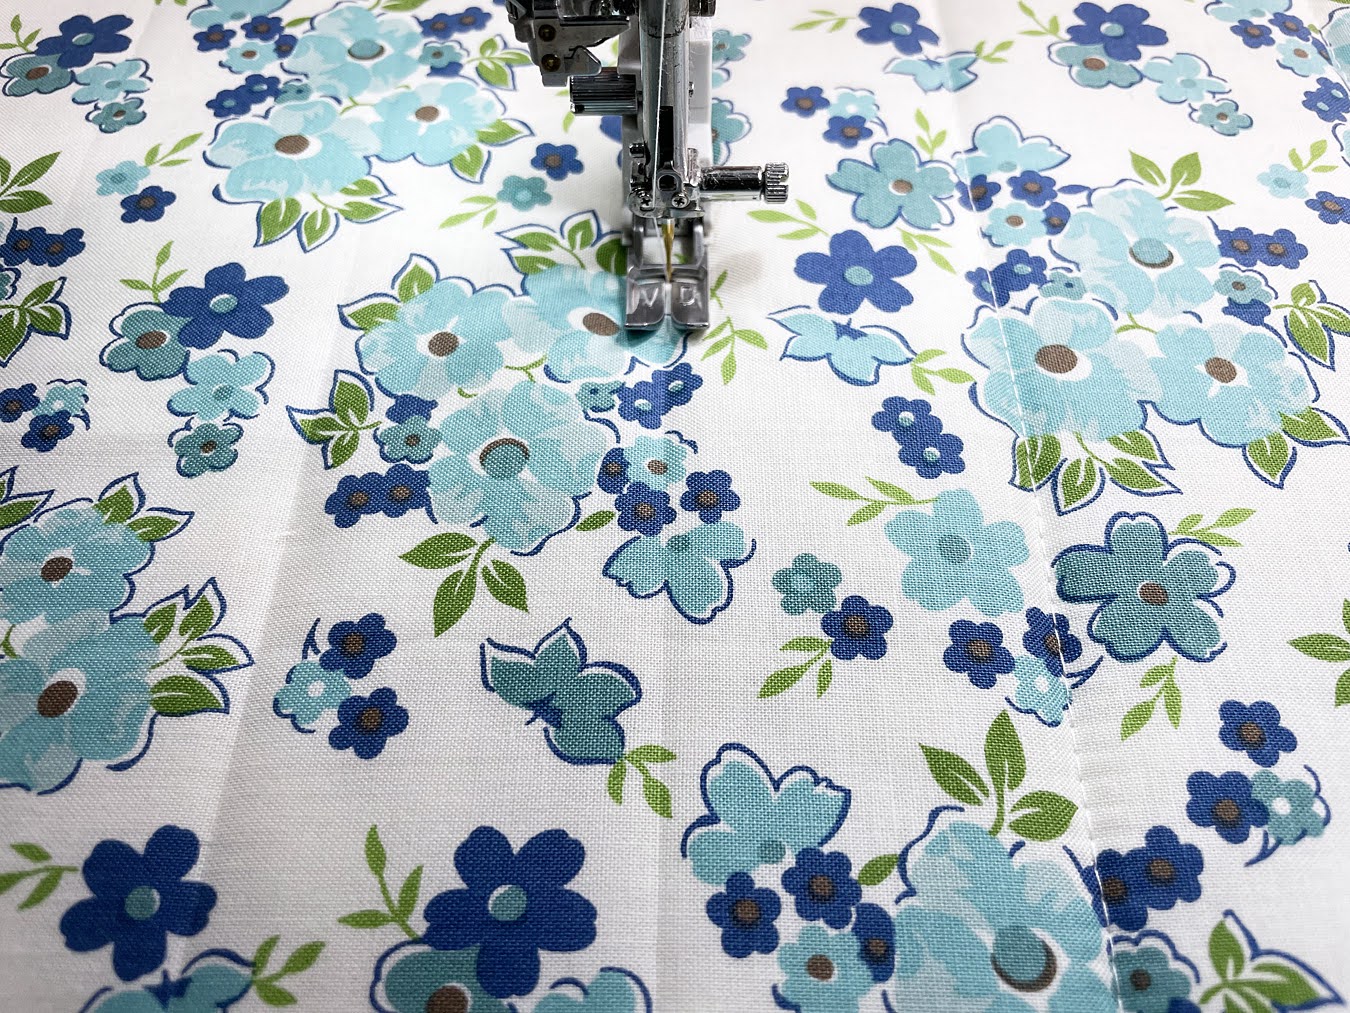
- Bag Front Fabric - right side facing up (TOP)
- Batting (MIDDLE)
- Bag Back Fabric - right side facing down (BOTTOM)
2. Quilt as desired. I chose straight-line quilting 2" apart. I marked my quilting lines using a Hera Marker. I'm using the Janome 9mm AcuFeed Foot with Single Holder with stitch length 3.5.
- Iron Fabric in half to create a crease line in center of fabric strip
- Bring fabric edge to center crease line and press
- Repeat with other side


- Iron Fabric in half to create a crease line in center of fabric strip
- Bring fabric edge to center crease line and press
- Repeat with other side
- Fold closed so raw edges are hidden. Handle measures 1" x 9"

- Top stitch both sides of bag handle.


I have been wanting to make a vinyl project bag for the longest! Thanks so much for the tutorial, it doesn't seem to be above my skill level.
ReplyDeleteThank you! I needed this to organize my materials for a class, so I made it. So happy😀
ReplyDeleteThank you so much for this easy to follow pattern. I just made my 4th project bag to hold another lap quilt project. I use 3 fat quarters and use the scraps for other small projects. So much fun.
ReplyDeleteI enjoyed making this bag, also created a slightly smaller size. Thank you for the tutorial.
ReplyDelete