Showing posts with label Quilt Tutorial. Show all posts

Saturday, January 21, 2023

EASY Grandmother's Garden Quilt - TUTORIAL

 EASY Grandmother's Garden Quilt - TUTORIAL

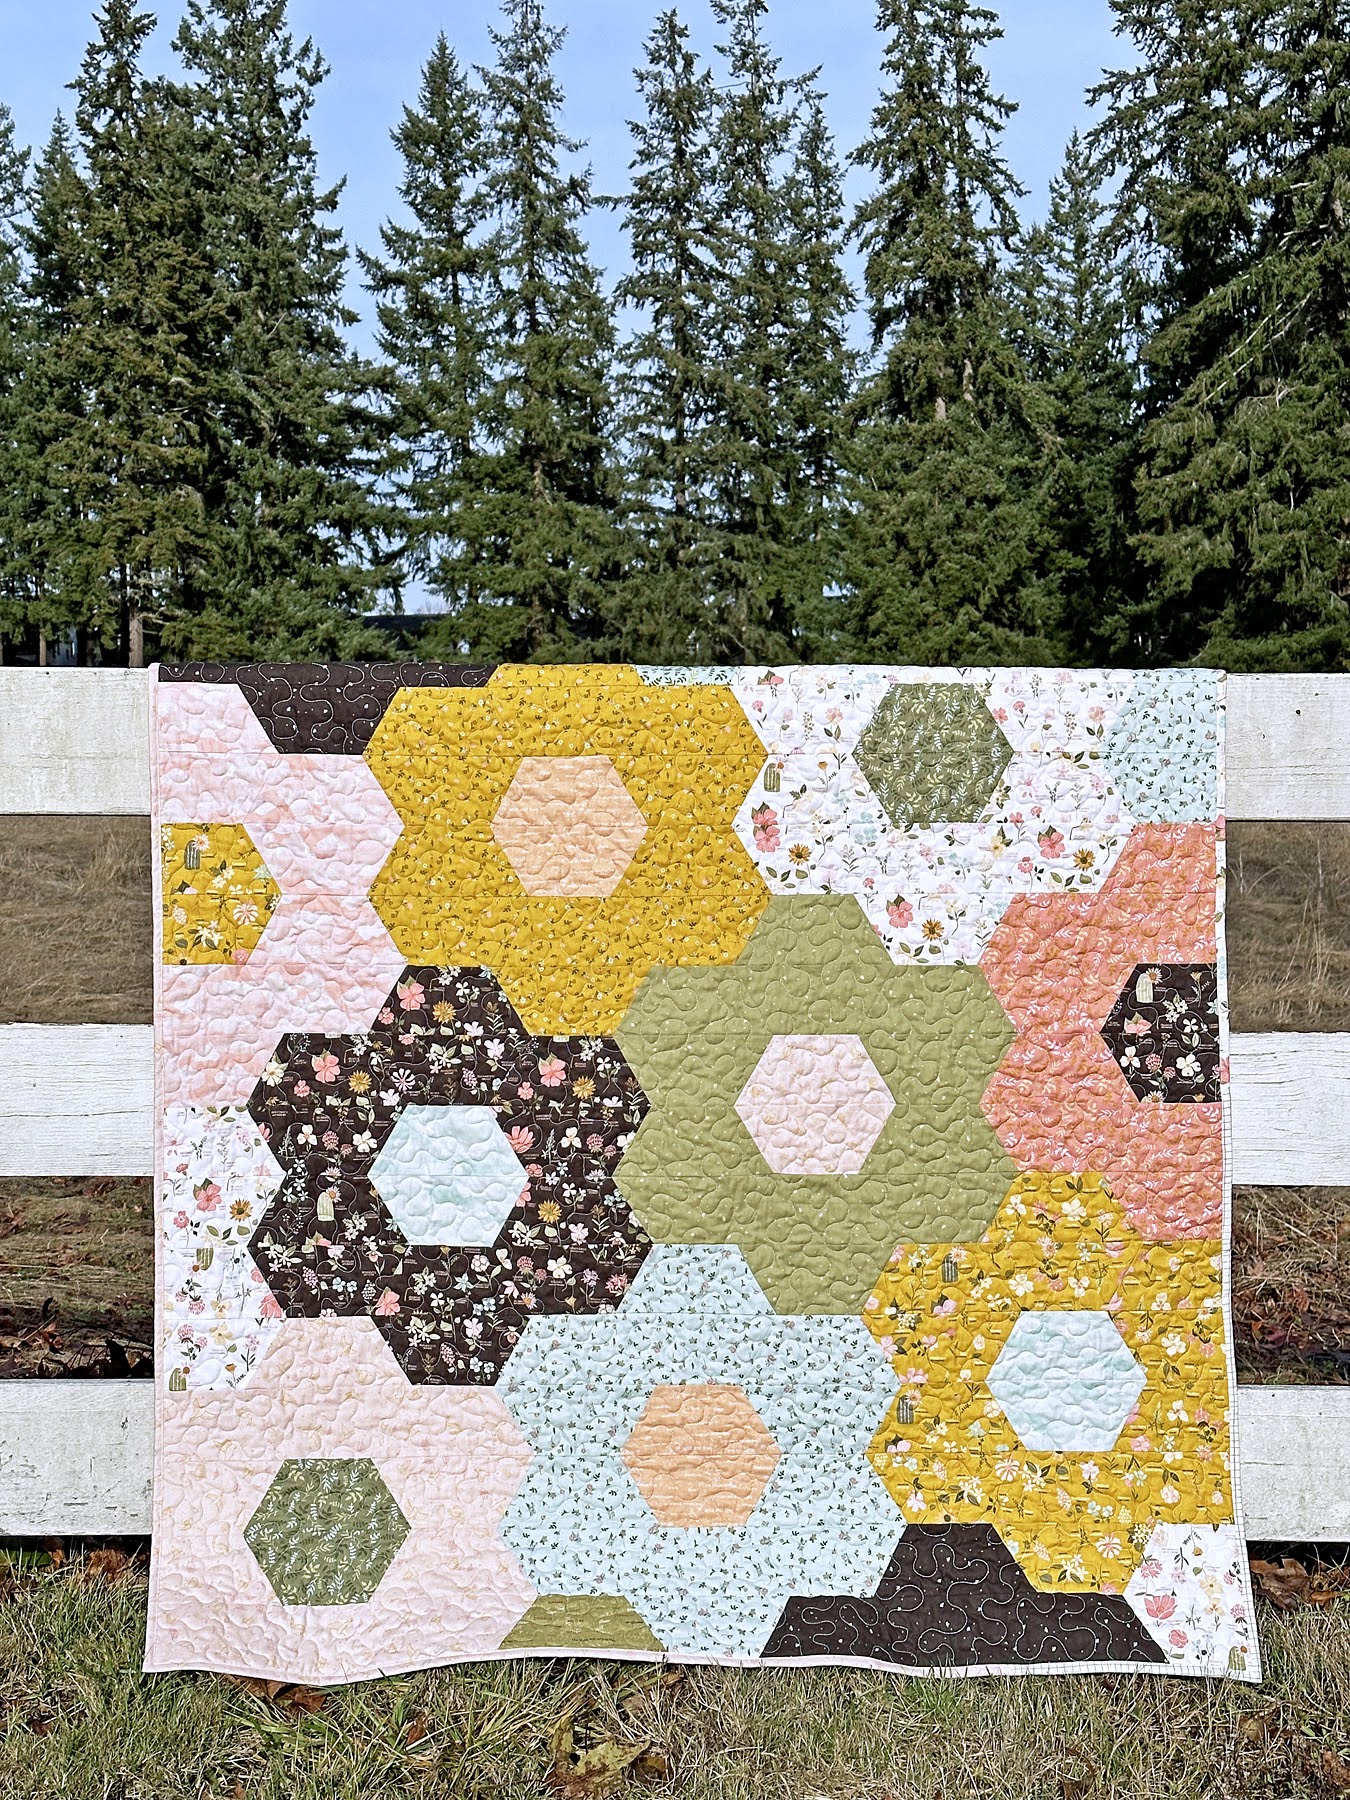
Hi Quilty Friends! Today I'm sharing my EASY Grandmother's Garden Quilt (keep on reading for the free tutorial) with the gorgeous Wild and Free Collection designed by Gracey Larson for Riley Blake Designs.  

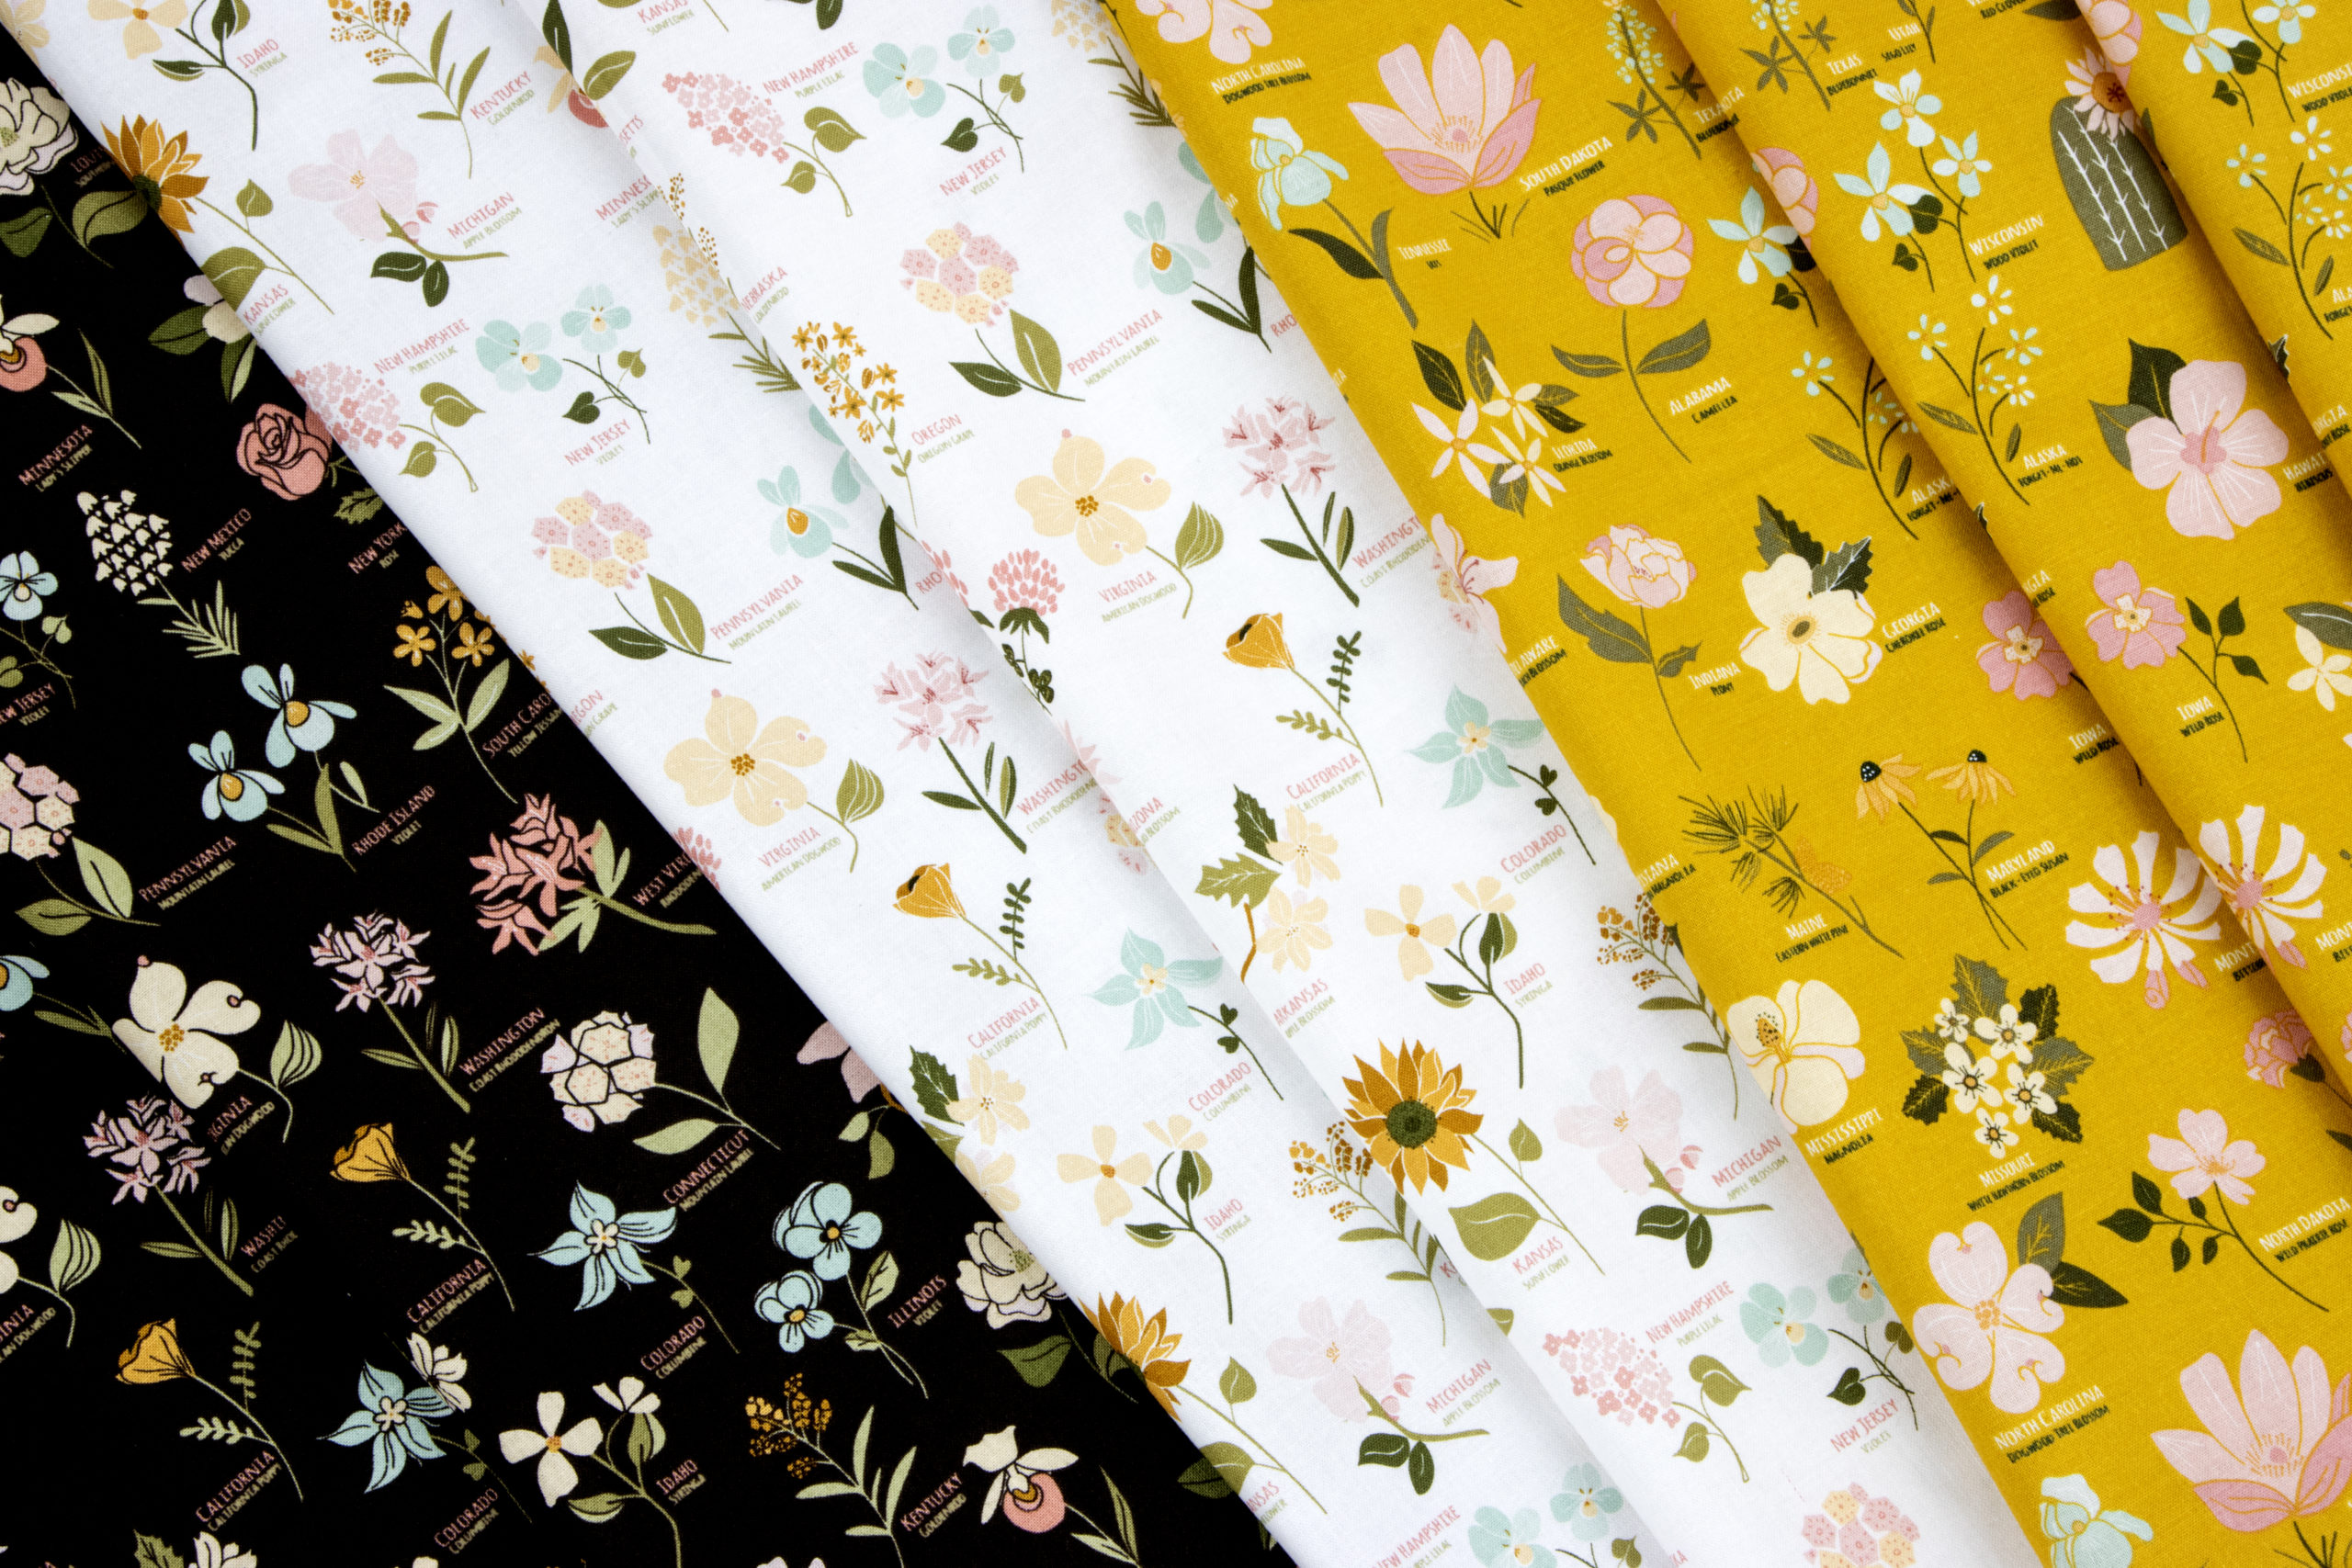
The Wild and Free Main print (below) is my FAVORITE because Gracey has drawn all 50 state flowers!!! This collection is both beautiful and educational! PS- the Wild and Free Panel is a must as it is a map of USA with all the states and their flower!
I knew I wanted a to make quit a with a floral design and I love a Grandmother's Garden Quilt, but hand sewing hexagons together would take me forever and sewing y-seams is stressful. So I used my AccuQuilt GO! Half-Hexagon die to make my quilt EASY with no hand sewing or y-seams!

Accuquilt Dynamic Promo


EASY Grandmother's Garden Quilt Tutorial 

53.5" x 63.5" Quilt

Supplies:

  • (12) 1/2 yards : Wild and Free designed by Gracey Larson
  • (5) 1/4 yards: Wild and Free designed by Gracey Larson
  • 0.625 yard binding: Wild and Free designed by Gracey Larson
  • 3.5 yards Backing OR (1) Wild and Free Panel with extra (1) yard of Wild and Free Main Print plus left over fabrics
  • AccuQuilt GO! Half-Hexagon 4 1/2" sides die
  • AccuQuilt GO! Cutter (if using AccuQuilt GO! die for cutting)

Note: If you do not have an AccuQuilt GO! or GO! Half-Hexagon die – try using Lori Holt Hexie Half Ruler Set. Just use the larger size ruler. Your quilt size may vary slightly from mine.


Cutting Instructions

  • Cut each 1/2 yard print into (3) 4 1/2" x WOF strips, then cut (12) half-hexagons with your AccuQuilt GO! Half Hexagon 4 1/2" Sides Die  from each print. (Total of 144 half-hexagons)
    • Each 4 1/2" x WOF Strip will cut (4) half-hexagons
  • Cut each 1/4 yard print into (1) 4 1/2" X WOF strip, then cut (4) half-hexagons with your AccuQuilt GO! Half Hexagon 4 1/2" Sides Die from each print.  (Total of 20 half-hexagons)
  • There will be a total of 164 half-hexagons cut. Quilt requires 162 half-hexagons.
    • Each full flower requires (12) half-hexagons for petals and (2) half-hexagons for flower center.
    • Don't worry - it's super quick to cut the half-hexagons as your AccuQuilt GO! Cutter does all the work for you! Plus you can cut 6 layers of fabric at a time - yay!
  • Cut (6) 2.5" x WOF binding strips.

Note: If you do not have an AccuQuilt GO! or GO! Half-Hexagon die - try using Lori Holt Hexie Half Ruler Set. Just use the larger size ruler. Your quilt size may vary slightly from mine.

Quilt Assembly


  • Arrange your half-hexagons in your desired layout. Don't worry about the hexagon edges on the quilt sides, we will be trimming them off. No need to panic- it's just a tiny bit of trimming off so there isn't much waste at all. 
  • Layout should be (9) half-hexagons across (horizontal) and (18) half-hexagons down (vertical).

Sewing

  • Begin sewing horizontal rows together. Sew (2) half-hexagons short sides, right sides together with 1/4" seam. AccuQuilt has already trimmed the corners of your blocks so they are easy to line up and sew together. Continue until entire horizontal row has been sewn together.

Row 1


Row 2

  • Continue sewing all (18) horizontal rows as shown above. Be careful to pay attention to placement of half-hexagons.
  • Next sew Row (1) and Row (2) together with a 1/4"seam. I did pin each point as I like perfect points :).
  • Repeat sewing rows together in numerical order until quilt top is complete.

Trimming Quilt

  • Using a ruler - trim the edges of the hexagons on the left and right edges of the quilt. I trimmed  at the intersection of the two fabrics. This will give your quilt straight edges and it will be so much easier to bind. See diagram below. EASY Grandmother's Garden Quilt will measure 53.5" x 63.5".


OPTIONAL (but awesome): Pieced Backing

The Wild and Free Panel is AMAZING! Plus I love a double sided quilt so I chose to use my left over fabrics for a fun pieced backing! 


I think this is a fun (and pretty) option to learn US Geography!!!


Quilt and Bind as desired


You did it! Now you have an EASY Grandmother's Garden Quilt with the gorgeous Wild and Free fabric to enjoy!!! Plus hooray for NO y-seams or hand sewing!!! I can't wait to see your quilt! 

Do you know your state's flower?????

Be sure to follow me on Instagram @ABitofScrapStuff and on my A Bit of Scrap Stuff Blog for more fabric fun!

Have a great day and happy sewing / quilting! 


Melanie 

Shop Fabric at Fat Quarter Shop


This post contains affiliate links. Thank you for supporting A Bit of Scrap Stuff. My family appreciates it!

Wednesday, March 24, 2021

Ahoy! Mermaids Clamshell Quilt + mini tutorial

A Bit of Scrap Stuff Blog #ABitofScrapStuff #RileyBlakeDesigns #AhoyMermaidsFabric #Quilt #Quilttutorial

Ahoy Quilty Friends! Today I'm sharing a mini tutorial for the easiest and cutest Clamshell Quilt ever! I used the absolutely darling Ahoy! Mermaids Collection designed by Melissa Mortenson for Riley Blake Designs.

A Bit of Scrap Stuff Blog #ABitofScrapStuff #RileyBlakeDesigns #AhoyMermaidsFabric #Quilt #Quilttutorial

Ahoy! Mermaids is a cute nautical themed collection complete with mermaids and metallic prints! The Clamshell Cheater Panel is perfect as all there is no curved piecing and the gold is printed metallic.  I loved using the Ahoy! Mermaids Main print for the border as mermaids are a must for this cute quilt!

A Bit of Scrap Stuff Blog #ABitofScrapStuff #RileyBlakeDesigns #AhoyMermaidsFabric #Quilt #Quilttutorial

Ahoy! Mermaids Clamshell Quilt 43.5" x 54"

Supplies:
A Bit of Scrap Stuff Blog #ABitofScrapStuff #RileyBlakeDesigns #AhoyMermaidsFabric #Quilt #Quilttutorial


Ahoy! Mermaids Clamshell Quilt Mini Tutorial

A Bit of Scrap Stuff Blog #ABitofScrapStuff #RileyBlakeDesigns #AhoyMermaidsFabric #Quilt #Quilttutorial

Cutting Instructions:
  • Clamshell Panel - Cut 32.5" x 43"
  • Inner Border - Cut (2) 2" x 43" and (2) 2" x 35.5"  *Measure quilt center before cutting borders as your quilt center may differ based on cutting / piecing.
  • Outer Border - Cut (2) 4.5" x 35.5" and (3) 4.5" x WOF strips *Measure quilt center before cutting borders as your quilt center may differ based on cutting / piecing.
  • Corner Squares - Cut (4) 4.5" x 4.5" squares
  • Binding - Cut (5) 2.5 x WOF strips
Quilt Assembly:

Inner Border
  • Sew (1) 2" x 43" inner border strip to right and left side of quilt center
  • Sew (1) 2" x 35.5" inner border strip to top and bottom of quilt center
Outer Border
  • Sew (3) 4.5" x WOF strips together (end to end). THEN sub-cut into (2) 4.5" x 46" outer border strips. *Measure quilt length before cutting borders as your quilt length may differ based on cutting / piecing.
  • Sew (1) 4.5" x 46" outer border strip to right and left side of inner border.
  • Sew (1) 4.5" x 4.5" corner square to each end of 4.5" x 35.5" outer border strip. 
  • Sew (1) Pieced Outer border strip 4.5" x 43.5" to top and bottom of quilt.
Quilt and Bind with favorite technique.

Enjoy your new Ahoy! Mermaids Clamshell Quilt!

A Bit of Scrap Stuff Blog #ABitofScrapStuff #RileyBlakeDesigns #AhoyMermaidsFabric #Quilt #Quilttutorial

I hope you enjoyed this mini tutorial. I really LOVE using the amazing panels that Riley Blake Designs creates as they are FABULOUS! PS - this tutorial will work for most of the 1 yard panels produced by Riley Blake Designs!

I can't wait to see your amazing Ahoy! Mermaids Clamshell Quilts!

 
Green Fairy Quilts -click on image


A Bit of Scrap Stuff Blog #ABitofScrapStuff #RileyBlakeDesigns #AhoyMermaidsFabric #Quilt #Quilttutorial


Be sure to follow me on Instagram @ABitofScrapStuff and here on my A Bit of Scrap Stuff Blog for more fabric fun!

Have a great day and happy quilting! 

Melanie
Fat Quarter Shop Quilting Fabrics and Supplies


This post contains affiliate links. Thank you for supporting A Bit of Scrap Stuff. My family appreciates it!

Thursday, November 14, 2019

EASY Grandmother's Garden Quilt


I've always wanted to make a Grandmother's Garden quilt, but thinking of all those y-seams or hand piecing made me a bit crazy....SO....I used my AccuQuilt Half-Hexagon GO die!!! 
PS - I totally love my AccuQuilt GO cutter and it's on sale if you need a Christmas gift idea ;) - check out all the AccuQuilt cutters here.


90% Faster Than Rotary Cutters


Okay - back to my EASY Grandmother's Garden Quilt with the absolutely GORGEOUS A Little Bit of Sparkle fabric by Zoe Pearn for Riley Blake Designs. Do you see the metallic sparkle - LOVE it! I definitely had to make large flowers as I wanted to show off these fabric prints!!!


Seriously - A Little Bit of Sparkle is a stunning fabric collection of prints!!! 


I'm thinking that you want to know how I made my EASY Grandmother's Quilt without Y-seams.... let's share my mini tutorial! 
PS - Who else loves the fall leaves?!?!?


EASY Grandmother's Garden Quilt 53.5" x 63.5" 

 A. Supplies: (clickable links below)


90% Faster Than Rotary Cutters

B. Cutting:

Scrappy Cutting with 10" Squares 

OR

Flower Garden Cutting from yardage
  • Quick Cutting option: Cut (12) Half-Hexagons with your AccuQuilt GO! Half Hexagon 4 1/2" Sides Die from each 2/3 yard fabric print.  This will give you a total of 192 half-hexagons, but don't worry - you can use the left over half-hexagons to make a mini quilt or table runner! NOTE: If you prefer tidy cutting - Cut each 2/3 yard print into (2) 9 1/2" x WOF strips, then cut your (12) half-hexagons. Each 9 1/2" X WOF strip can cut (8) half hexagons.  
  • Exact Cutting option: Calculate how many half-hexagons of each color you will need and cut with AccuQuilt GO! Half Hexagon 4 1/2" Sides Die.  Each full flower requires (12) half-hexagons for petals and (2) half-hexagons for center.  The total quilt requires 162 half-hexagons.
  • Cut (6) 2.5" x WOF binding strips.

Don't worry - it's super quick to cut the half-hexagons as your AccuQuilt does all the work for you! Plus you can cut 6 layers of fabric at a time - yay!

C. Quilt Assembly:

  • Arrange your half-hexagons in your desired layout. Don't worry about the hexagon edges on the quilt sides, we will be trimming them off. No need to panic- it's just a tiny bit of trimming off so there isn't much waste at all. 
  • Layout should be (9) half hexagon across (horizontal) and (18) half hexagons down (vertical).
D. Sewing:
  • Begin sewing horizontal rows together. Sew (2) half-hexagons short sides, right sides together with 1/4" seam. AccuQuilt has already trimmed the corners of your blocks so they are easy to line up and sew together. Continue until entire horizontal row has been sewn together.
Row 1

Row 2
  • Continue sewing all (18) horizontal rows as shown above. Be careful to pay attention to placement of half-hexagons.
  • Next sew Row (1) and Row (2) together with a 1/4"seam. I did pin each point as I like perfect points :).
  • Repeat sewing rows together in numerical order until quilt top is complete.
E. Trimming Quilt
  • Using a ruler - trim the edges of the hexagons on the left and right edges of the quilt. I trimmed  at the intersection of the two fabrics. This will give your quilt straight edges and it will be so much easier to bind. See diagram below:

F. Quilt and Bind as desired

You did it! Now you have an EASY Grandmother's Garden Quilt with the gorgeous A Little Bit of Sparkle fabric to enjoy!!! Plus hooray for NO y-seams or hand sewing!!!


I chose to back my quilt with Riley Blake Designs Small Black Gingham Check - it's definitely my "go-to" backing print!!!


Plus I love the A Little Bit of Sparkle Arrow print for the binding! Yes - I chose black metallic!


Okay - I have to share two last photos of my EASY Grandmother's Garden Quilt because a gorgeous quilt with fall leaves is a must!


Plus don't forget your AccuQuilt GO! Half Hexagon 4 1/2" Sides Die for easy cutting AND piecing!


If you make the EASY Grandmother's Garden Quilt - be sure to tag me as I would love to see it!
#EASYGrandmothersGardenQuilt #ABitofScrapStuff


Be sure to follow me on Instagram @abitofscrapstuff and on my A Bit of Scrap Stuff Blog for more fabric fun!

Happy Quilting!
Melanie

Cut Time, Quilt More


Fat Quarter Shop Quilting Fabric, Kits, Notions and Patterns

This post contains affiliate links. Thank you for supporting A Bit of Scrap Stuff. My family appreciates it!