

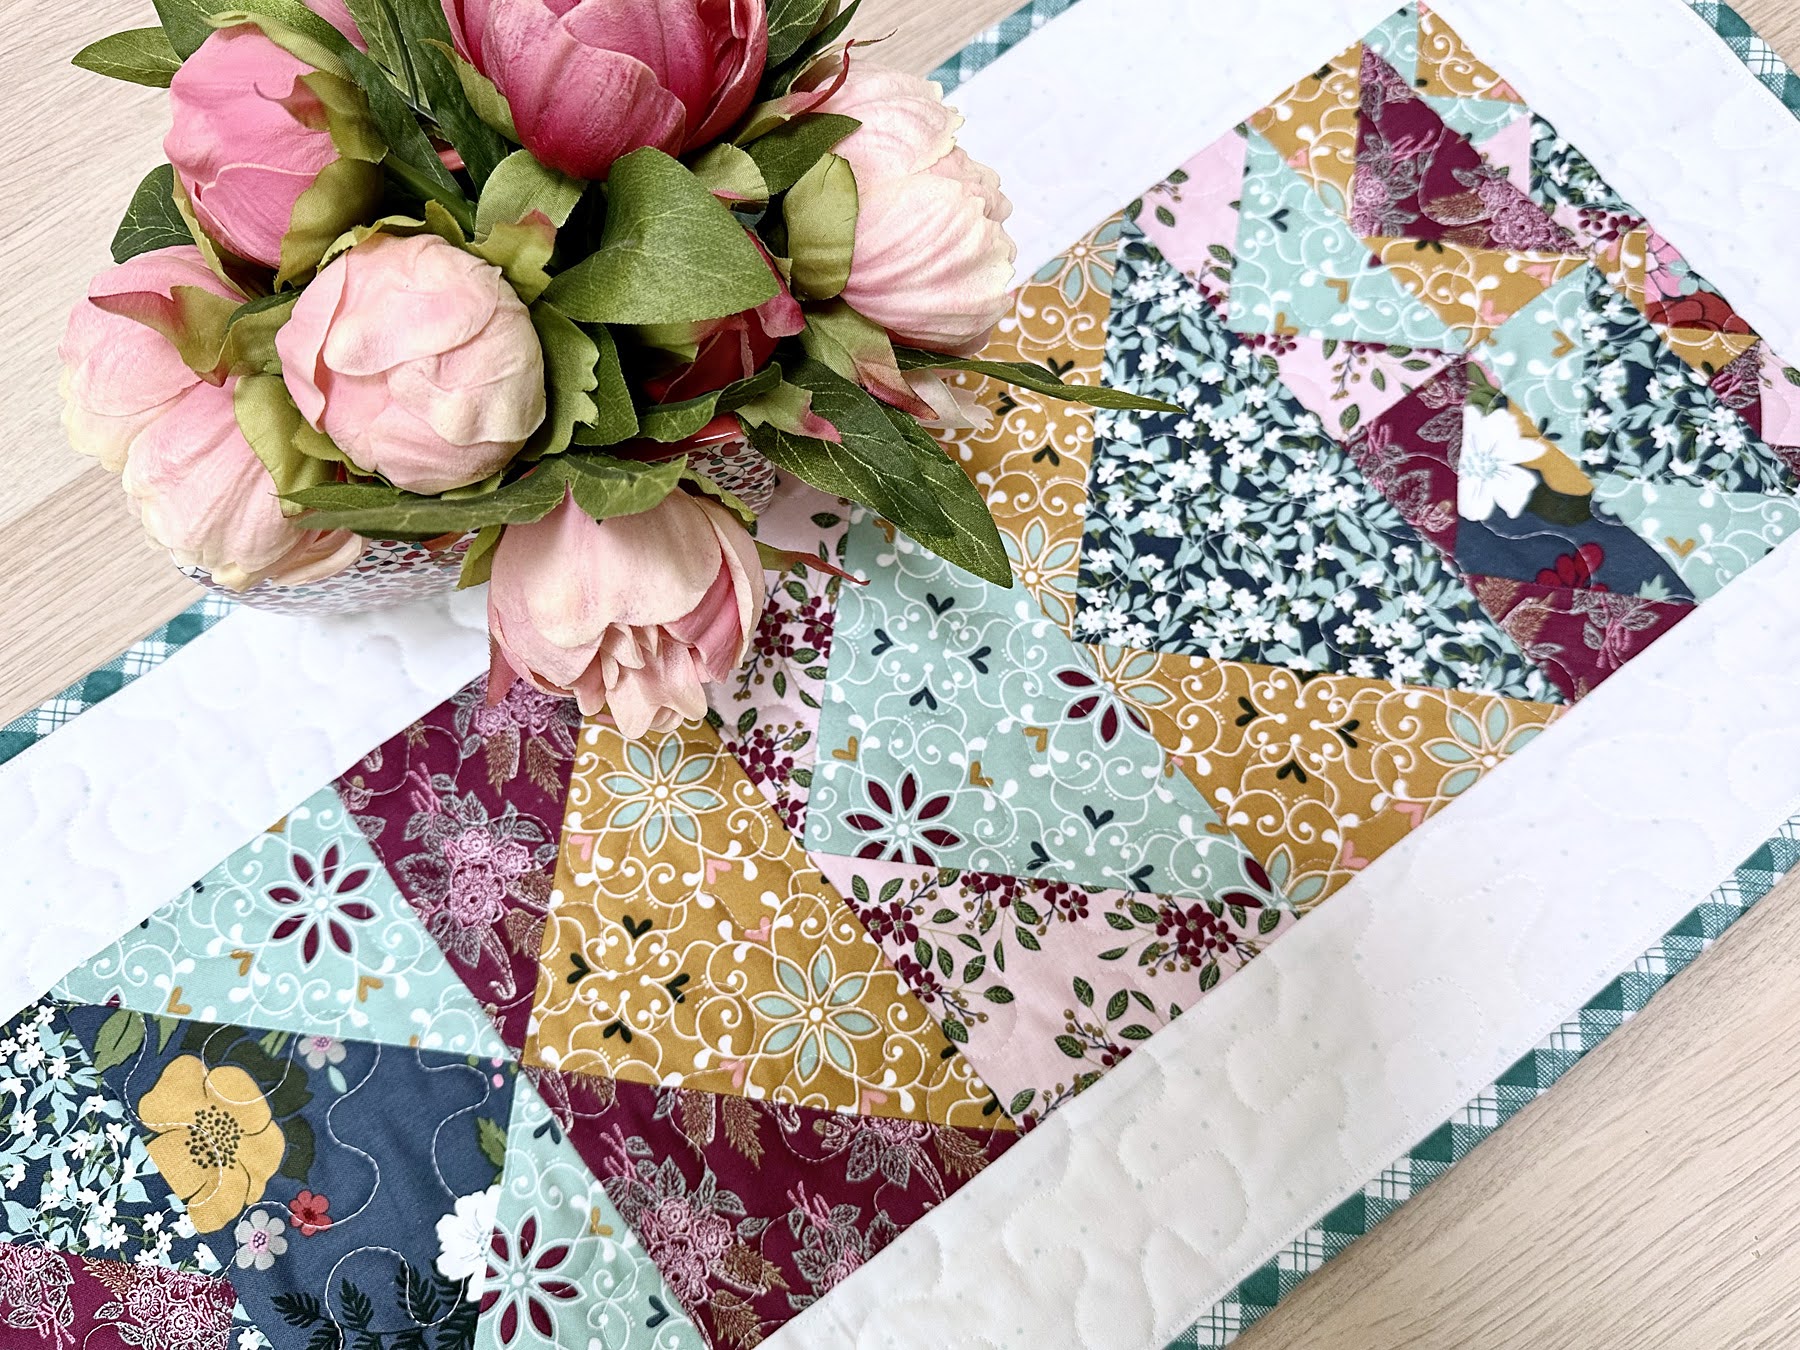
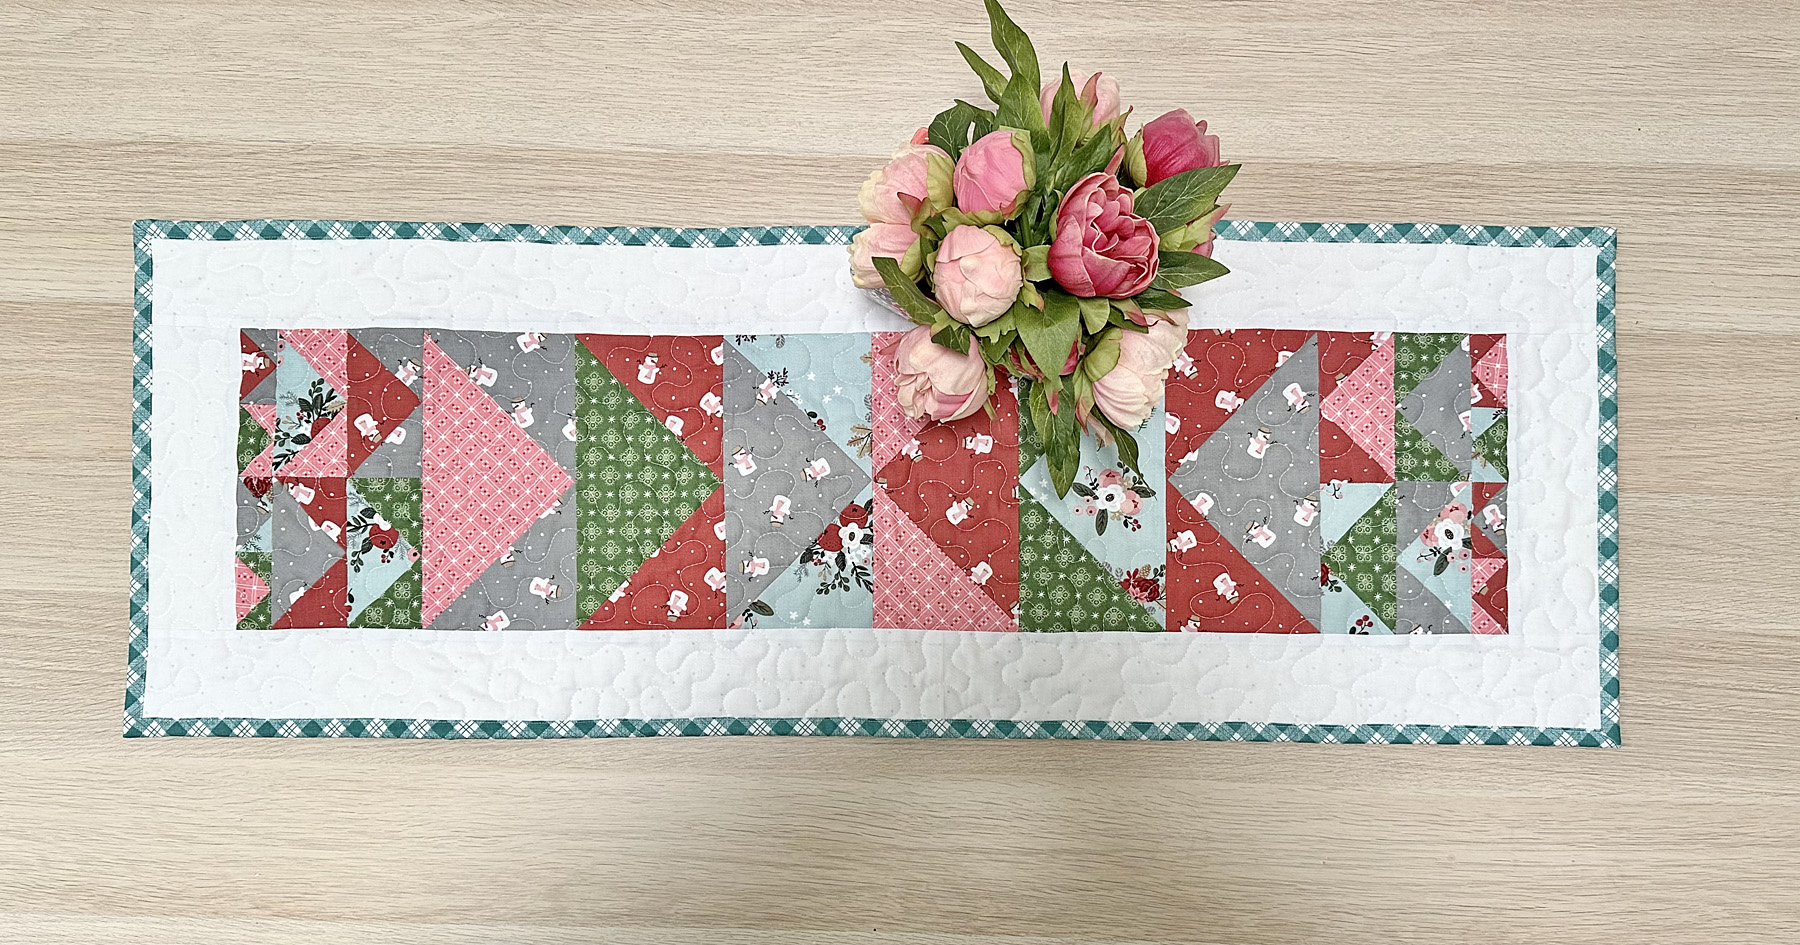
Hi AccuQuilt Friends! Today I'm sharing a tutorial for the Flying West Table Runner with two fun features. The Flying West Table Runner is reversible AND I used a Custom AccuQuilt GO! die. This fun tutorial is also shared on the AccuQuilt blog - here.

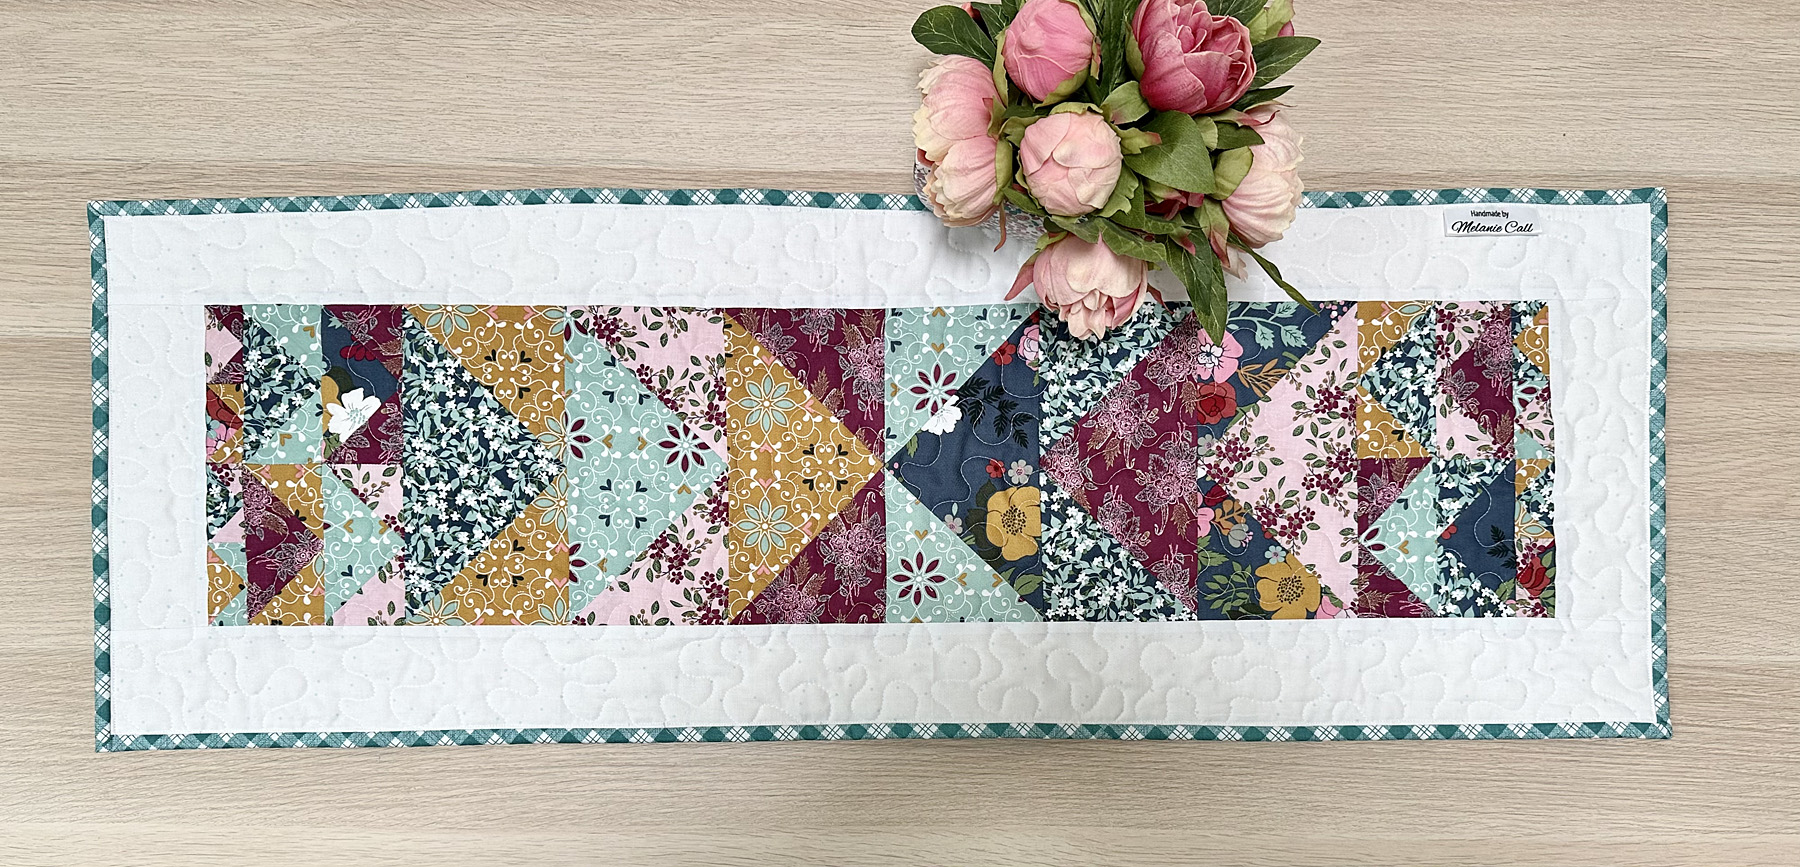
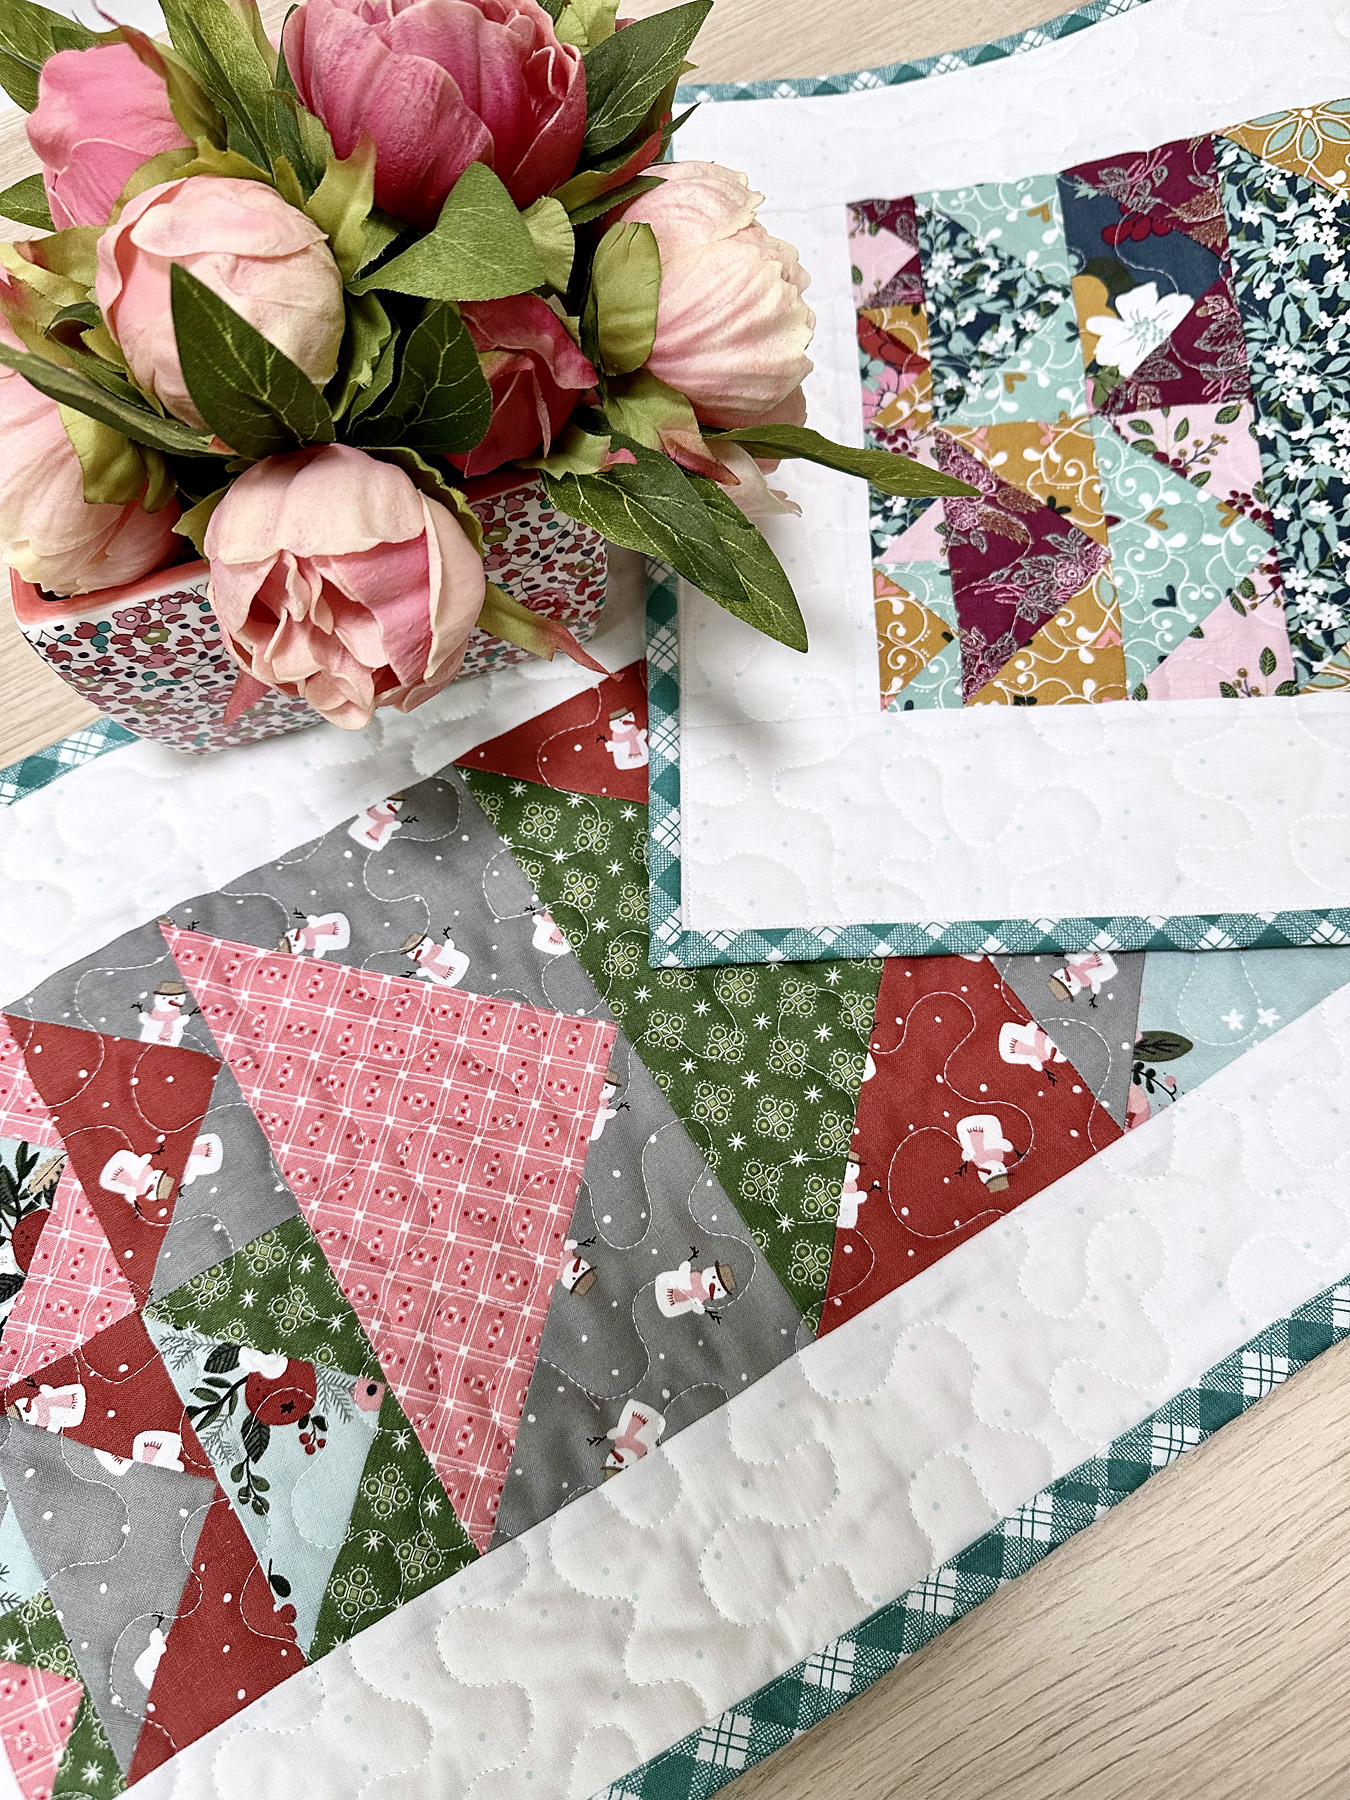
I love to create reversible projects as it saves storage space and I love being able to use either side of my Flying West Table Runner. One side is winter and the reverse is spring!

I'm going to chat a bit about creating a Custom AccuQuilt GO! die before the tutorial because this is such an awesome option if there is a die/shape on your wish list that hasn't been released yet by AccuQuilt!

Custom Shape Pros
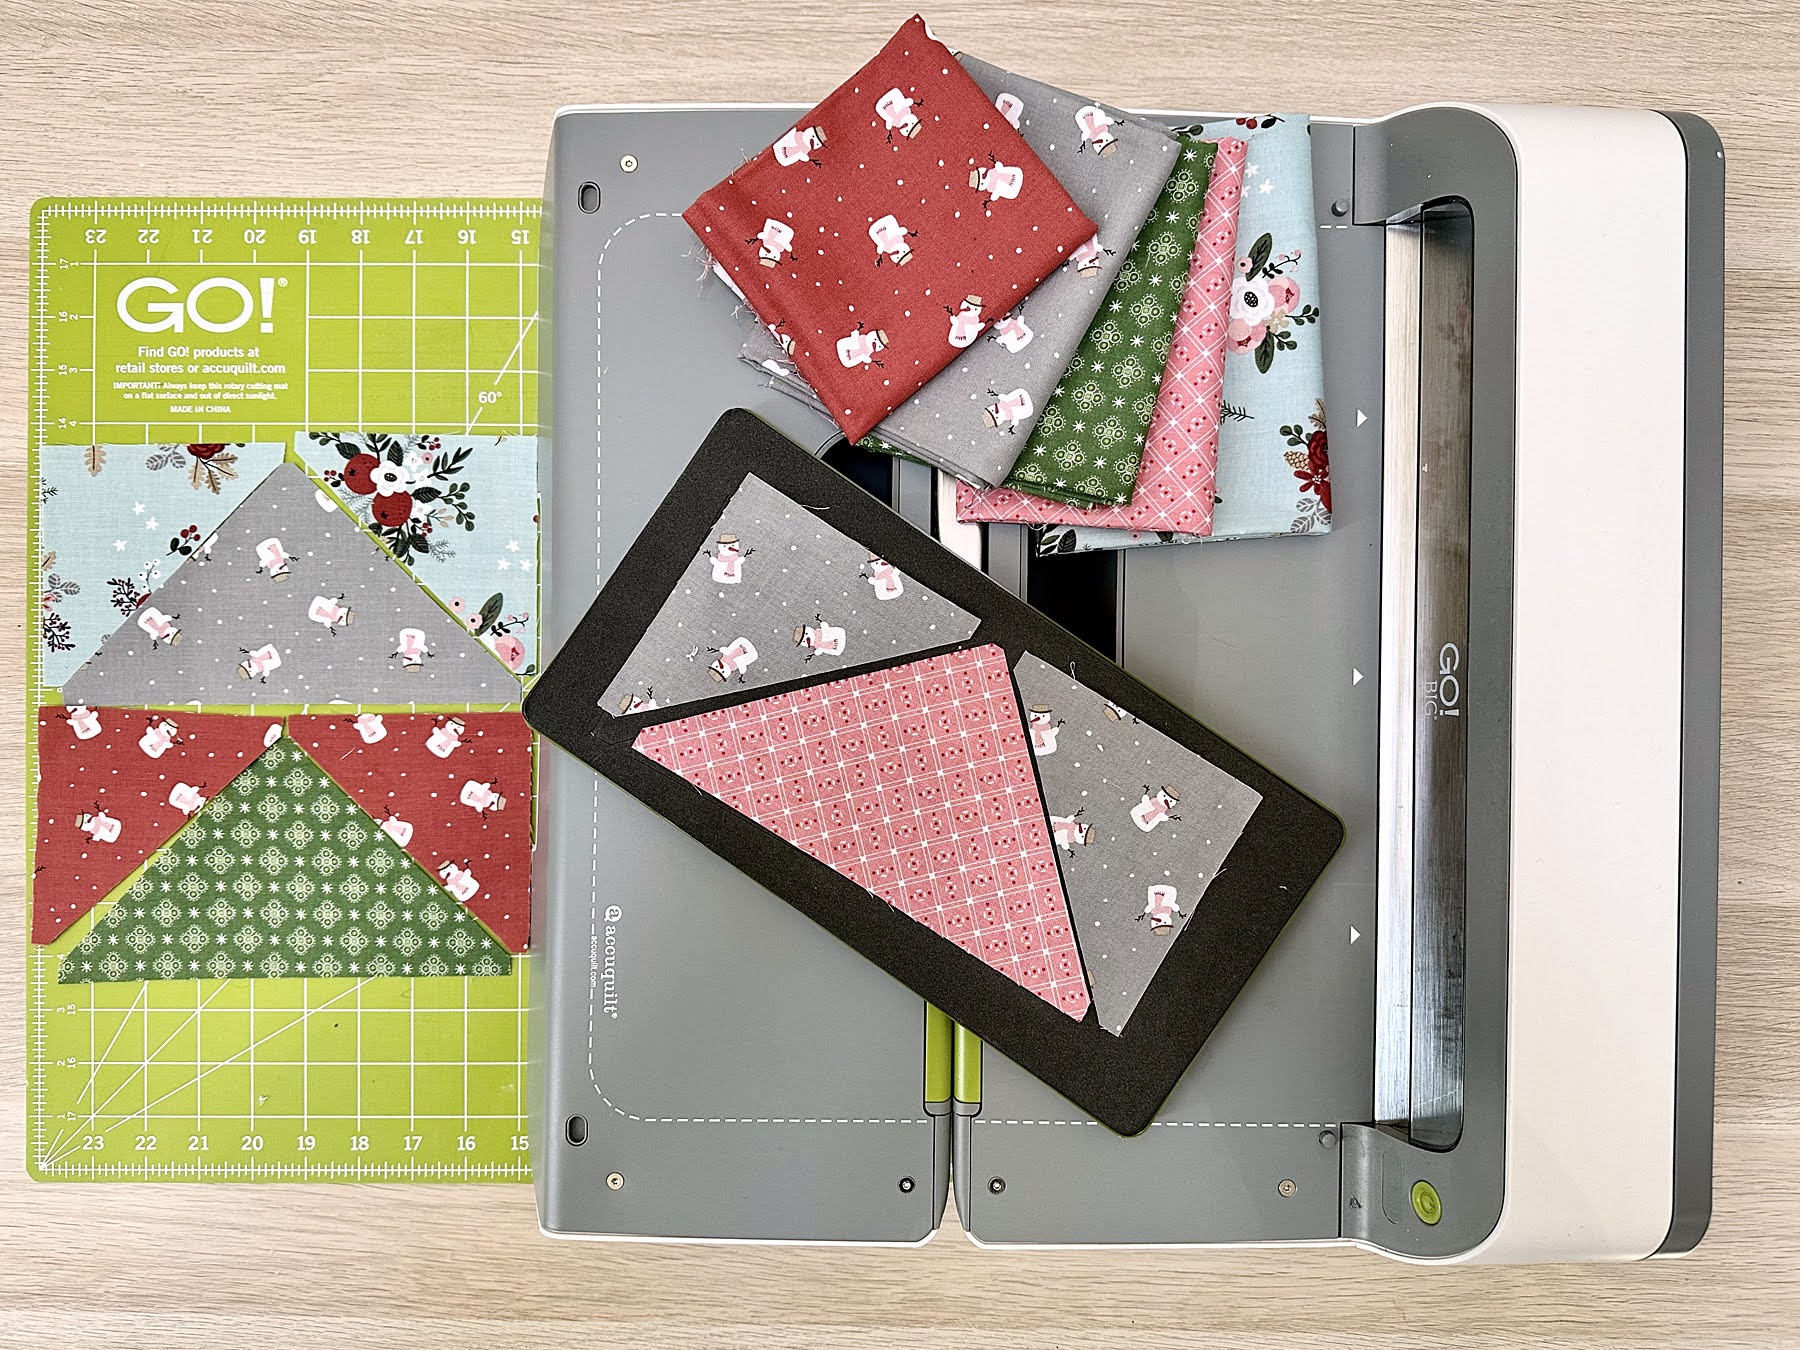
Did you know that AccuQuilt offers custom dies that you can design with Custom Shape Pros (AccuQuilt sister company) ?!?!? Creating a custom AccuQuilt GO! die is amazing and easy!
I love creating projects with the Flying Geese Block, but I wanted a larger size that is not currently available as a die from AccuQuilt. Making flying geese blocks with AccuQuilt dies is my favorite method since no trimming is required or fabric waste for perfect flying geese blocks. Fun fact: The trimmed off triangles made with the traditional method are called goose droppings...eek. Since I wanted perfectly cut 4" x 8" finished flying geese blocks with no trimming or goose droppings - I requested a Custom Die from Custom Shape Pros. In a few weeks, my custom AccuQuilt GO! 4" x 8" Finished Flying Geese arrived at my home. My custom die is the exact same quality as all AccuQuilt GO! Dies!
To learn more about Custom AccuQuilt dies from Custom Shape Pros - click here.
- CUSTOM - AccuQuilt GO! 4" x 8" Finished Flying Geese Die
- GO! Qube Mix & Match 8" Block (Die 4: 55711 and Die 5: 55712)
- GO! Qube Mix & Match 4" Block (Die 4: 55233 and Die 5: 55547)
- GO! Strip Cutter 3" (2.5" finished) (55084)
- GO! Strip Cutter 2.5" (2" finished) (55017)

- (6) Fat Quarters or (12) Fat Quarters or Fabric Scraps: Warm Wishes by Riley Blake Designs, Calico (green pint) and Cookbook (pink print) by Lori Holt for Riley Blake Designs and Whimsical Romance by Riley Blake Designs
- 1 yard background fabric: Aqua Pin Dot by Riley Blake Designs
- 1/3 yard binding: Bee Plaids designed by Lori Holt for Riley Blake Designs
- Scrap Batting
Cutting Instructions:
*For one side of Flying West Table Runner. If you are making your project reversible then double cutting instructions below.
Fat Quarters/Fabric Scraps
- CUSTOM - AccuQuilt GO! 4" x 8" Finished Flying Geese Die.
- CUT (6) Flying Geese Body Shapes and (12) Flying Geese Corner Shapes - GO! Qube Mix & Match 8" Block (Die 4: 55711 and Die 5: 55712)
- CUT (8) Die 4: Quarter Square Triangle/Flying Geese Body Shapes
- CUT (16) Shape 5: Half-square triangle/Flying Geese Corner Shapes - GO! Qube Mix & Match 4" Block (Die 4: 55233 and Die 5: 55547)
- CUT (8) Die 4: Quarter Square Triangle/Flying Geese Body Shapes
- CUT (16) Shape 5: Half-square triangle/Flying Geese Corner Shapes
Background Fabric
- GO! Strip Cutter 3" (2.5" finished) (55084)
- CUT (2) strips 3" x 8.5" (border strip)**
- CUT (2) strips 3" x 39.5" (border strip)**
** Wait to cut border strips until after Flying West Table Runner center is finished. Then measure table runner width and length and cut to your project width and length.
Binding Fabric
- GO! Strip Cutter 2.5" (2" finished) (55017)
- CUT (3) 2.5" x WOF strips. WOF = width of fabric, approximately 40-42"
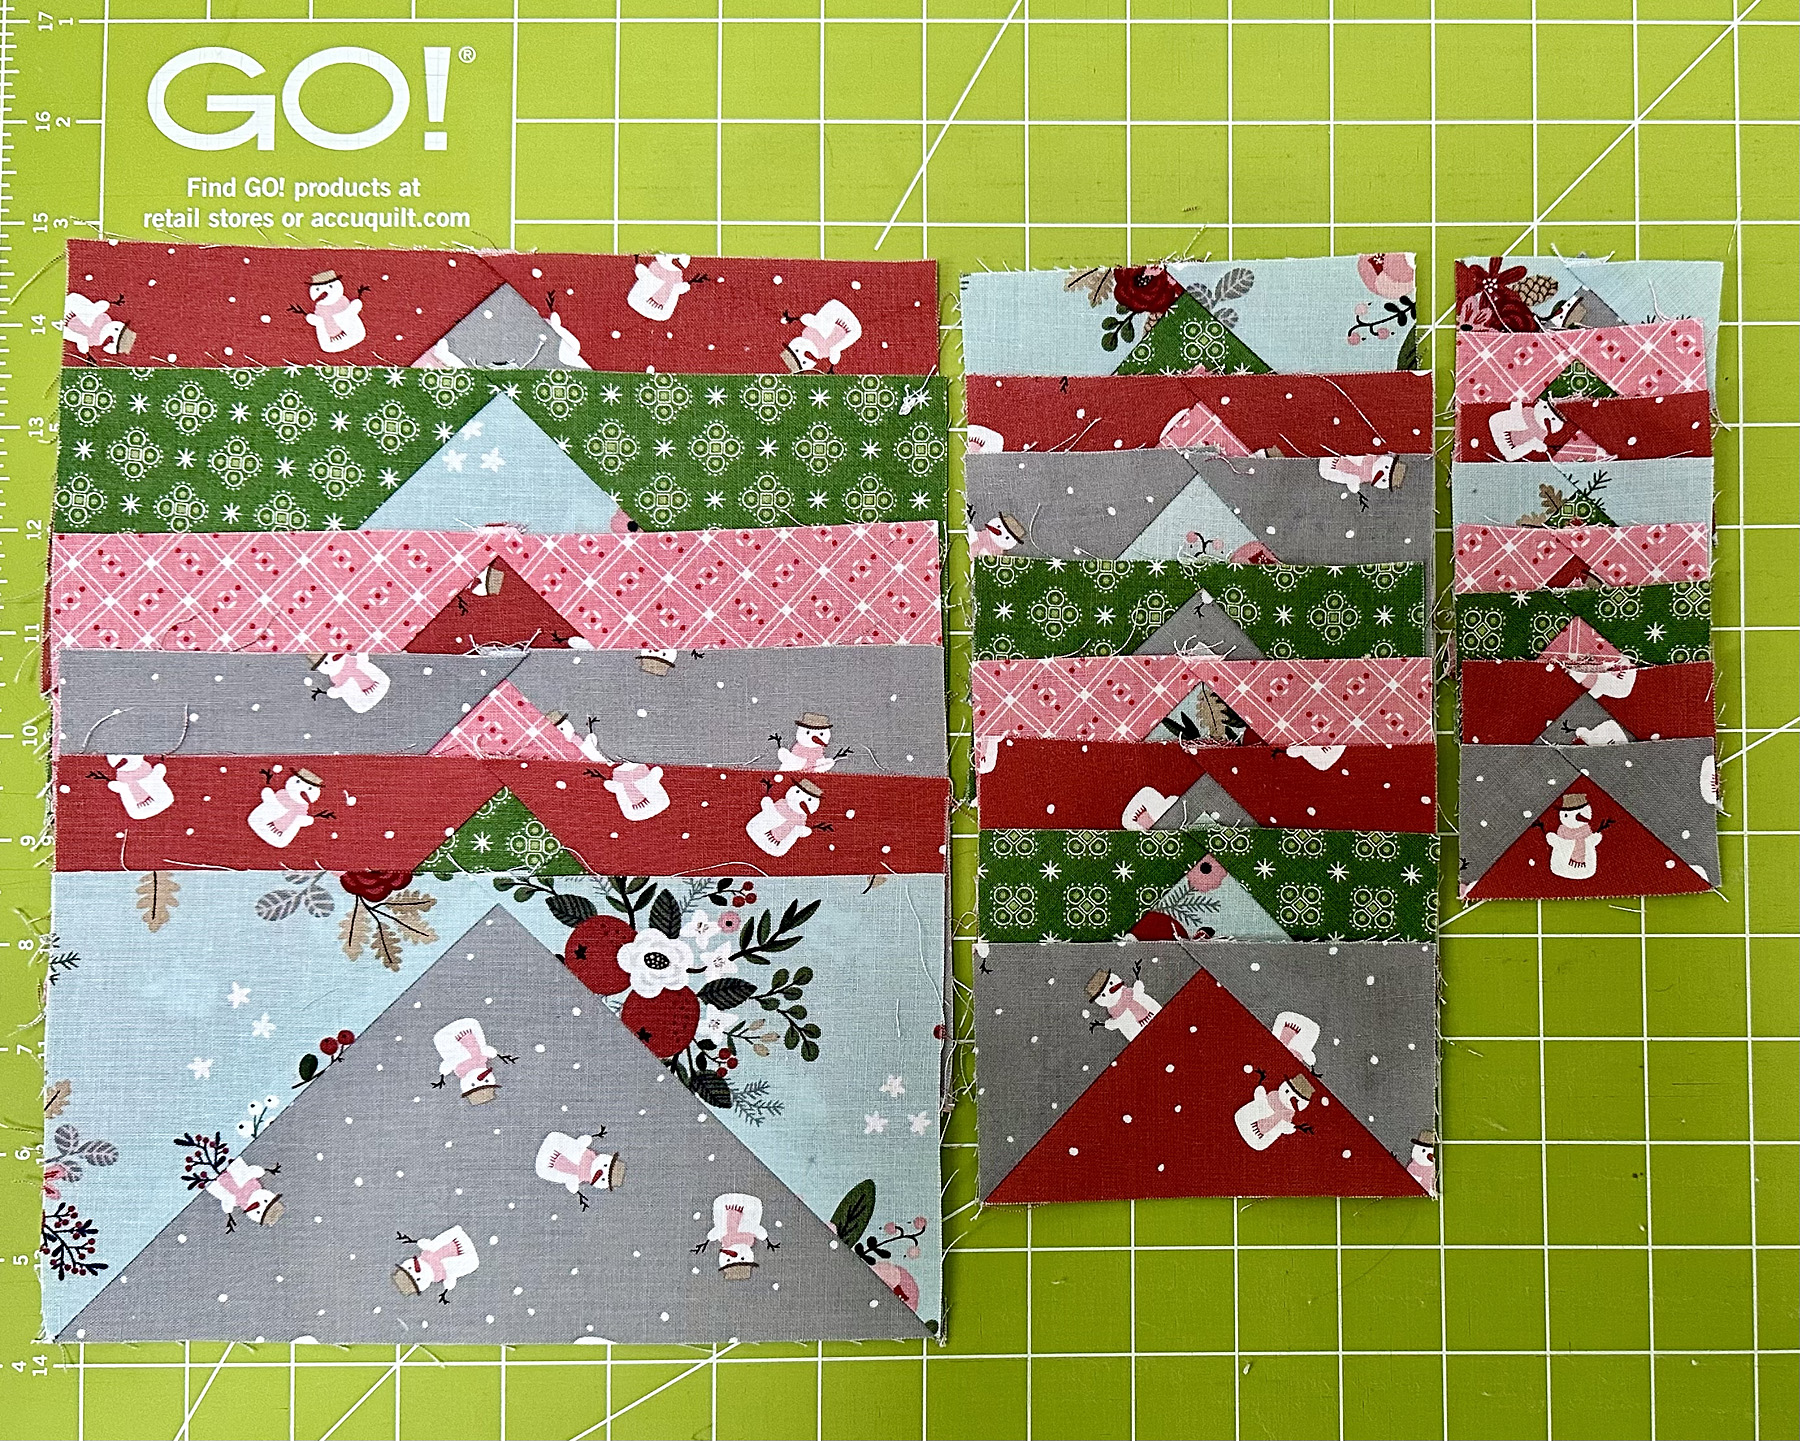
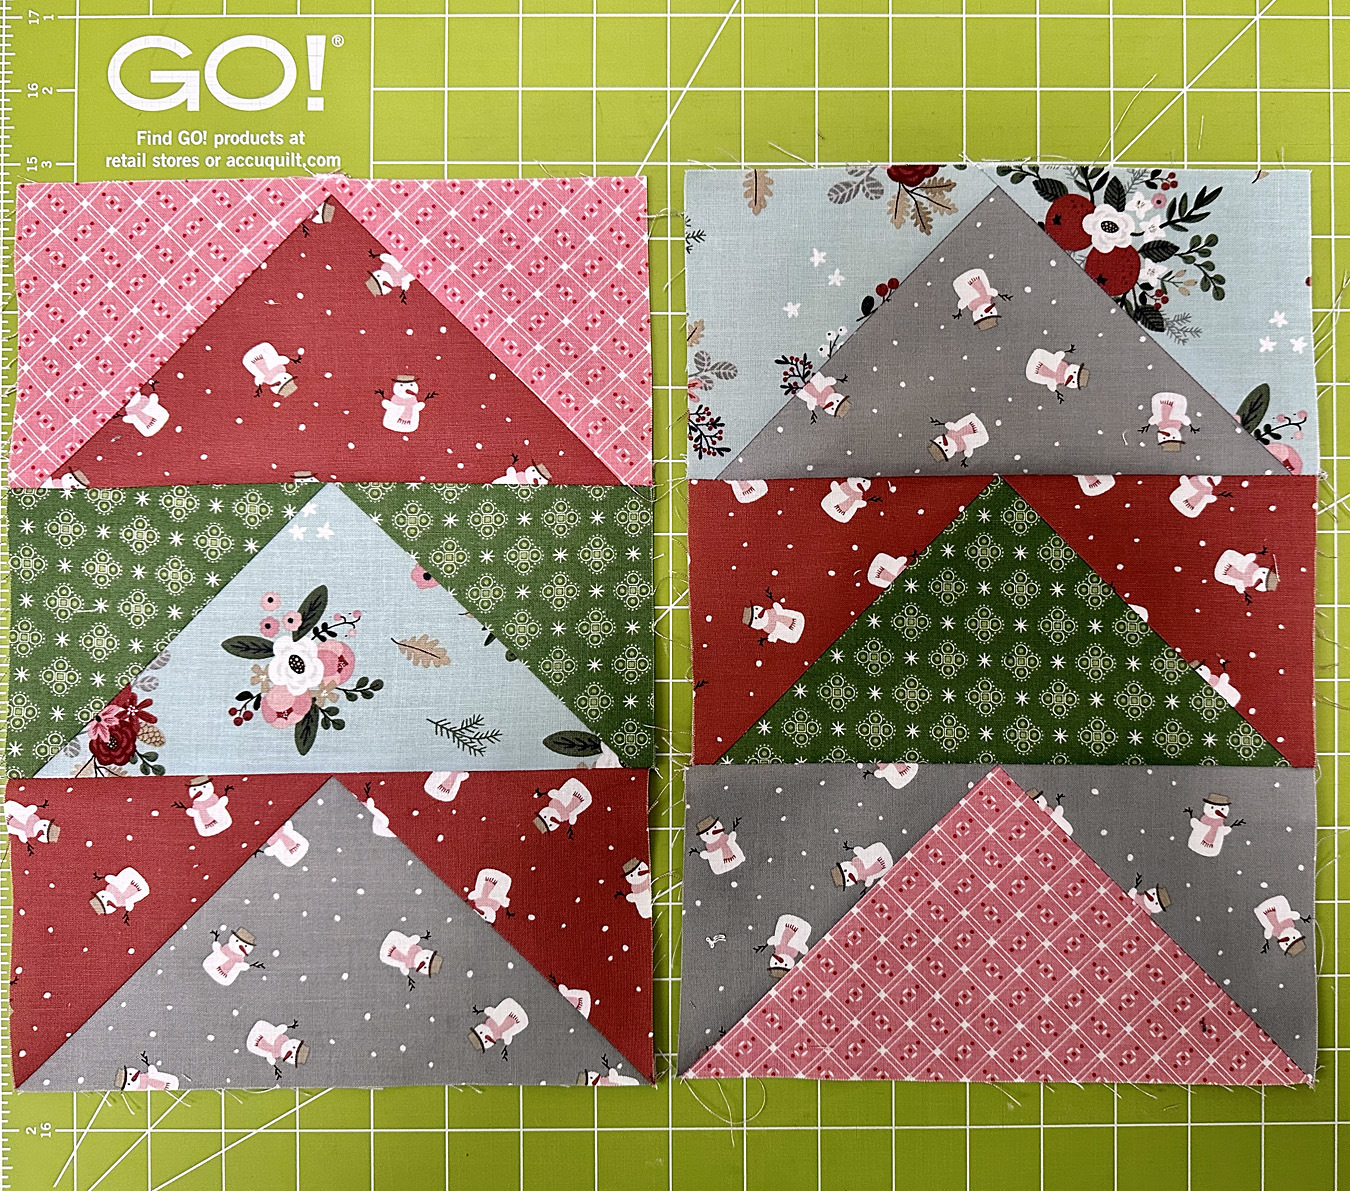
1. Piece together (6) Flying Geese 4" x 8" finished (4.5" x 8.5" unfinished). Label A
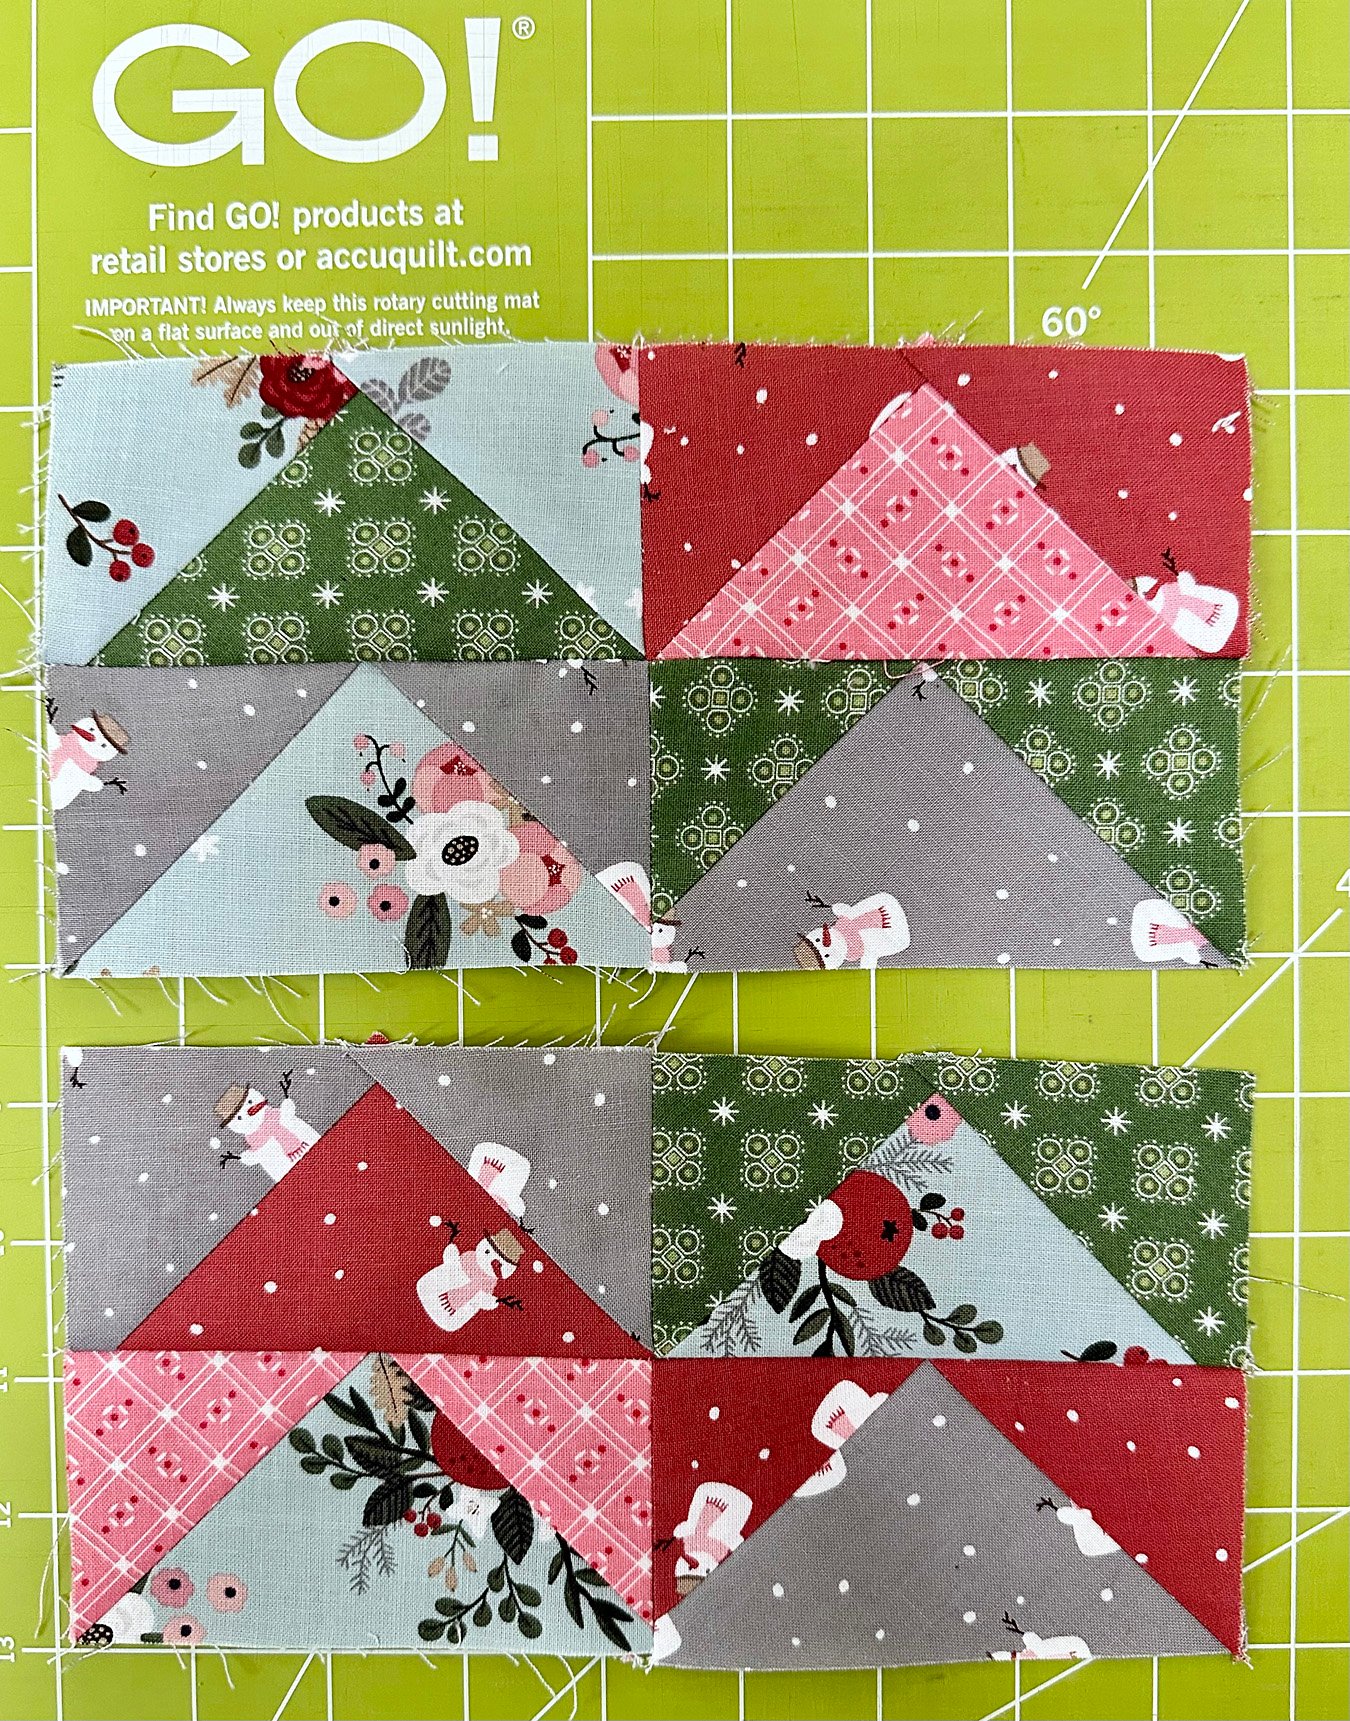
2. Piece together (8) Flying Geese 2" x 4" finished (2.5" x 4.5" unfinished). Label B
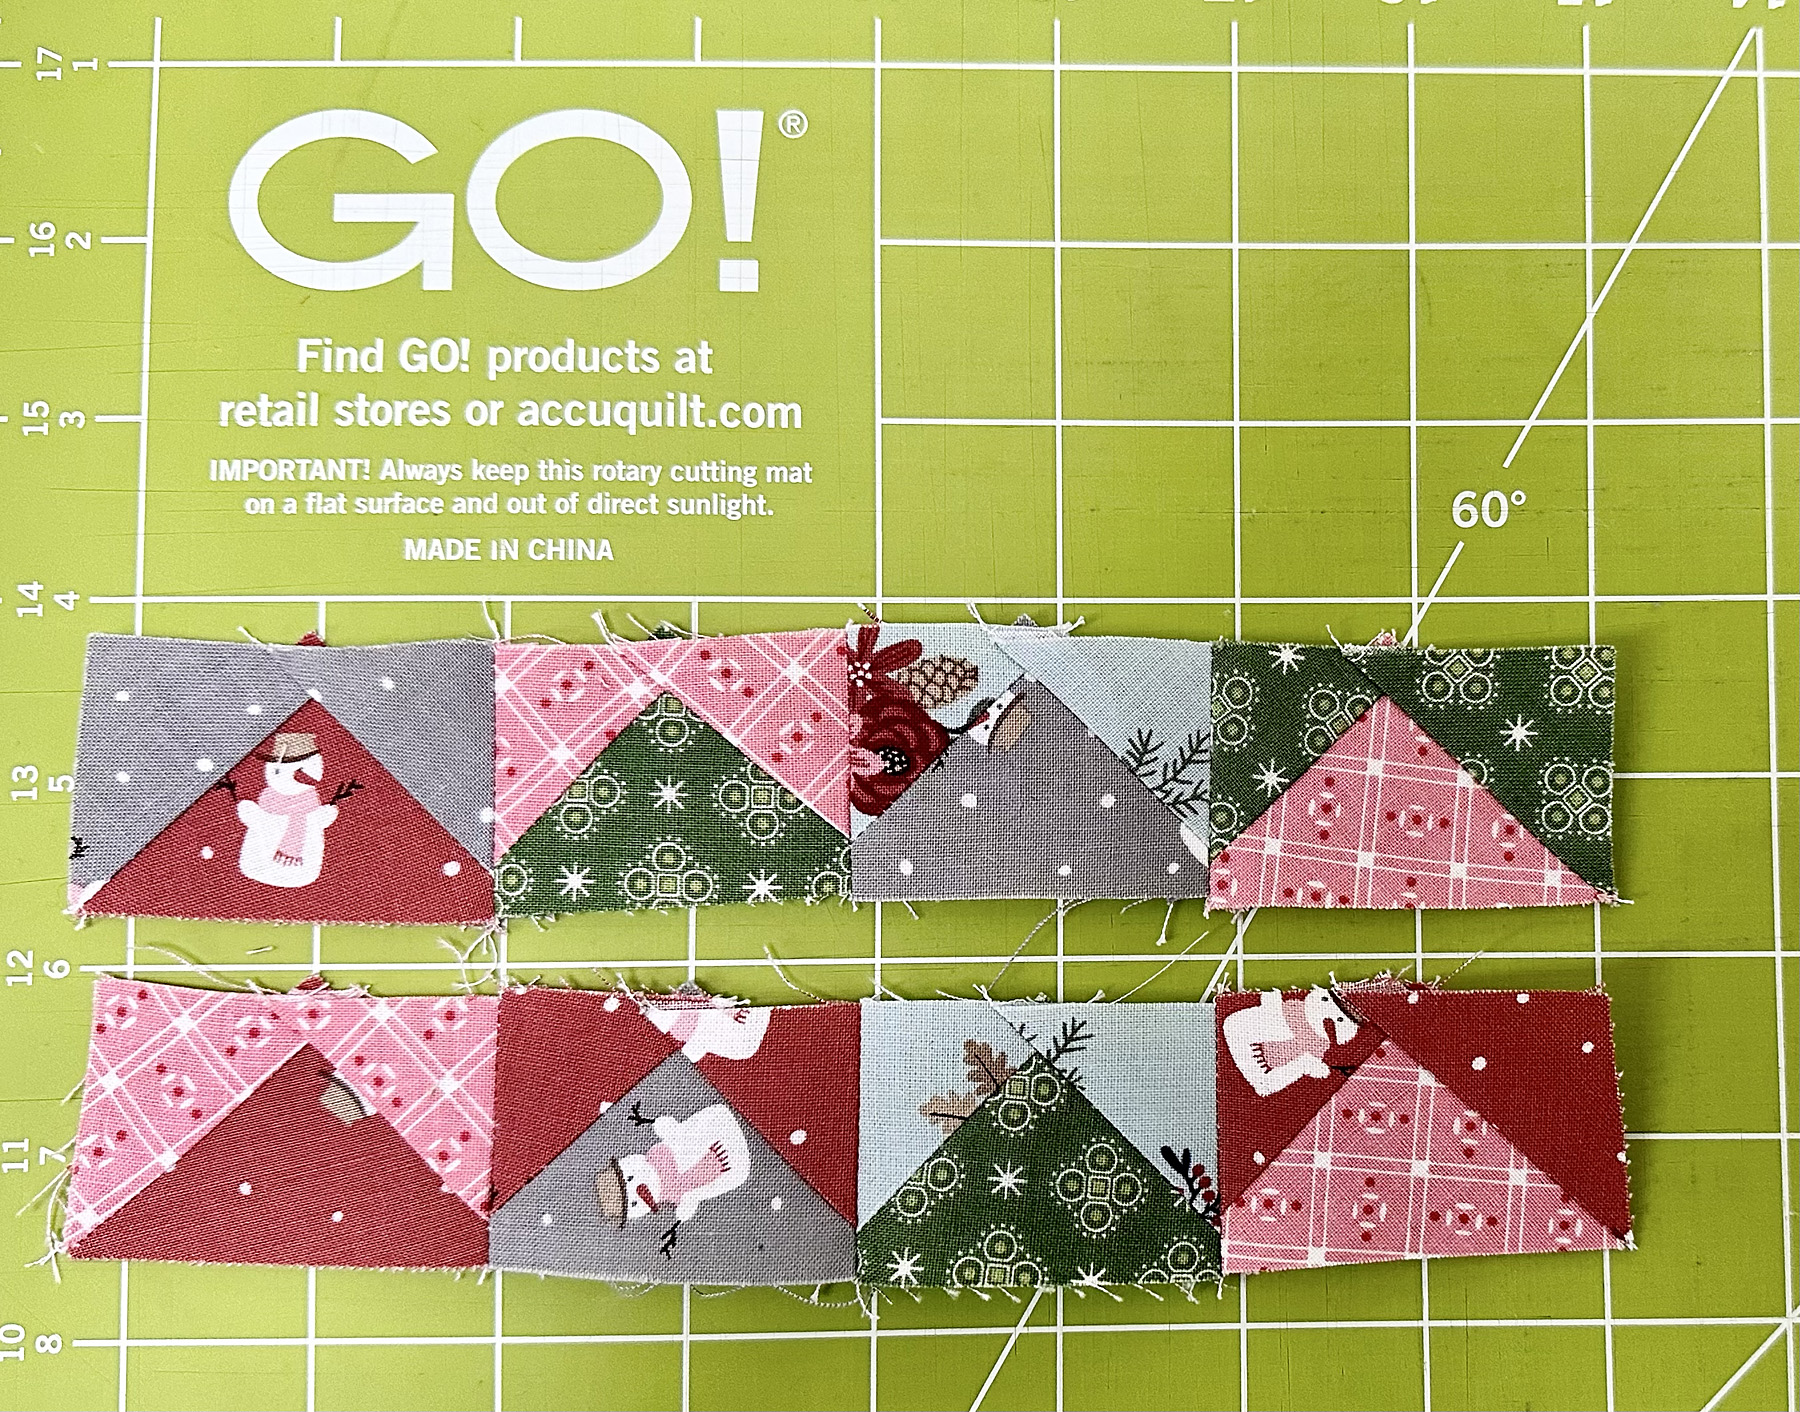
3. Piece together (8) Flying Geese 1" x 2" finished (1.5" 2.5" unfinished). Label C
4. Sew together (3) A Flying Geese as shown below (1 x 3). Repeat.
5. Sew together (4) B Flying Geese as shown below (2 x 2). Repeat.
6. Sew together (4) C Flying Geese as shown below (1 x 4). Repeat.
6. Sew together Flying Geese Sections A + B + C as shown below. Repeat.
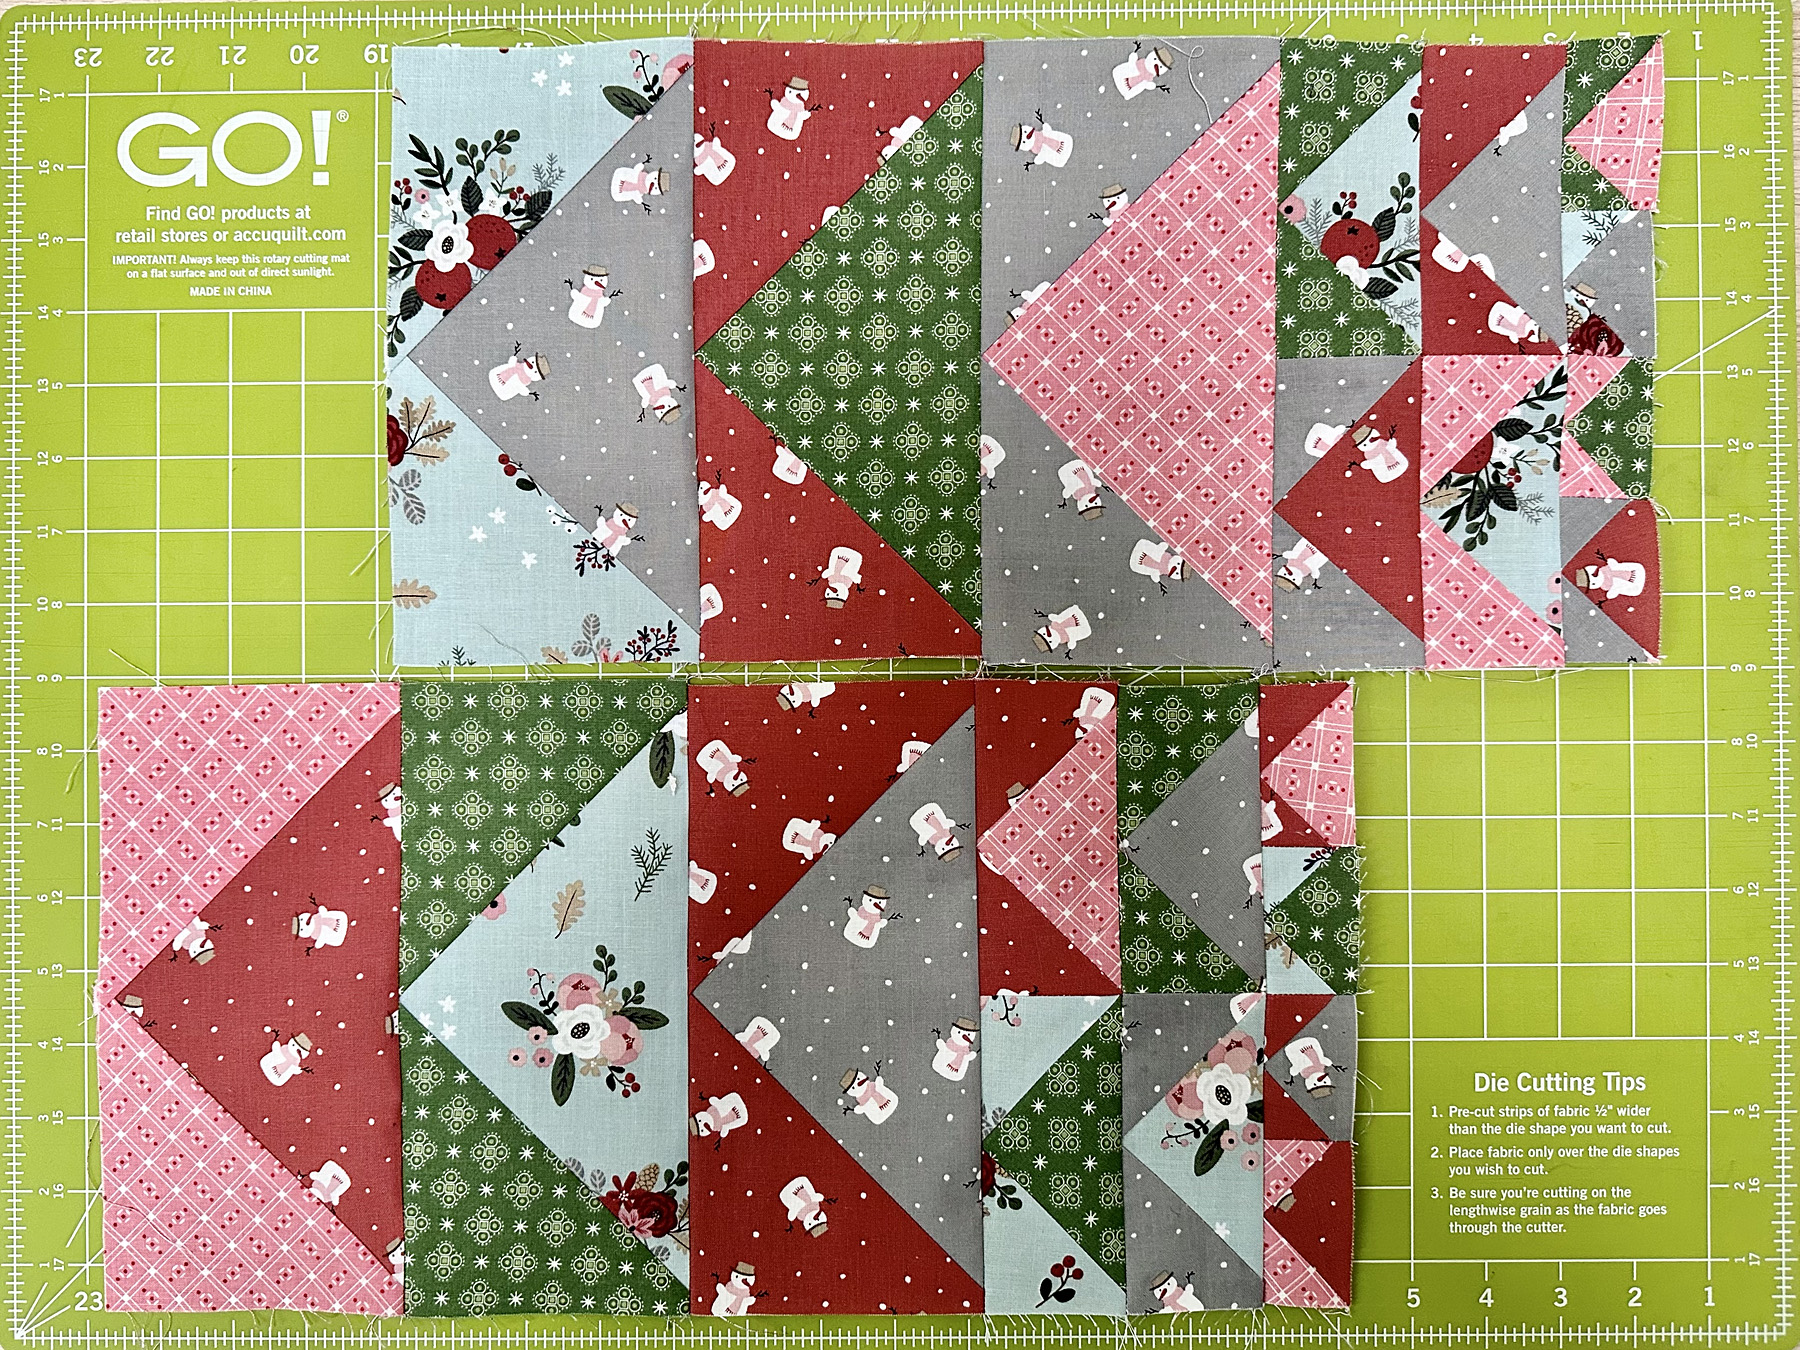
7. Sew Flying Geese Sections together so the Flying Geese blocks point towards the center.
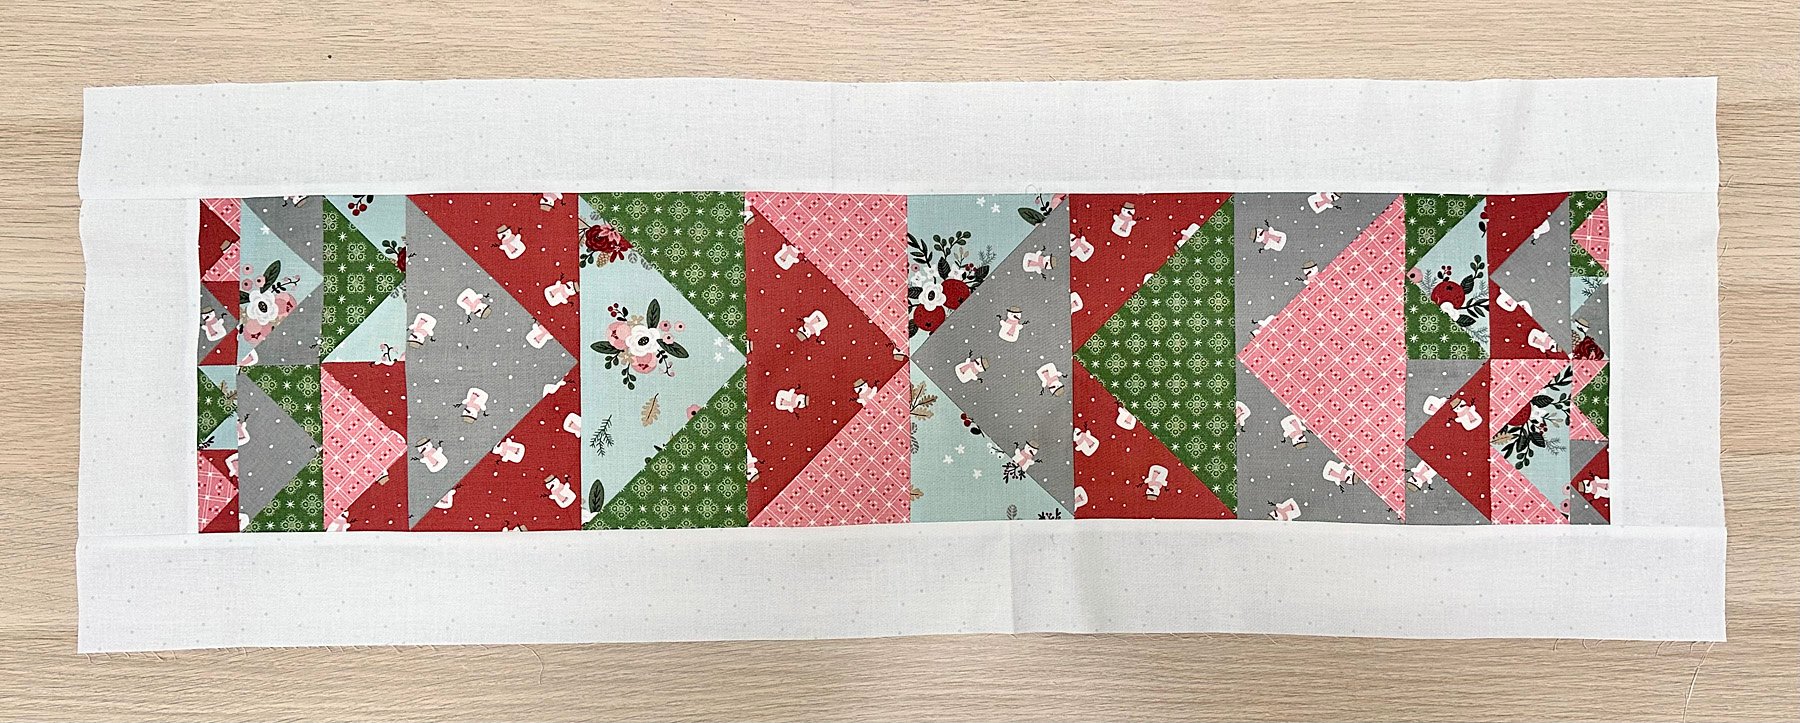
8. Sew (1) 3" x 8.5" border strip** to right and left side of Flying West Table Runner.
9. Sew (1) 3" x 39.5" border strip** to top and bottom of Flying West Table Runner
10. Baste, Quilt, and Bind as desired OR Repeat steps 1-9 to make a reversible Flying West Table Runner.
I cut my outer border 4" wide (instead of 3") on the "backing" side of my table runner. This gave me an extra 1" around the project for centering my "top" side when basting and free motion quilting. After quilting, I trimmed off the excess batting and "backing" side of table runner. This method works best for me.
I hope your enjoyed learning about creating custom AccuQuilt GO! dies and the Flying West Table Runner Tutorial!
Let me know if you love creating reversible projects too!
Be sure to follow me on Instagram @ABitofScrapStuff and on my A Bit of Scrap Stuff Blog for more fabric fun!
Have a great day and happy sewing / quilting!
Melanie

No comments:
Post a Comment
Thank you for leaving a comment. I love to read them!