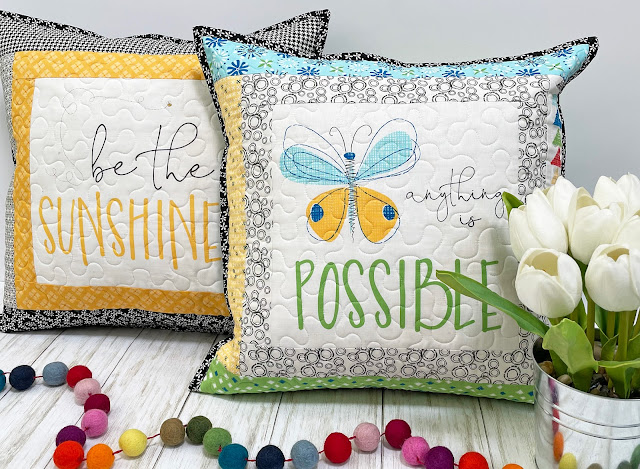
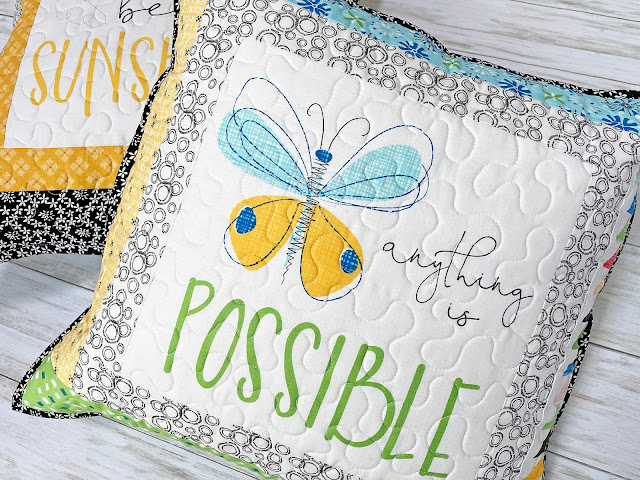
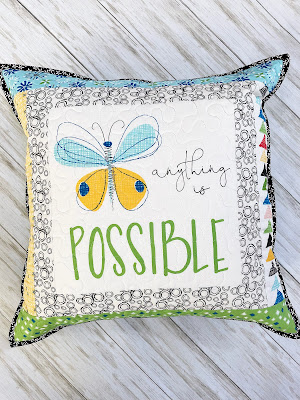
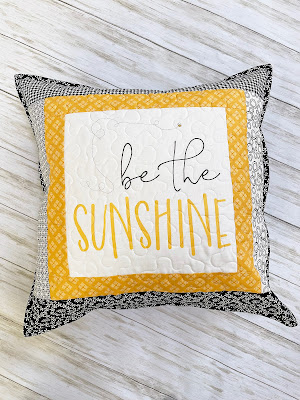
Mondays are a great day to start a new project! Today I'm sharing my Oh Happy Day Pillows PLUS tutorial so you can make pillows to brighten up your home! The pillows are quick to make as the center square is from the cute Oh Happy Day panel from the Oh Happy Day Collection designed by Sandy Gervais for Riley Blake Designs. Just look at this happy collection of fabric!!!!
It's time for a tutorial to make the Oh Happy Day Pillow Top. Hint - I will be sharing upcoming tutorials soon for making a exposed zippered pillow backing and machine binding.
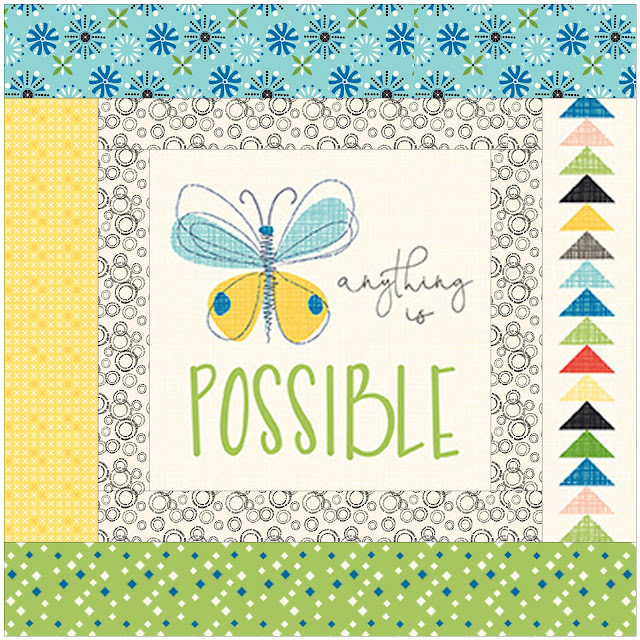
Oh Happy Day Pillow 18.5" x 18.5"
Supplies:
- (1) Oh Happy Day Panel - Oh Happy Day Fabric designed by Sandy Gervais for Riley Blake Designs
- 1/4 yard inner border - Oh Happy Day Fabric designed by Sandy Gervais for Riley Blake Designs
- (4) 3" x WOF strips (at least 18.5" in length) - Oh Happy Day Fabric designed by Sandy Gervais for Riley Blake Designs
- 1/4 yard binding - Oh Happy Day Fabric designed by Sandy Gervais for Riley Blake Designs
- 3/4 yard backing fabric - Oh Happy Day Fabric designed by Sandy Gervais for Riley Blake Designs
- 22" x 22" square of batting
- 22" x 22" square of scrap or solid fabric (this fabric will the hidden inside the pillow)
- 18" Pillow Form - I like Hobbs Brand Pillow Inserts
- Optional 20" or longer nylon zipper - for zippered pillow backing
Tutorial for Oh Happy Day Pillow
A. Cutting Instructions
Oh Happy Day Panel
- Cut (1) 10.5" x 10.5" square. Label A
Inner Border Fabric
- Cut (2) 2" x 10.5" strips. Label B
- Cut (2) 2" x 13.5" strips. Label C
Outer Border Fabric(s)
- Cut (2) 3" x 13.5" strips. Label D
- Cut (2) 3" x 18.5" strips. Label E
B. Pillow Top [Block] Assembly
1. Sew (1) 2" x 10.5" strip B to left and right side of 10.5" x 10.5" square. Press towards strip B.
2. Sew (1) 2" x 13.5" strip C to top and bottom. Press towards strip C.
3. Sew (1) 3" x 13.5" strip D to right and left of inner border. Press towards strip D.
4. Sew (1) 3" x 18.5" strip E to top and bottom of inner border. Press towards strip E. Oh Happy Day Block/Pillow top measures 18.5" x 18.5"
C. Make Quilt Sandwich:
- Pillow Top (right side up), batting (middle), 22" x 22" backing fabric (right side down) *Backing fabric will be hidden inside pillow.
D. Quilt as desired:
I chose to free motion stipple my pillow.
E. Make Pillow backing with your favorite technique.
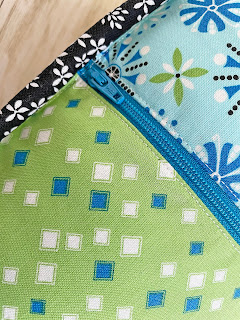
Sneak Peek. I will be sharing a tutorial soon on how to make an exposed zippered pillow backing.
F. Sew Together
Place quilted pillow top (right side up) on top of pillow backing (right side down). Sew together with a 1/8" seam allowance
G. Attach Binding with preferred method.
Sneak Peek: I will be sharing a tutorial on machine binding.
Your Oh Happy Day Pillow is now finished! I made a second pillow as I love having a pair of matching pillows!
If you prefer mini quilts or table toppers - this project will work too! Just omit adding the pillow backing step E.
I absolutely love these sweet pillows and the happiness they bring my home!
Be sure to check back soon for tutorials on Making an Exposed Zipper Pillow Backing and Machine Binding.
Oh Happy Day will be shipping to your favorite quilt shop soon!
Be sure to follow me on Instagram @ABitofScrapStuff and here on my A Bit of Scrap Stuff Blog for more fabric fun!









These are so super cute. Love the panels - and how you made them into beautiful pillows.
ReplyDeleteCute pillows and mini quilts! I also bought this fabric - so pretty and cheery and your projects are inspiring!
ReplyDelete