Thursday, April 24, 2025

Janome Tutorial: Mushroom Pixel Pillow


Hi Janome friends! Today on the Janome Project Page (here) I'm sharing my Mushroom Pixel Pillow Project that I created with my Janome M17.

The Mushroom Pixel Pillow is a fun and easy to make project for spring decor. Have you noticed how popular mushrooms are right now?!?!?!  This project was inspired by Perler Bead projects that my daughter and I have been making. My daughter even sketched the mushroom pixel patchwork design for me!  

Sewing together squares to create pixel patchwork is one of my most favorite projects. It's relaxing to sew and the project always looks great plus it is beginner friendly! The Mushroom Pixel Pillow is also perfect for your stash of 2.5"squares. 


Mushroom Pixel Pillow 18" x 18"


Please read all instructions prior to beginning. Seam allowances are ¼”.

 Fabric Requirements 

·      (18) 2.5” x 2.5” RED squares

·      (4) 2.5” x 2.5” WHITE squares

·      (12) 2.5” x 2.5” GRAY squares

·      (30) 2.5” x 2.5” BACKGROUND squares

·      BORDER strips: (2) 1.5” x 16.5” and (2) 1.5” x 18.5” outer border strips

·      22” x 22” Batting 

·      24” x 24” Pillow front backing *Optional. This fabric will be hidden in pillow interior.

·      Backing fabric: Size will depend on preferred method for Pillow Backing Closure (or use left over fabric for a patchwork backing for a reversible pillow)

·      20” Nylon Zipper  *Trim to size

·      18” x 18” Pillow Form
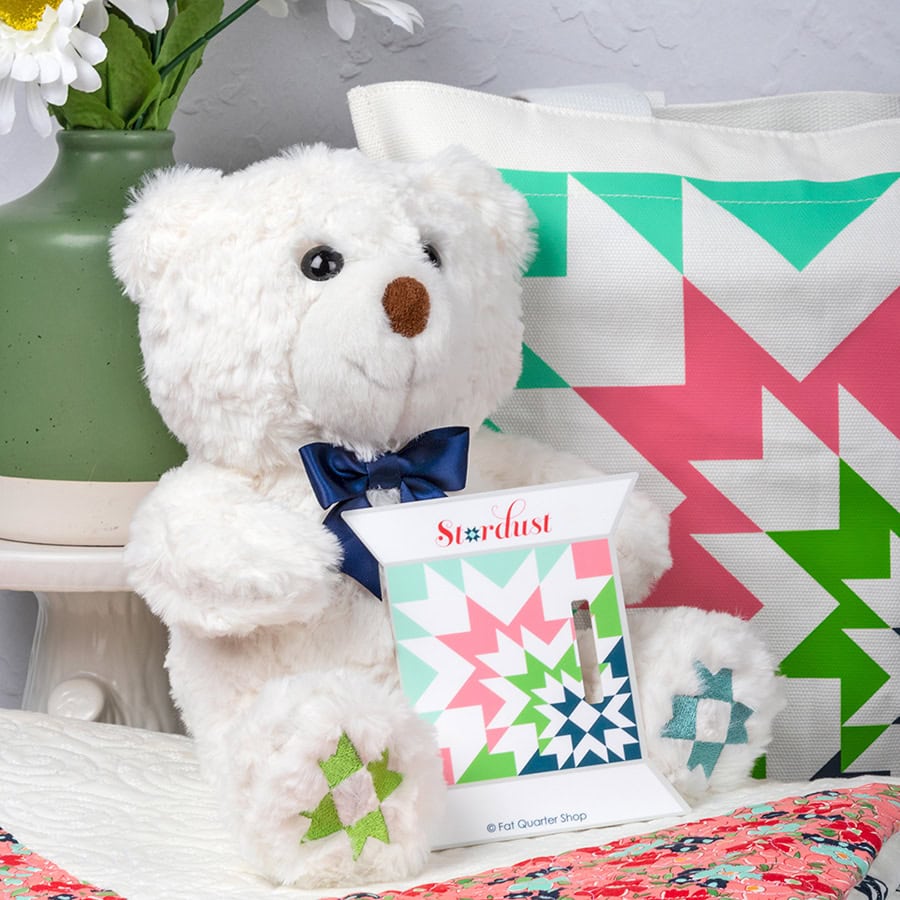

Mushroom Pixel Block Assembly - 18.5” x 18.5” unfinished


Piecing Instructions 

·      Place 2.5” x 2.5” squares per layout diagram above

·      Sew together in rows


My Quilting Method:  Straight-line diagonal quilting through center of each square.

  • Janome M17: I used the Janome AcuFeed Open Toe Foot and 3.0 stitch length
  • If desired, you may use a ruler and Hera Marker to mark the quilting lines

As I had extra fabric, I made my Mushroom Pixel Pillow REVERSIBLE! I used (36) 3.5" squares to create the patchwork pillow  backing. I absolutely love a reversible pillow!

I hope you make a Mushroom Pixel Pillow for yourself or as a gift! It’s a fun project that can be made in a day.  #MushroomPixelPillow

Download Mushroom Pixel Pillow PDF Pattern (here)


Be sure to follow me on Instagram @ABitofScrapStuff and on my A Bit of Scrap Stuff Blog for more fabric fun!

Have a great day and happy quilting! 

Melanie Call


Shop Fabric at Fat Quarter Shop


Tuesday, April 22, 2025

Timberland Roses Quilt - PLUS GIVEAWAY


A Bit of Scrap Stuff Blog #ABitofScrapStuff #TimberlandRosesQuilt #JollyBarBook #FatQuarterShop

I'm so excited to be part of the Fat Quarter Shop Jolly Bar Volume 5 Book Tour! I made the Timberland Roses Quilt with Berry & Pine designed by Lella Boutique for Moda Fabrics. 


A Jolly Bar is an exclusive 5"x10" pre-cut available at Fat Quarter Shop. I love Jolly Bar precuts as they are affordable, contain all of the collection prints, AND a free pattern is always included.  The Jolly Bar Book Vol 5 contains 20 Jolly Bar Quilts. PS - Layer Cakes will also work for Jolly Bar Patterns!


Shop Fabric at Fat Quarter Shop

GIVEAWAY DETAILS: 
To enter for a chance to win a free copy of The Jolly Bar Book Volume 5 AND a $25 Gift certificate to Fat Quarter Shop - please enter on this Instagram post @ABitofScrapStuff.  

A Bit of Scrap Stuff Blog #ABitofScrapStuff #TimberlandRosesQuilt #JollyBarBook #FatQuarterShop

Timberland Roses Quilt 56.5" x 56.5"
Supplies: Clickable links
A Bit of Scrap Stuff Blog #ABitofScrapStuff #TimberlandRosesQuilt #JollyBarBook #FatQuarterShop

I decided to use a dark green print from the Berry & Pine Collection for my background and I love it! It's fun to use a darker a background especially as this collection has fabulous white background prints that I wanted to really pop for this quilt!

A Bit of Scrap Stuff Blog #ABitofScrapStuff #TimberlandRosesQuilt #JollyBarBook #FatQuarterShop

 Half Square Triangles Tips for perfect blocks: 


A Bit of Scrap Stuff Blog #ABitofScrapStuff #TimberlandRosesQuilt #JollyBarBook #FatQuarterShop

 I used a Layer Cake instead of a Jolly Bar so I used my left over fabric to create a double sided quit with a pieced backing! I love being able to use ALL the fabric for my project!

A Bit of Scrap Stuff Blog #ABitofScrapStuff #TimberlandRosesQuilt #JollyBarBook #FatQuarterShop

A Bit of Scrap Stuff Blog #ABitofScrapStuff #TimberlandRosesQuilt #JollyBarBook #FatQuarterShop

GIVEWAY DETAILS:
Don't forget to enter the giveaway for a chance to win a free copy of The Jolly Bar Book Volume 5 AND a $25 Gift certificate to Fat Quarter Shop - please enter on this Instagram post @ABitofScrapStuff.  

A Bit of Scrap Stuff Blog #ABitofScrapStuff #TimberlandRosesQuilt #JollyBarBook #FatQuarterShop

PS - Why is it always windy when I want to take quilt photos????
A Bit of Scrap Stuff Blog #ABitofScrapStuff #TimberlandRosesQuilt #JollyBarBook #FatQuarterShop


PPS - If  you are a Jolly Bar fan too! Check out the bundle of all 5 Jolly Bar Books available at Fat Quarter Shop.


Be sure to follow me on Instagram @ABitofScrapStuff and on my A Bit of Scrap Stuff Blog for more fabric fun!

Have a great day and happy quilting and stitching! 


Melanie CallI


Shop Fabric at Fat Quarter Shop


Square Up Quilt - FREE pattern

Hi quilty friends! Today I'm sharing the Square Up Quilt Pattern- a FREE quilt pattern from Fat Quarter Shop (here)!  This beginner friendly quilt is fun to make and I love how the squares appear to be floating on the quilt background. 

FREE Square Up Quilt Pattern - download here

Shop Fabric at Fat Quarter Shop


Square Up quilt pattern uses 12 Fat Quarters plus a background fabric so it's the perfect pattern for the Fat Quarter Clubs at Fat Quarter Shop or your stash!  I chose to use Summertime by Camille Roskelley for Moda Fabrics


Square Up Quilt - 45.5" x 57.5"

Supplies: clickable links


When deciding on the layout - I chose to arrange my blocks in a rainbow color gradient and I love it! Of course, the Square Up Quilt will look great if you decide to place your blocks in a random color/print layout instead. 


As I received the full Summertime Fat Quarter Bundle, I used 9 left over fat quarters for a pieced backing. I love to use left over fabric to creating a pieced backing! 


Be sure to follow me on Instagram @ABitofScrapStuff and on my A Bit of Scrap Stuff Blog for more fabric fun!

Have a great day and happy quilting and stitching! 


Melanie CallI


Shop Fabric at Fat Quarter Shop


This post contains affiliate links. Thank you for supporting A Bit of Scrap Stuff. My family appreciates it!


Friday, March 28, 2025

Mushroom Meadows : Kimberbell Punch Needle

A Bit of Scrap Stuff #ABitofScrapStuff #Kimberbell #PunchNeedle #MushroomMeadows


I just finished needle punching the new Mushroom Meadows Kit from Kimberbell. I absolutely love the punch needle kits from Kimberbell as everything (but scissors) is included in your kit! Plus the instructional videos are super helpful for new punch needlers. 

Mushroom Meadow kit is available at Fat Quarter Shop (here) or Kimberbell (here)


Mushroom Meadow kit is available at Fat Quarter Shop (here) or Kimberbell (here)

Mushroom Meadows – Punch Needle Plus Kit.   Add a bit of whimsy to your world with Kimberbell’s Mushroom Meadow design! Our Punch Needle Plus kit includes all the supplies you need to completely finish your project, including the tool, monks cloth, yarn, frame, embellishments, and video tutorials. Punch two charming toadstools, add tiny flower buttons, and frame in our faux wood oval frame!

Kit Contents:

  • 11×11″ Serged Monks Cloth
  • Punch Needle Tool & Threader
  • Water-soluble Pen
  • Pattern & Video Instruction
  • 2 Embroidery Needles
  • Embroidery Needle Threader
  • 17½” Faux Wood Oval Hoop
  • 2 Daisy Buttons
  • Yarn to complete Project
A Bit of Scrap Stuff #ABitofScrapStuff #Kimberbell #PunchNeedle #MushroomMeadows

I absolutely love the all the dimension with punch needle projects! Plus the floral buttons are the perfect embellishment.   This is one of the smaller kits so it can be finished in just a few hours! It's the perfect on-the-go crafty project or while watching a movie. 


Mushroom Meadow kit is available at Fat Quarter Shop (here) or Kimberbell (here)

A Bit of Scrap Stuff #ABitofScrapStuff #Kimberbell #PunchNeedle #MushroomMeadows


Have you tried Punch Needle Yet?

Be sure to follow me on Instagram @ABitofScrapStuff and on my A Bit of Scrap Stuff Blog for more fabric fun!

Have a great day and happy quilting! 

Melanie Call


Shop Fabric at Fat Quarter Shop

Monday, February 3, 2025

Janome Tutorial: XO Pillow

Hi Janome friends! Today on the Janome Project Page (here) I'm sharing my XO Pillow Project that I created with my Janome M17.

The XO Pillow is a fun and easy to make project for Valentine's Day. Sewing together squares to create patchwork is one of my most favorite projects. It's relaxing to sew and the project always looks great! The XO Pillow is also perfect for your stash of 2.5"squares. 

Tip: When choosing your fabric, decide if you want the X and O to be prominent or more of a mystery pattern to find.  Example: Solid fabrics will create prominent X and O, but a more scrappy look especially with low volume white squares the X and O will be less noticeable.  Choose what you like best!

I chose Lighthearted by Camille Roskelley for Moda Fabrics for my project.

Janome Tutorial: XO Pillow  18"x 18"

download PDF here

Fabric Requirements

(26) 2.5” x 2.5” RED squares. 

(55) 2.5” x 2.5” WHITE squares. 

22” x 22” Batting 

24” x 24” Pillow front backing *Optional. This fabric will be hidden in pillow interior.

Backing fabric: Size will depend on preferred method for Pillow Backing Closure

20” Nylon Zipper  *Trim to size

18” x 18” Pillow Form


Charmed Pillow Block Assembly

18.5” x 18.5” unfinished


Piecing Instructions:

·      Place (26) RED squares and (55) WHITE squares per layout diagram above. 

·      Sew together in rows using a 1/4" seam allowance.


Quilt and finish pillow with preferred method *.


My Quilting Method:  Straight-line quilting through center of each square.

- Janome M17: I used the Janome AcuFeed Open Toe Foot and 3.0 stitch length

- To mark my quilting lines, I used a ruler and Hera Marker to mark the center of each square


Zippered Pillow Backing: This is my favorite pillow closure and it's easy to change the pillow covers for seasons and washing! 

Exposed Zipper Pillow Backing Tutorial: https://abitofscrapstuff.blogspot.com/2021/10/tutorial-adding-exposed-zippered-pillow.html


PS: If you are looking for a coordinating pillow, check out my Janome Tutorial: Charmed Pillow (here) 


XO Pillow: 18" x 18" finished


I hope you make a XO Pillow for yourself or as a gift! It's a fun project that can be made in a day.  #XOPillow

Download XO Pillow PDF Pattern (here)

PPS - this project is doggy approved ... at least per my sister's pup :) . 


Be sure to follow me on Instagram @ABitofScrapStuff and on my A Bit of Scrap Stuff Blog for more fabric fun!

Have a great day and happy quilting! 

Melanie Call


Shop Fabric at Fat Quarter Shop


This post contains affiliate links. Thank you for supporting A Bit of Scrap Stuff. My family appreciates it!